HOW TO MAKE YOUR SHOPIFY FOOTER LOOK MORE PROFESSIONAL: A COMPLETE CHECKLIST

Introduction
Your Shopify store footer may be the last thing visitors see, but it is an important part of your store’s overall appearance and credibility.
A professional footer does more than display links. It gives customers easy access to important information, shows supported payment methods, communicates your store policies, and reinforces your brand identity.
However, many Shopify stores still have default “Powered by Shopify” branding, outdated copyright information, missing payment icons, and poorly organized trust badges.
In this guide, we’ll cover a complete Shopify footer checklist and show you how to improve your footer using PA Powered By Remover, with your actual app screenshots and step-by-step explanations.
Why a Professional Shopify Footer Matters
A well-designed footer helps create a consistent shopping experience from the homepage to checkout.
It can help you:
- Build confidence by clearly communicating store policies.
- Display accepted payment methods.
- Strengthen your brand identity.
- Make essential information easier to find.
- Keep your copyright details up to date.
- Give your store a cleaner, more polished appearance.
The goal is not to fill your footer with unnecessary elements. It is to present useful information in a simple, organized way.
1. Remove Default “Powered by Shopify” Branding
One of the first improvements you can make is replacing the default Shopify attribution with your own brand information.
While “Powered by Shopify” is not inherently unprofessional, customizing the footer helps create a more consistent brand experience.
How to do it using PA Powered By Remover
Step 1: Open the Shopify App Store
First, open your browser and search for Shopify App Store on Google.
Find the official Shopify App Store result and click it to open the marketplace.
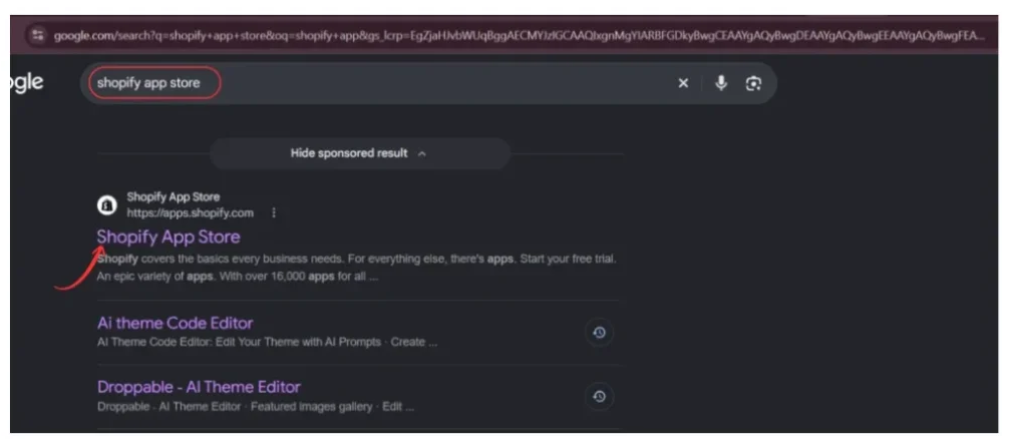
Image 1: Search for Shopify App Store and open the official website.
Alternatively, visit apps.shopify.com directly.
The Shopify App Store allows you to discover apps that extend your store’s features, including tools for branding and footer customization.
Step 2: Search for PA Powered By Remover
Once you’re inside the Shopify App Store, locate the search bar at the top.
Type PA Powered By Remover and search.
Look for the app with the orange icon and the name PA Powered By Remover, as highlighted in the screenshot.
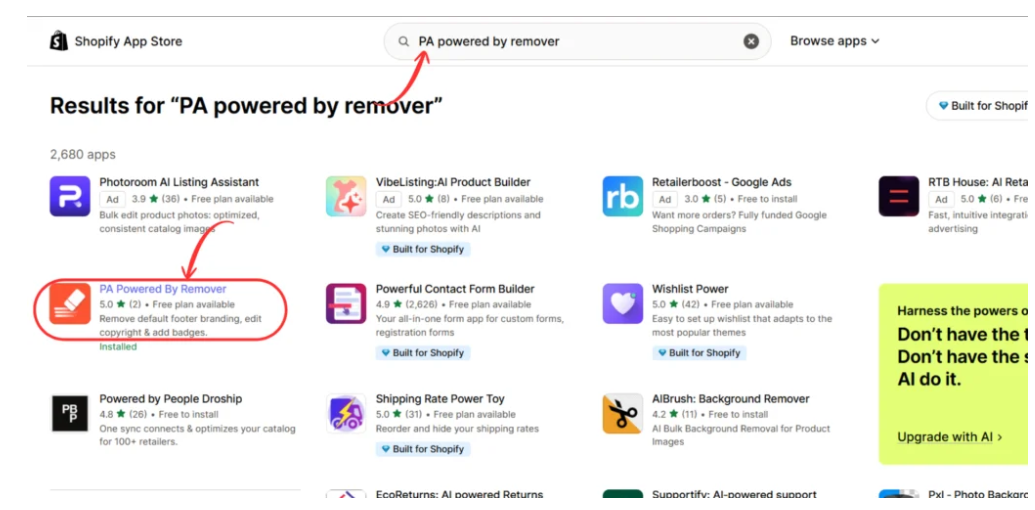
Image 2: Search for PA Powered By Remover and select the correct app.
Open its listing to view the features, pricing information, and installation options.
Step 3: Install and Open PA Powered By Remover
After selecting the app, you’ll reach its Shopify App Store listing.
The listing introduces the app’s footer customization features, including removing the default Shopify attribution and managing copyright text.
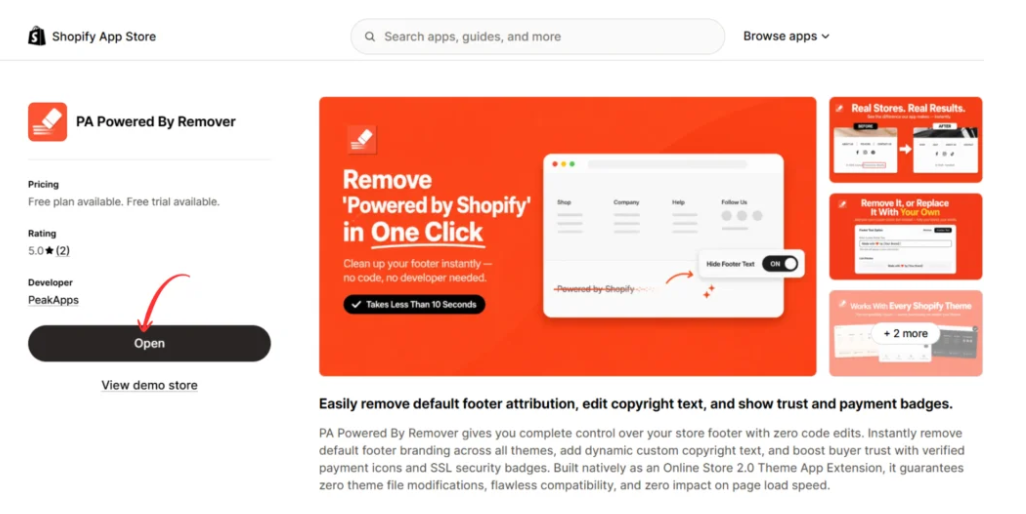
Image 3: Open the PA Powered By Remover app from its Shopify App Store listing.
Click Install if you haven’t installed the app yet, and follow Shopify’s authorization process.
If the app is already installed, you’ll see the Open button instead.
Click Open to access the app dashboard.
7. Check the Final Footer Design
Complete Shopify footer with newsletter, badges, payment icons and copyrightImage 11: Final footer example combining quick links, newsletter signup, trust badges, payment icons, and branded copyright information.
Once you have finished customizing your footer, review the complete design.

Make sure the elements have enough spacing, the text is readable, and the payment icons are aligned properly.
Check the mobile version as well. Icons should wrap neatly rather than overlap, and important links should remain easy to select.
A successful footer is not necessarily the one with the most features. It is the one that presents the right information clearly.
Step 8: Open Social Media Channels in the Footer Toolkit

Image 8: Click Footer Toolkit and locate the Social Media Channels section, highlighted with red arrows.
After opening PA Powered By Remover, select Footer Toolkit from the left sidebar.
Scroll down until you find Social Media Channels. This section allows you to configure links to your store’s social media profiles.
Enable Display Social Media Icons and enter the full profile URLs for the platforms your business uses, such as Instagram, TikTok, Facebook, and X (Twitter).
Adding these links alongside your footer’s policy links gives visitors another way to connect with your business.
Step 9: Save Your Footer Toolkit Settings

Image 9: After configuring your social media links, click Save & Sync Metafields to save the settings.
Once you have entered your social media URLs, scroll to the top of the Footer Toolkit dashboard.
Click Save & Sync Metafields, as highlighted by the red arrow in your screenshot.
This saves the selected footer customization settings to the app’s metafields.
The screenshot also shows a Preview Mode Active message. Some Pro customizer features, including certain badges and custom payment icons, require an upgrade before they can appear on your live storefront.
Step 10: Preview Your Storefront and Save Your Shopify Theme
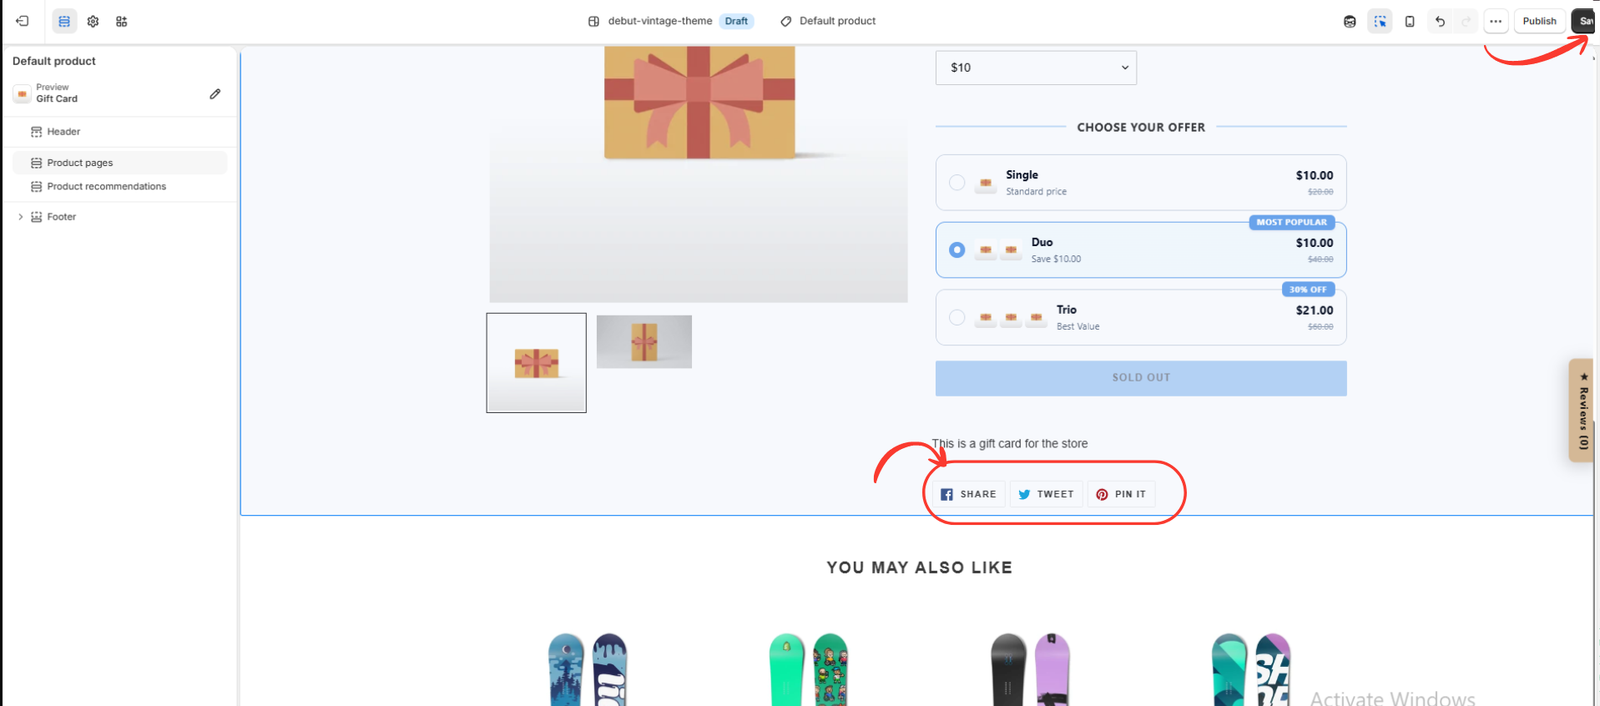
Image 10: Preview your Shopify theme, inspect the highlighted social sharing buttons, and click Save in the upper-right corner.
After saving your app settings, return to Shopify Admin → Online Store → Themes → Customize.
Check that the Footer Branding Toolkit app embed is enabled, then inspect your storefront preview.
In your screenshot, the highlighted Share, Tweet, and Pin It buttons appear on a product page. These are product-sharing buttons, which allow customers to share the product on social platforms. They are different from social profile icons displayed in the footer.
To verify the footer itself, scroll to the bottom of your storefront and check that your policy links and configured social media icons appear correctly. Finally, click Save in the upper-right corner. Shopify also provides native social media settings in the theme editor, depending on your theme. Customizing Theme Settings+1
Complete Shopify Footer Checklist
| Item | What to check |
|---|---|
| Brand name | Your business name is displayed correctly |
| Copyright year | The year is current or dynamically updated |
| Shopify attribution | Default branding is customized if desired |
| Payment icons | Only supported payment methods are shown |
| Security badges | Every displayed claim is accurate |
| Footer links | Essential pages are easy to access |
| Newsletter | Signup form works correctly |
| Mobile layout | Text, icons, and links display properly |
| Theme app embed | Footer Branding Toolkit is enabled |
| Final preview | All changes appear on the intended theme |
Frequently Asked Questions
Can I make my Shopify footer professional without coding?
Yes. Shopify’s theme editor supports basic footer customization, while PA Powered By Remover provides additional options for branding, copyright text, payment icons, and badges.
Can I remove the Powered by Shopify text?
Yes. You can customize or remove the default footer attribution using supported theme settings or an app.
Can I automatically update the copyright year?
Yes. PA Powered By Remover provides a dynamic year tag that can help keep your footer copyright information current.
Are payment icons and security badges the same?
No. Payment icons identify accepted payment methods, while security and trust badges communicate store protections, guarantees, or policies.
Do I need to enable the app embed?
Yes, the Footer Branding Toolkit app embed must be enabled for the relevant app-powered footer elements to display in your theme.
Conclusion
A professional Shopify footer helps create a more consistent, informative, and trustworthy shopping experience.
By removing unnecessary default branding, adding your brand name, keeping your copyright year updated, displaying supported payment methods, and including accurate security badges, you can transform a basic footer into a useful part of your storefront.
With PA Powered By Remover, you can manage these footer improvements from one app without manually editing theme code for every change.
Ready to customize your store footer? Explore PA Powered By Remover on the Shopify App Store.