How to Create a Custom Shopify Theme Section with AI
A Shopify theme gives your store a starting point, but its built-in sections may not cover every idea you have. You might want a product grid with adjustable card sizes, a different arrangement of images and prices, or a homepage section that fits your brand more closely.
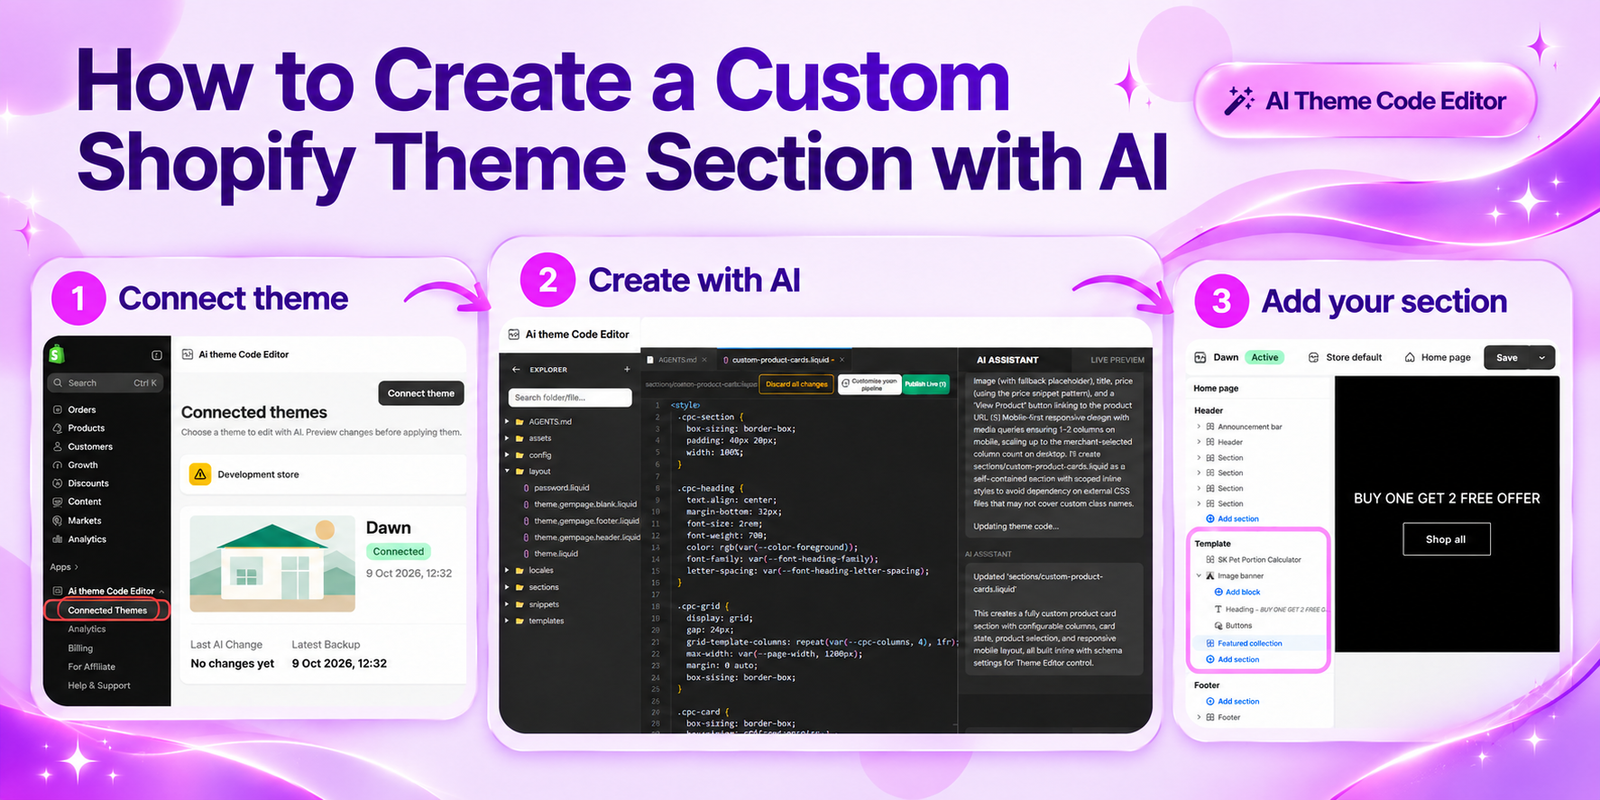
Creating that section traditionally means working with theme code. With AI Theme Code Editor, you can describe the section you want in plain language and use AI to generate the code. This guide walks through creating a custom homepage product-card section, following the images below in order.
The Challenge: Your Theme Does Not Have the Section You Need
Many merchants can change text, colors, and images in the theme editor but reach a limit when they need a new layout. A theme may offer a featured collection without the exact card sizes, spacing, or product selection controls they want.
Building a custom section involves more than its appearance. It needs to display the correct product information, adapt to smaller screens, and include settings that make it editable inside Shopify. Merchants who are unfamiliar with Liquid, CSS, and section settings can find this process time-consuming, while hiring a developer for each small change adds cost and coordination.
Why Use AI Theme Code Editor?
AI Theme Code Editor supports theme changes through natural-language prompts, including custom sections and blocks. Its Shopify App Store listing also describes Liquid, CSS, and JavaScript editing and sandbox previews. Instead of starting with a blank code file, you can explain the result you need and refine the generated work through follow-up instructions.
The value is a shorter path from an idea to a section you can review. AI-generated code still needs testing: a section that looks good in one view may need adjustments to its mobile layout, settings, or links.
Why a Custom Section Matters
A well-designed section lets you present products in a way that suits your catalog. Clear images, readable prices, and useful product links help shoppers understand what you sell and explore relevant items. Editable controls also make future updates easier: you can change the selected products or spacing from the theme editor instead of rebuilding the section each time.
How to Create Your Custom Section: Step by Step
For this example, the goal is a homepage section with selectable product cards, product images, titles, prices, and adjustable layout settings. Before making changes, keep a backup or use an unpublished copy of your theme while you test.
Step 1: Install AI Theme Code Editor
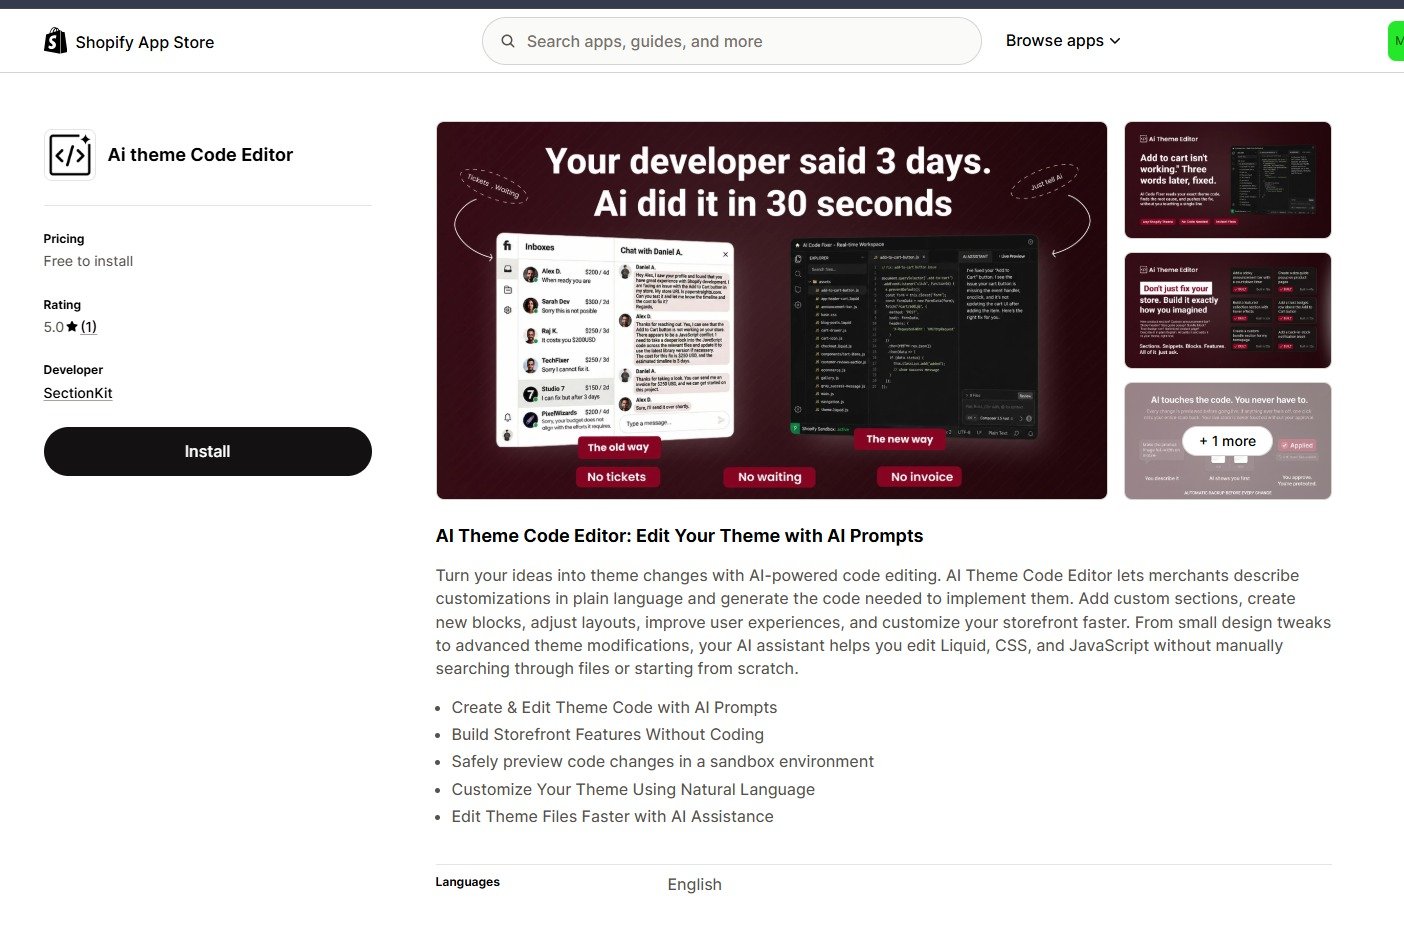
Open the AI Theme Code Editor listing in the Shopify App Store and click Install. Follow Shopify’s installation prompts and review the requested permissions. Once installation is complete, open the app from your Shopify admin.
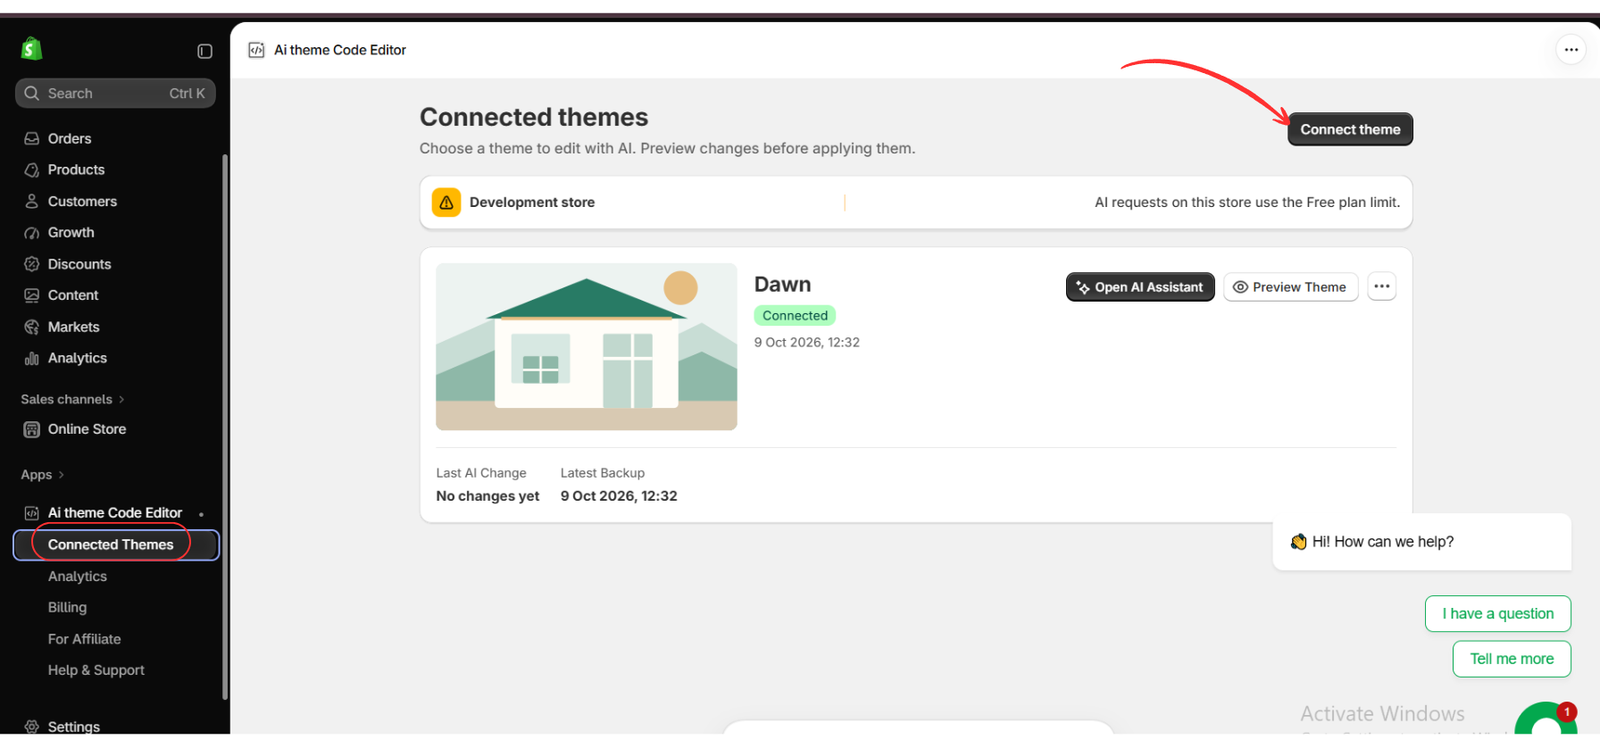
Step 2: Open Connected Themes
Inside the app, select Connected Themes from the sidebar. This page shows the themes already connected to the app. To choose a theme for your custom section, click Connect theme in the upper-right corner.
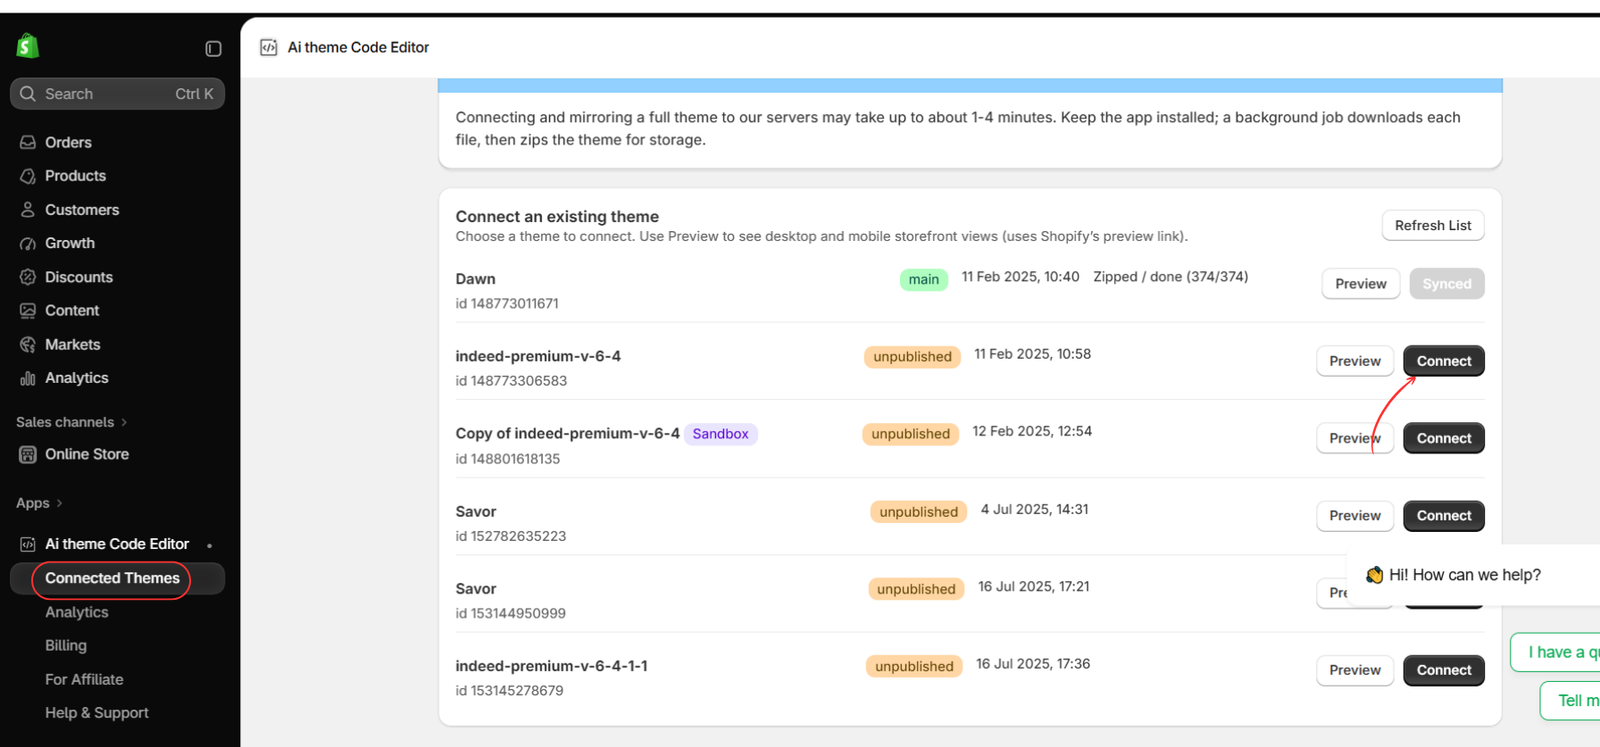
Step 3: Choose the Theme You Want to Edit
Find the intended theme in the list and click Connect beside it. Use the theme name and published or unpublished status to confirm your choice. You can use Preview to check the storefront before connecting.
Allow the connection and synchronization to finish. The notice in the image explains that this can take a few minutes. An unpublished theme copy is a practical place to test a new section before changing your live storefront.
Step 4: Open the AI Assistant
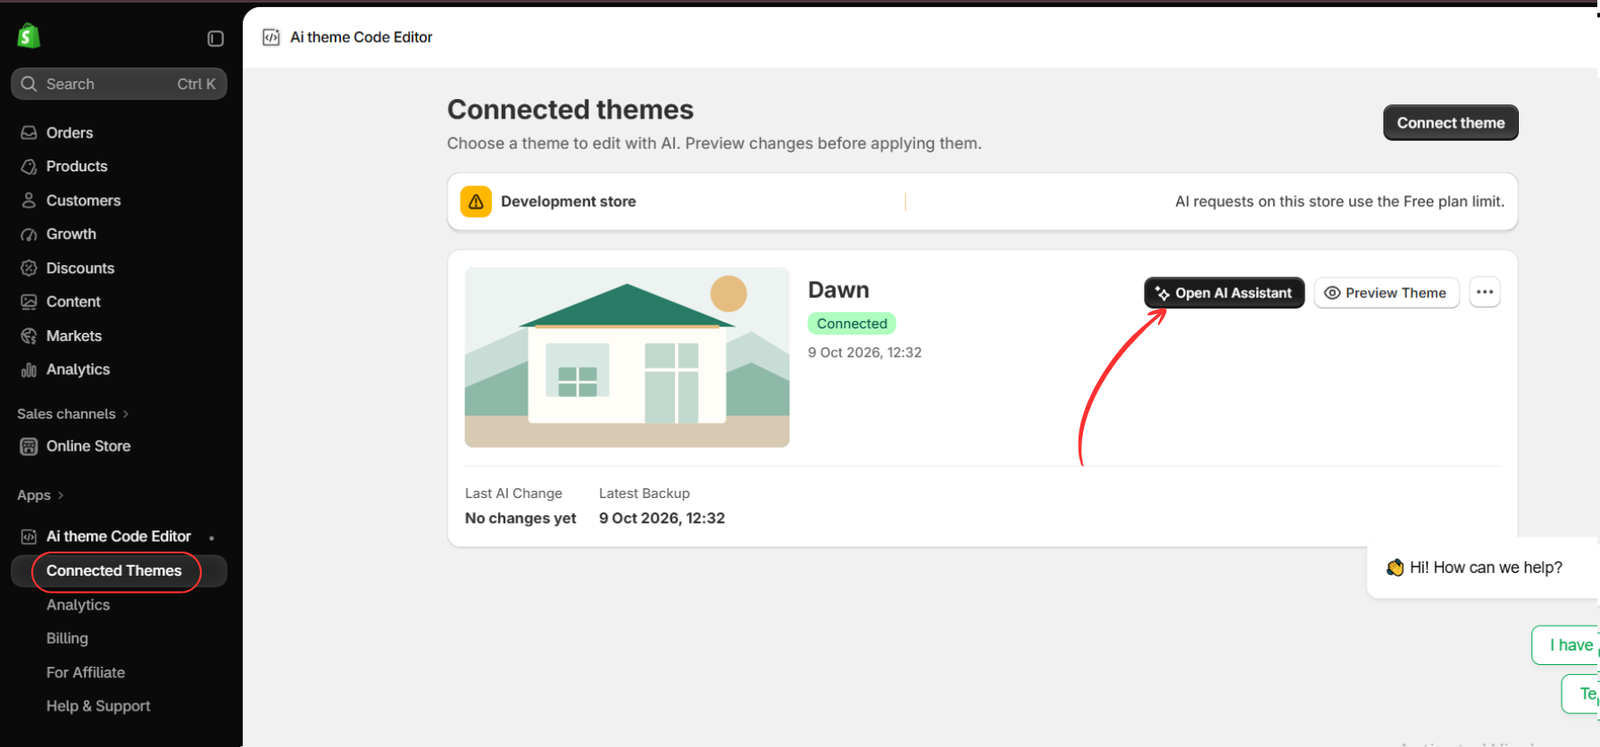
Return to Connected Themes once your theme is connected. Click Open AI Assistant on the correct theme card. In this example, the connected theme is Dawn; select the theme you intend to customize in your own store.
Step 5: Describe Your Custom Homepage Section
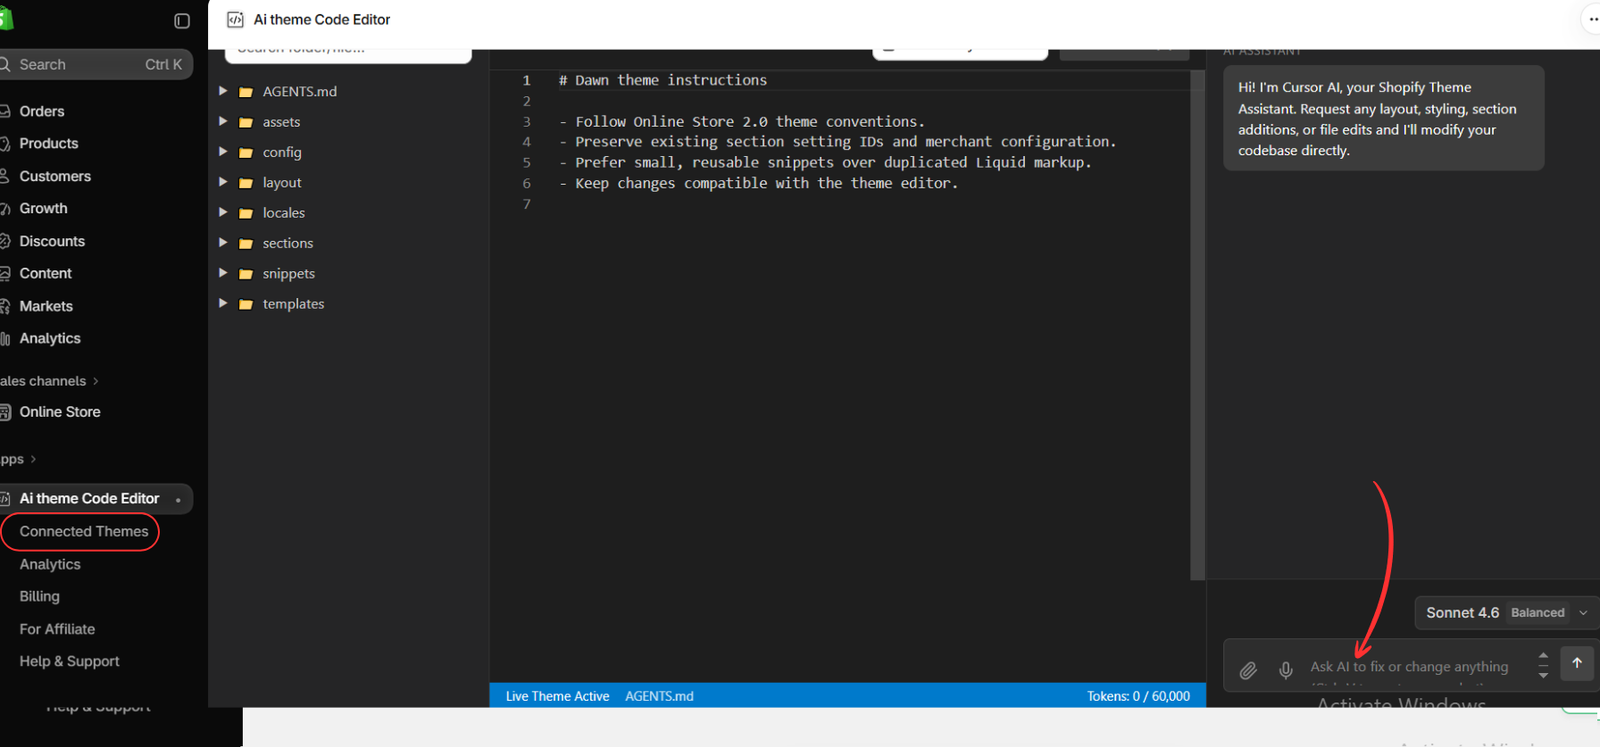
Enter your request in the AI assistant’s message field. Be specific about where the section should appear, the information each product card should show, and the settings you want to edit later.
You can use this prompt:
Create a custom Shopify homepage section called “Custom Product Cards.” Make it available under Add section in the homepage Template area. Let me add product blocks and select a product for each block. Show each product’s image, title, price, and a View Product button. Add settings for the heading, card size, desktop columns, spacing, and colors. Use a responsive layout with one or two columns on mobile. Match my theme’s fonts and styling, and include a section preset so I can add it in the theme editor.
Send the prompt and let the assistant generate the section. If the result needs refinement, ask for a focused change, such as “Make the product images square and reduce the gap between cards.”
Step 6: Review the Generated Section and Apply the Code
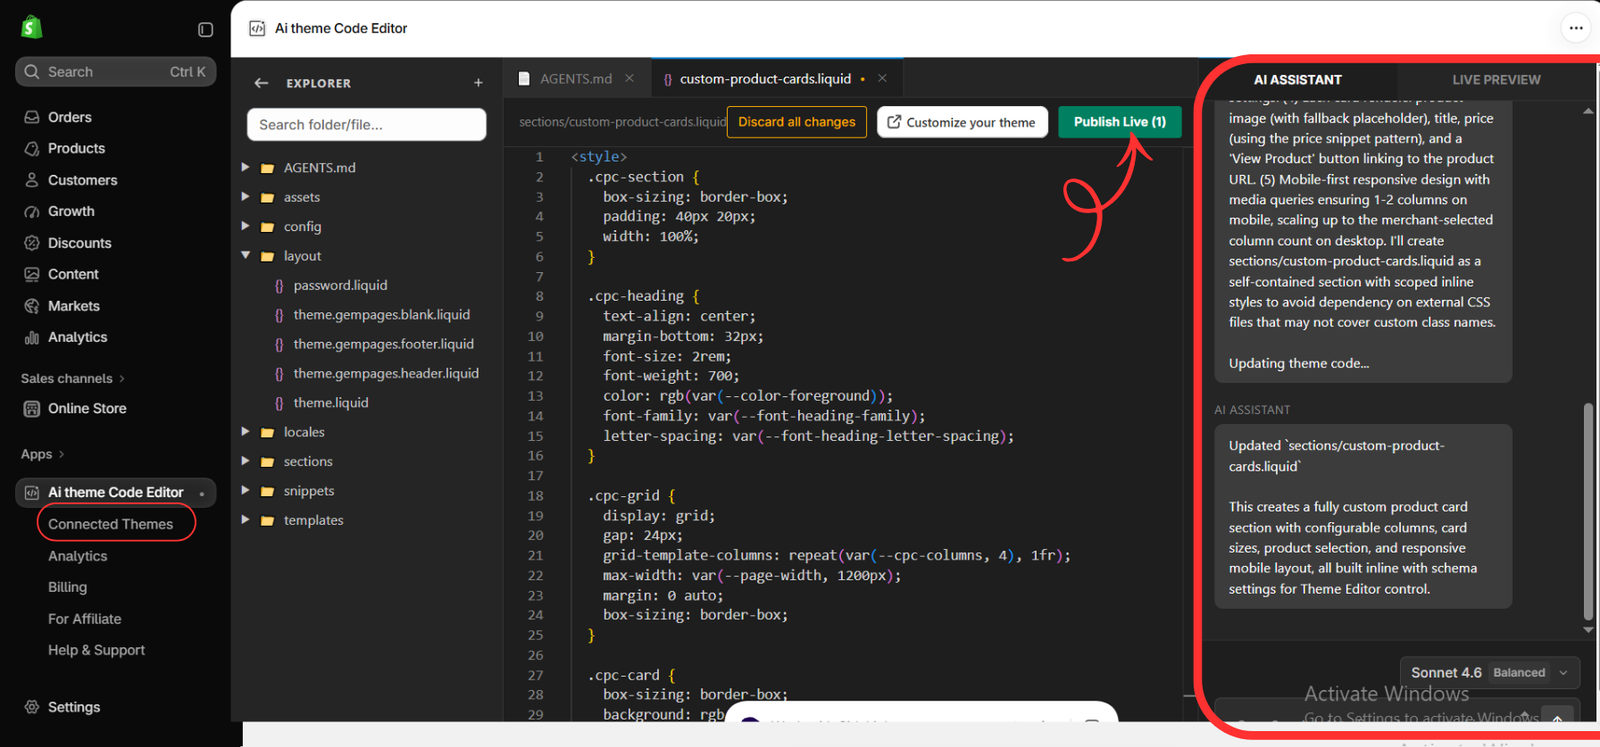
The next image shows a generated file named custom-product-cards.liquid inside the sections folder. The assistant’s response describes configurable columns, card sizes, product selection, and a responsive layout.
Review the assistant’s response and use the available preview workflow to check the result before applying it. Confirm that the section has editable controls, displays product prices correctly, and works on mobile. If anything is missing, request an adjustment.
When you are satisfied, use Publish Live to apply the generated changes through the app. Check the selected theme first, especially if you are editing your active storefront. Then use Customize your theme to open the theme editor and place the section.
Step 7: Add the Section to the Homepage and Save
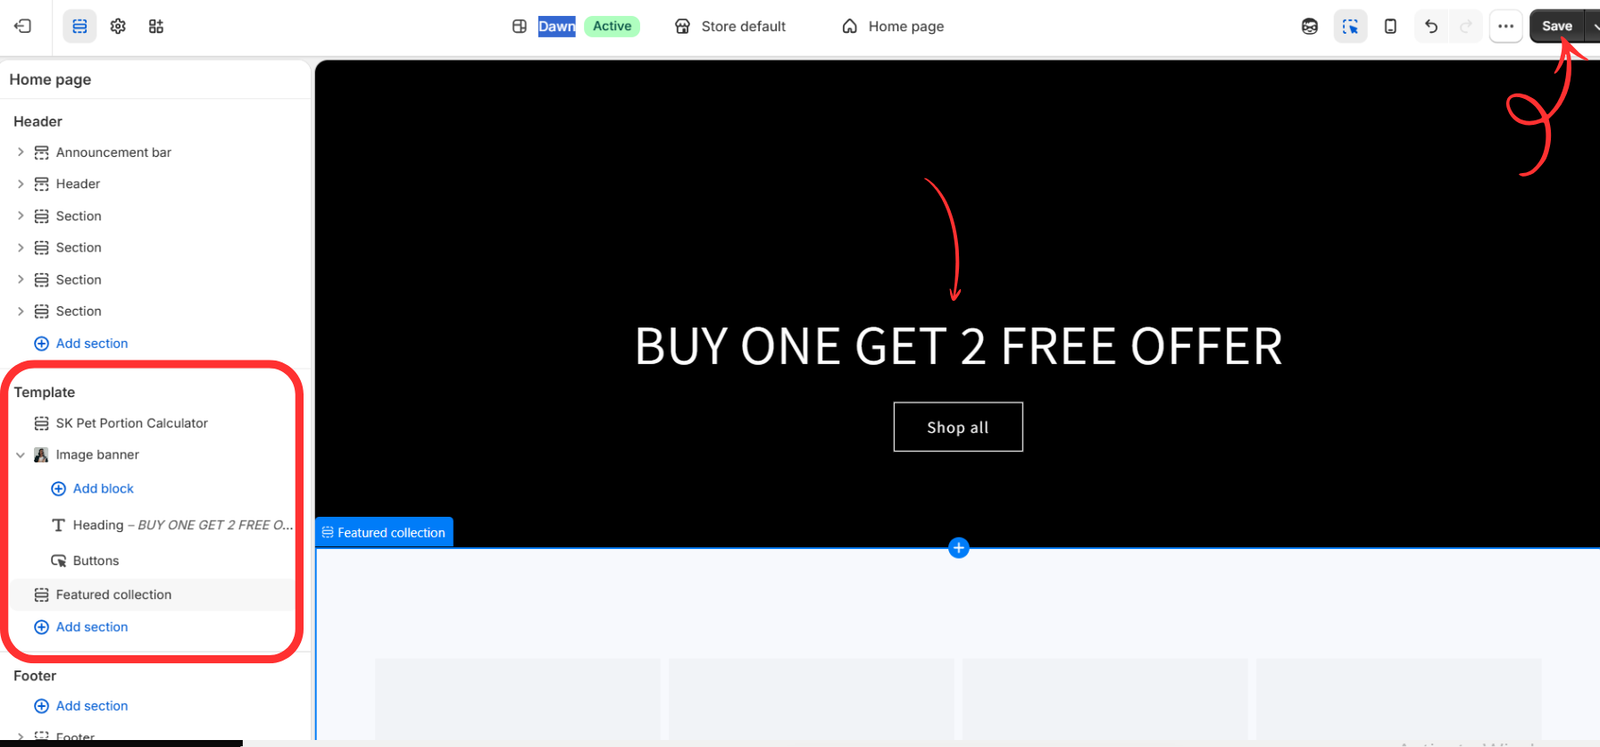
In the Shopify theme editor, choose Home page. Under the Template area in the left sidebar, click Add section and find the name of your newly created section. Add it here to make it part of the homepage content.
Select the products for your blocks and adjust the available settings, such as the heading, card size, column count, and spacing. Move the section to the position you want, review the desktop and mobile layouts, and click Save.
The final image highlights the Template area and Save button. It shows an existing featured collection selected, rather than the completed custom product-card section; use the highlighted area to add your generated section by its own name.
Check the Section Before You Finish
Preview the homepage and open each product link. Check that images are clear, titles and prices are readable, and cards fit neatly on mobile. Try changing a product and a layout setting in the theme editor to confirm that the section is easy to maintain. If you tested on an unpublished theme, publish that theme only when you are ready for shoppers to see it.
Turn Your Section Idea into a Working Layout
Creating a custom Shopify theme section with AI starts with a clear request. Describe the layout, specify the controls you need, review the generated result, and add the section to the correct homepage template. This gives you a practical way to create a more tailored storefront while keeping everyday content updates in the theme editor.
Ready to create your own section? Explore AI Theme Code Editor on the Shopify App Store.




