HOW TO DISPLAY DIFFERENT TRUST BADGES FOR DIFFERENT PRODUCTS
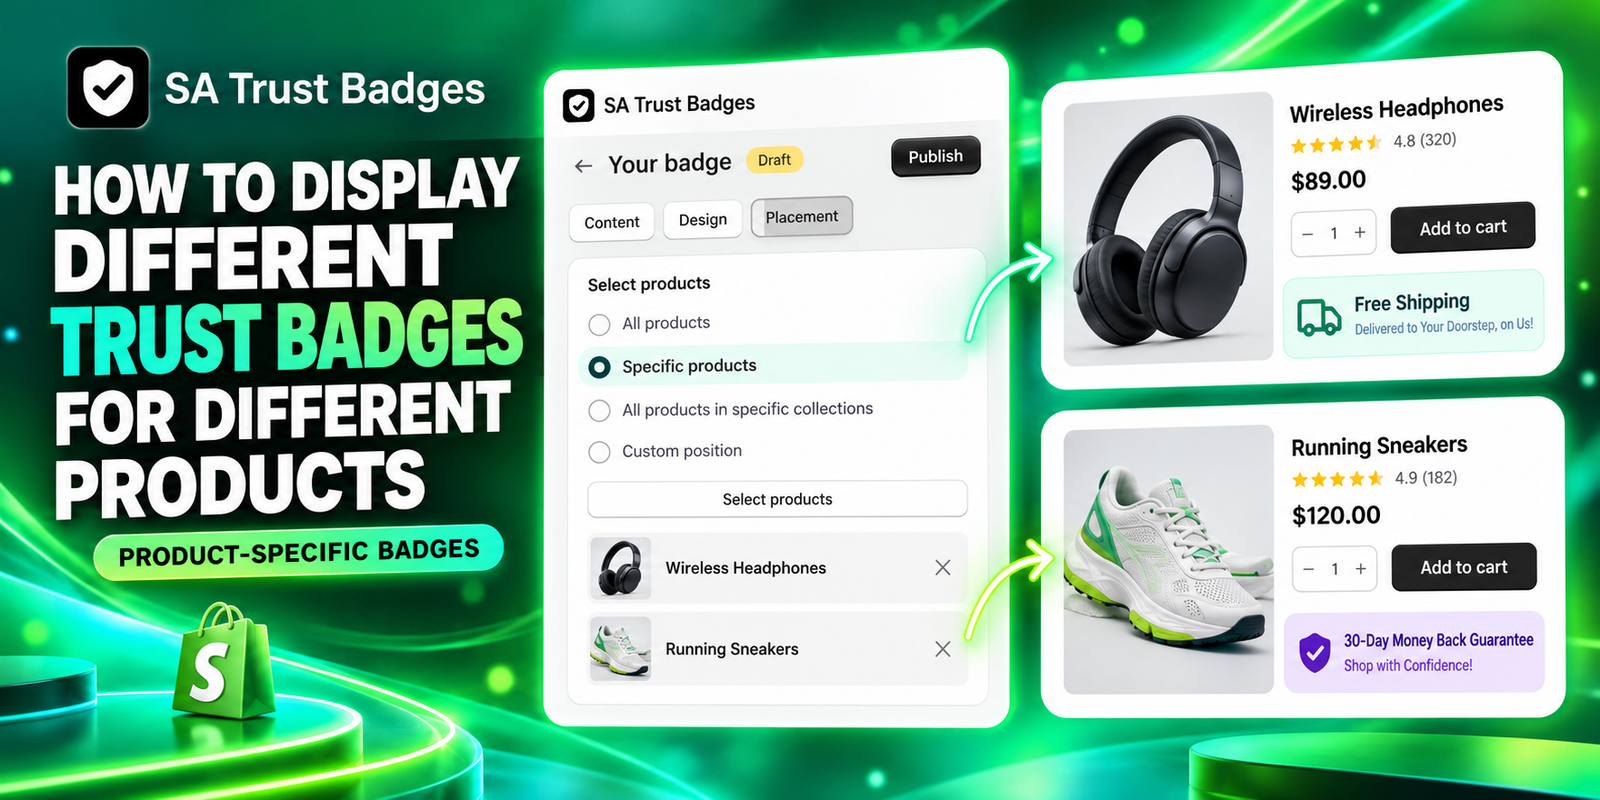
Not every product in your Shopify store needs the same reassurance. One item may qualify for free shipping, while another comes with a specific quality guarantee. Displaying the same badges across your entire catalog can make important information less relevant and may show promises that do not apply to every purchase.
With product targeting, you can match each badge to the items it belongs to. This guide explains how to display different trust badges for different products using SA Trust Badges. You will create a badge, choose specific products, publish it, and enable the app in your theme. Then you will repeat the process for a different message and product group.
The problem: one message does not fit every product
Stores often sell products with different shipping conditions, return eligibility, or warranty coverage. A storewide badge can hide those differences. For example, a Free Shipping banner is only useful when the product and applicable shipping conditions support that claim.
Manually adding different artwork to individual product pages can also become difficult to maintain. As your catalog grows, you need a reliable way to keep the message and its product selection together.
Why use a badge app?
SA Trust Badges supports customizable trust content and targeting for specific products or collections. Its listing also describes adjustable layouts, colors, icon sizes, borders, and integration through Shopify Theme App Embeds.
The workflow in the supplied images uses Placement → Specific products. This lets you manage the badge content and its product selection in the app without manually editing theme code. Check the current plans and limits before setting up multiple badge blocks, because feature availability depends on your subscription.
Why product-specific badges matter
Relevant badges make it easier for shoppers to understand the information attached to the item they are viewing. You can highlight shipping on eligible products and show a guarantee on products covered by that policy.
Keep every claim accurate and support it with clear store policies. A badge presents information; it does not create a new guarantee, security certification, or shipping benefit. Start by deciding which message belongs to which products, then use those groups when configuring placement.
Step 1: Install SA Trust Badges
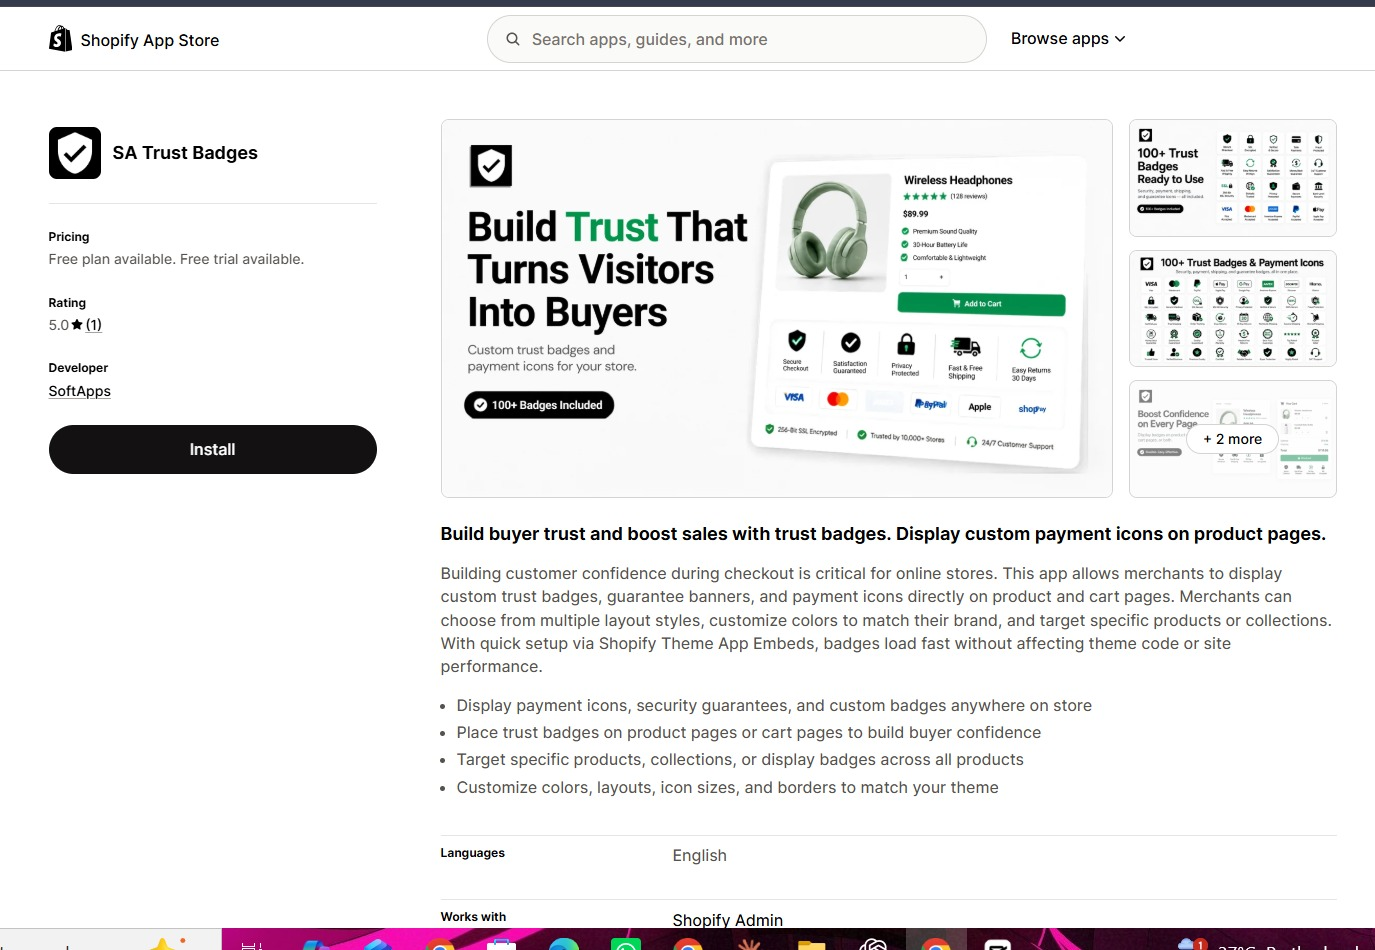
Open SA Trust Badges on the Shopify App Store and click Install. Select your store if prompted, review the installation details, and complete setup. Open the app from your Shopify admin.
Step 2: Create your first product badge
Select Create Product Badge. In the Content tab, choose a badge format. The second image uses Single banner with a truck icon and a Free Shipping message.
Enter a descriptive internal badge name, such as “Free shipping — eligible products.” Add your customer-facing title, supporting text, and icon. The image shows “Free Shipping” with “Delivered to Your doorstep, on us!” Use that wording only where it matches your shipping offer.
Review the Design tab to style the badge for your theme. Check the live preview, but finish the product selection before publishing.
Step 3: Choose specific products
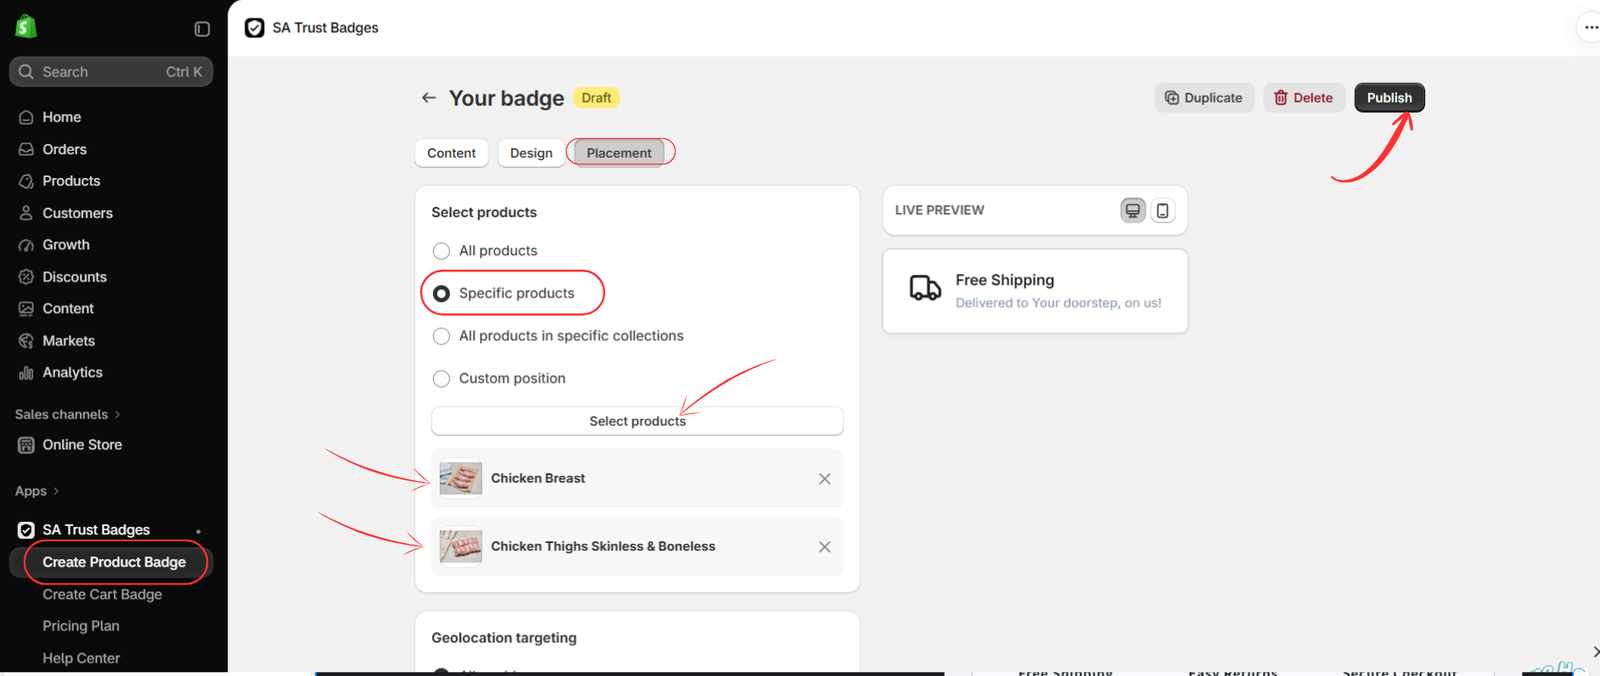
Open the Placement tab. Under Select products, choose Specific products, then click the Select products button.
Use this option when a message belongs to selected items. Choosing All products would apply the badge broadly, which is unsuitable for an offer that only covers part of your catalog.
The image also shows All products in specific collections as an alternative. For this tutorial, keep Specific products selected. Review any available geographic settings separately so the badge’s shipping message matches the customers who can use the offer.
Step 4: Review the assigned product list
The fourth image shows how selected products appear beneath the Select products button. In this example, the list contains Chicken Breast and Chicken Thighs Skinless & Boneless.
Review every entry and use the remove control beside an item if it should not receive this badge. The image shows the resulting list; the next image demonstrates the product picker used to add or adjust those selections.
Do not publish until your content and product list are correct. The Publish button shown here will be used after reviewing the selection.
Step 5: Search, add products, and publish
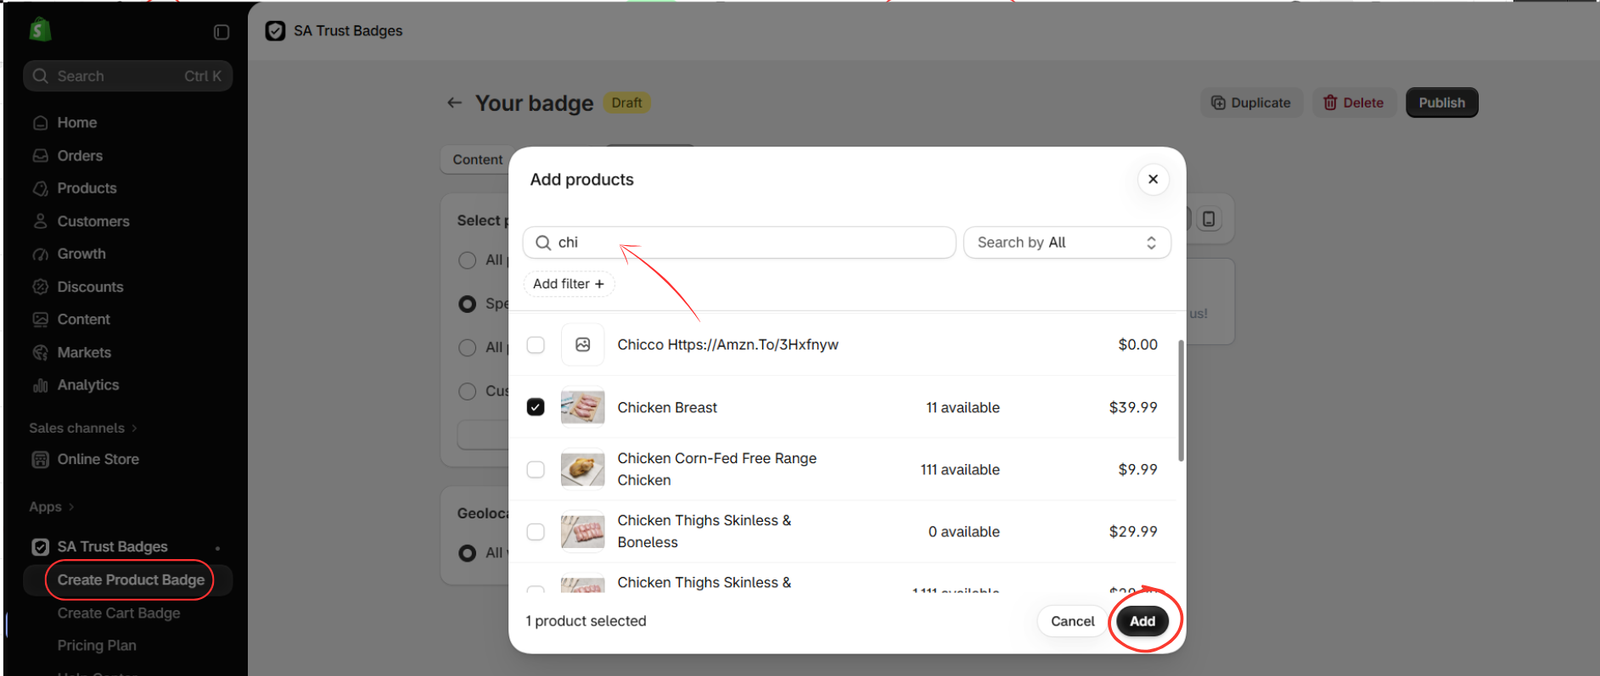
Click Select products to open the Add products window. Search for the required items, select their checkboxes, and click Add. In the fifth image, the search field contains “chi” and Chicken Breast is checked.
Return to the placement list and confirm the final selection. Review the desktop and mobile previews, then click Publish.
To display a different badge on other products: create another product badge, give it a distinct internal name, and change its content—for example, to a Guarantee banner where an actual guarantee applies. Open Placement, choose Specific products, add the second product group, and publish that badge too.
For separate messages on separate products, keep the groups distinct unless you intentionally want both badges on an item. Selecting products for one badge does not automatically create different content for each selected product; separate messages require separate badge configurations.
Step 6: Open the theme editor
Go to Online Store → Themes and find the theme where you want to display the badges. Click Edit theme, as shown in the sixth image. This action may be labeled Customize in your admin.
Make sure you are editing the intended theme. If you are working on a draft, check its preview before expecting changes on your live store.
Step 7: Enable the embed and verify the result
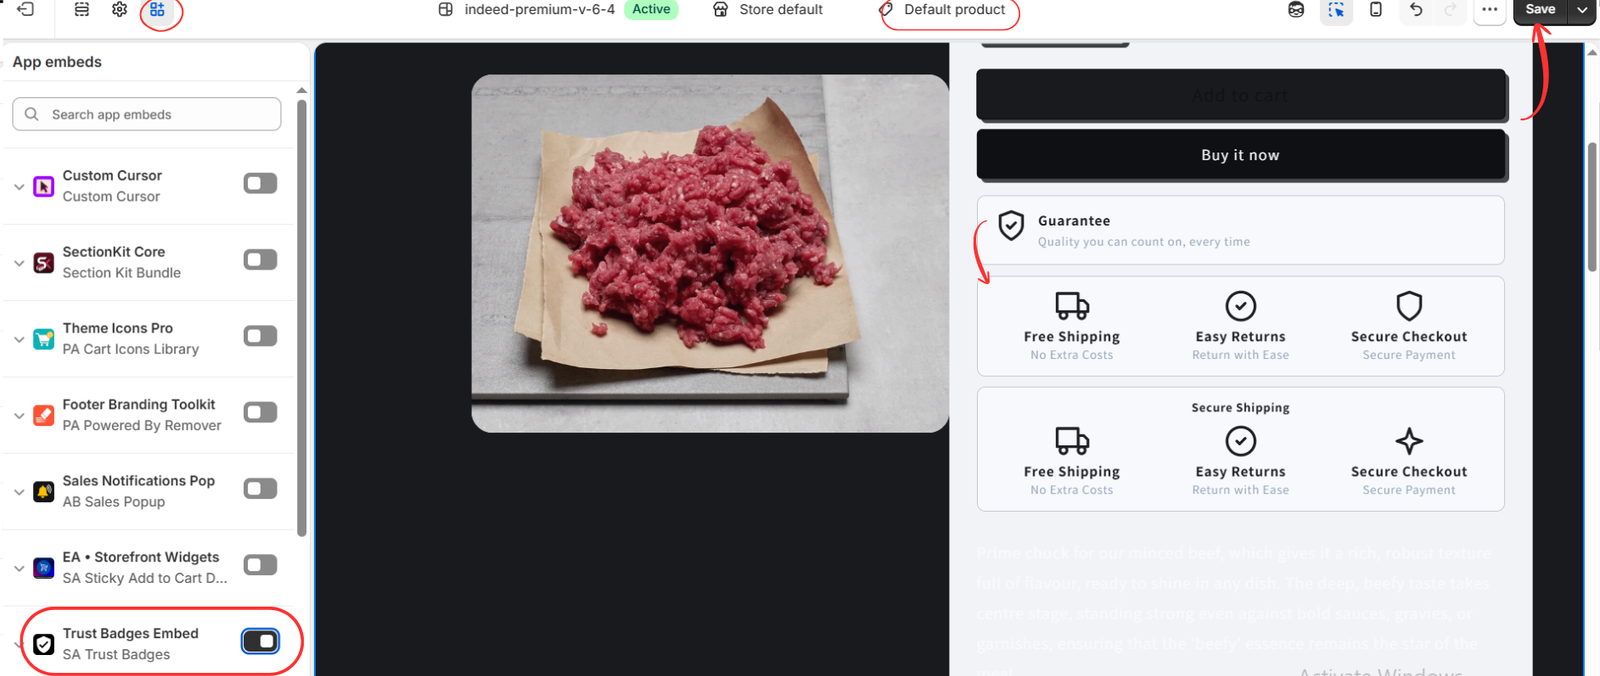
Open App embeds in the theme editor. Find Trust Badges Embed under SA Trust Badges, turn it on, and click Save. Preview the relevant product template and check the badge placement.
The seventh image shows the embed enabled and several trust blocks beneath the product purchase buttons. It demonstrates the storefront placement, but does not by itself confirm that your separate product groups are configured correctly.
Open at least one product from each badge group on your storefront. Confirm that the first group shows its assigned message and the second group shows the different message. Also open an unselected product to check that a targeted badge does not appear there. Review the result on mobile as well as desktop.
Fix overlapping or missing badges
If a product displays an unexpected badge, review the product selections for every published badge. A badge set to All products or an overlapping product group may explain why several messages appear.
If a badge is missing, confirm that it is published, the product is selected, and the embed is enabled in the correct theme. Check any geographic conditions, your plan limits, and the product template you are viewing.
Keep each product message relevant
Product targeting helps you show shoppers the reassurance that applies to their purchase. Keep internal badge names clear, review assignments when policies change, and avoid filling product pages with duplicate messages.
Start with SA Trust Badges, create your first badge, and assign it through Specific products. Repeat the process for each distinct message, then test the groups on your storefront.
Feature reference: SA Trust Badges official listing. The image sequence follows the supplied examples.




