How to Back Up Your WordPress Site (The Complete Guide)
Let’s have a real conversation about something a lot of WordPress site owners put off until it’s too late: backups.
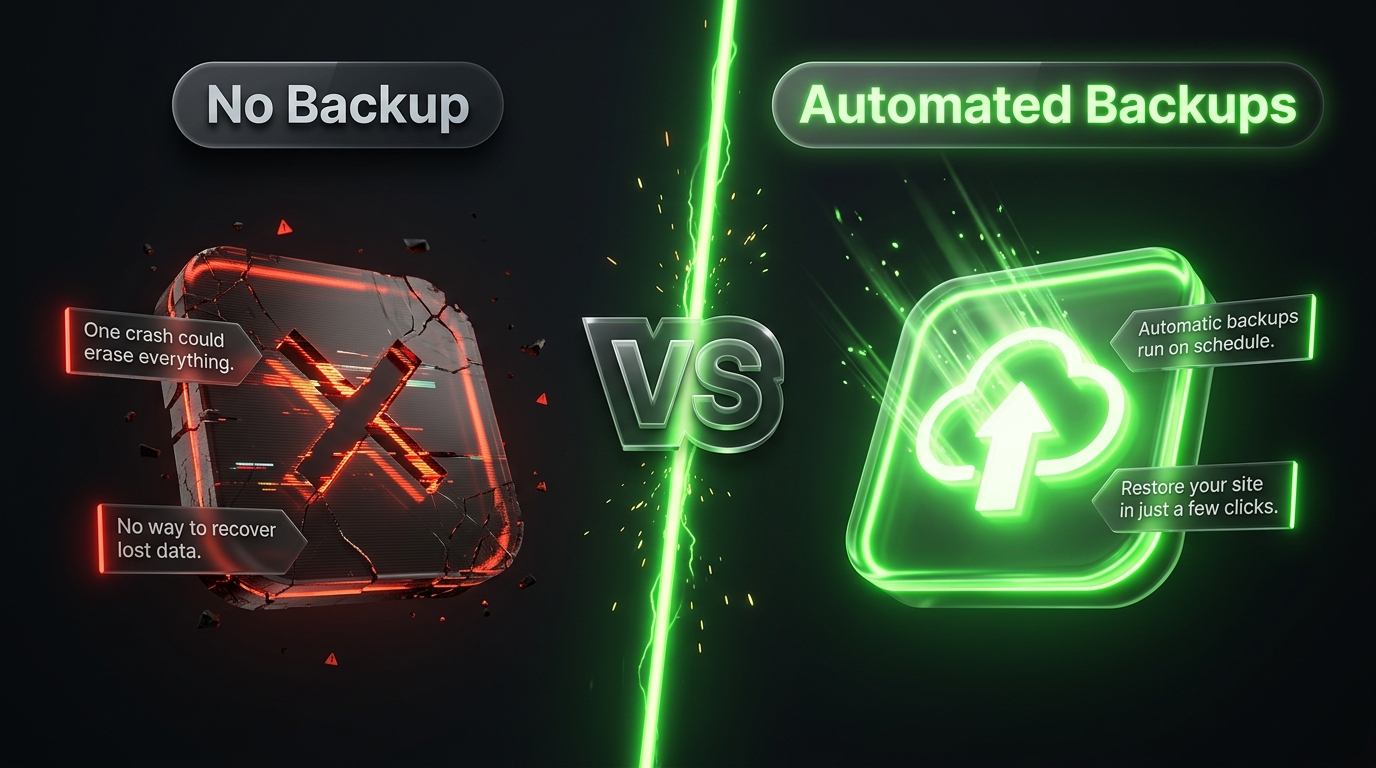
Here’s a scenario you don’t want to live through. You wake up, grab your coffee, open your laptop, and your site is either completely down, showing a white screen of death, or worse it’s been hacked and replaced with spam content. Your stomach drops. Then you ask yourself: “Do I even have a backup?”
If the answer is no, or “I think so, but I’m not sure,” this guide is for you. We’re going to walk through exactly how to back up your WordPress site properly, so if disaster ever strikes, it’s a quick fix instead of a full blown crisis.
Grab that coffee, and let’s get into it.
Why Backups Matter More Than You Think
Before we get into the “how,” let’s quickly cover the “why,” because understanding this will help you take backups seriously instead of treating them as a boring chore.
WordPress sites break for all kinds of reasons:
- A plugin update conflicts with your theme and crashes the site
- A hacker gets in through an outdated plugin and injects malware
- Your hosting server has a hardware failure
- You accidentally delete something important while editing
- A failed WordPress core update leaves your site half-broken
Any one of these can happen on a completely normal day, with zero warning. And here’s the thing: a security plugin, good hosting, and careful editing all reduce your risk, but nothing eliminates it completely. Backups are your safety net. They’re the difference between “oh no, let me just restore yesterday’s version” and “I’ve lost months of work and I have no idea how to get it back.”
Think of backups like insurance. You hope you never need them, but you’ll be incredibly grateful they’re there the one time you do.
What Actually Needs to Be Backed Up
A lot of people think a WordPress backup is just one file. It’s actually made up of two very different pieces, and you need both for a complete backup.
1. Your Database
This is the heart of your site. It stores:
- All your posts and pages (the actual text content)
- Comments
- User accounts and passwords (encrypted)
- Site settings and configuration
- Plugin and theme settings
If you lose your database, you lose your content, even if your files are perfectly intact.
2. Your Files
This includes everything sitting on your server:
- WordPress core files
- Your theme files
- Your plugins
- The wp content/uploads folder, which holds every image, video, and file you’ve ever uploaded to your media library
If you lose your files, your site might still “exist” in terms of content, but it’ll look broken, missing images, and stripped of any custom design work.
A proper backup covers both the database and the files. If your backup solution only handles one of these, it’s incomplete, and you’ll find that out at the worst possible time.
The 3 2 1 Backup Rule
If you remember one rule from this whole guide, make it this one. It’s a simple framework used across the entire tech industry, not just for WordPress:
- 3 copies of your data (the original, plus two backups)
- 2 different storage types (for example, your hosting server and cloud storage)
- 1 copy stored off-site (somewhere completely separate from your hosting server)
Why does this matter so much? Because if your only backup lives on the same server as your live site, and that server crashes, gets hacked, or gets wiped, your backup disappears right along with your site. Off site storage protects you from exactly that scenario.
In practice, this usually looks like: your live site, a backup stored in cloud storage (like Google Drive, Dropbox, or Amazon S3), and possibly a local copy downloaded to your own computer every so often.
Method 1: Using a WordPress Backup Plugin (The Easiest Way)
For most site owners, a backup plugin is the simplest and most reliable option. It automates the entire process, so you’re not relying on remembering to do it manually.
Here are some of the most trusted options:
UpdraftPlus One of the most popular backup plugins around, with a generous free version. It lets you schedule automatic backups and send them straight to cloud storage like Google Drive, Dropbox, or Amazon S3.
Jetpack Backup Offers real time backups, meaning it saves a new backup point every time you publish a post or make a change, rather than just once a day. Great if your site changes frequently.
Duplicator Popular for both backups and site migrations. It’s especially handy if you’re planning to move your site to new hosting at some point.
BlogVault A dedicated backup service that stores your backups off site by default and offers one click restores, which can be a lifesaver if you’re not comfortable with technical recovery steps.
How to Set Up Backups with a Plugin (General Steps)
The exact screens will vary slightly by plugin, but the process usually looks like this:
- Install and activate your chosen backup plugin from the WordPress admin dashboard, under Plugins → Add New.
- Connect a remote storage location. This is the important step don’t just save backups to your own server. Connect Google Drive, Dropbox, or another cloud storage service.
- Set your backup schedule. For most blogs, once a day is plenty. For e commerce sites or sites with frequent updates, you might want backups multiple times a day, or in real time.
- Choose what to include. Make sure both your database and your files (especially the uploads folder) are selected.
- Set your retention period. This decides how many old backups to keep before deleting the oldest ones. A good starting point is keeping the last 30 days of backups.
- Run a test backup manually right after setup, just to confirm everything is working before you rely on the automatic schedule.
Method 2: Backing Up Through Your Hosting Provider
Many hosting companies offer built in backup tools, especially managed WordPress hosts like WP Engine, Kinsta, SiteGround, and Bluehost. These are often automatic and require zero setup on your part.
The upside: It’s completely hands off. Your host handles the technical side, and restores are usually just a few clicks in your hosting dashboard.
The catch: These backups are almost always stored on the same infrastructure as your hosting account. That means they don’t satisfy the “off site” part of the 3 2 1 rule on their own. It’s still smart to have an independent backup (through a plugin or manual method) stored somewhere completely separate, just in case something happens to your hosting account itself.
Method 3: Manual Backups (For More Technical Users)
If you want full control, or you just like understanding exactly what’s happening under the hood, you can back up your site manually. This takes a bit more comfort with technical tools, but it’s straightforward once you’ve done it once.
Backing Up Your Database Manually
- Log into your hosting control panel (like cPanel) and open phpMyAdmin.
- Select your WordPress database from the list on the left.
- Click the Export tab.
- Choose the Quick export method and SQL as the format.
- Click Go, and the database file will download to your computer.
Backing Up Your Files Manually
- Connect to your server using an FTP client (like FileZilla) or your hosting’s File Manager.
- Navigate to your WordPress root folder (this usually contains folders like wp content, wp admin, and wp includes).
- Select everything and download it to your computer. Pay special attention to the wp content/uploads folder, since that’s where all your media files live.
- Once downloaded, store this somewhere safe, ideally in cloud storage rather than just on your computer’s hard drive.
Manual backups work fine, but they’re easy to forget. If you go this route, set a recurring reminder on your calendar so it actually happens regularly instead of “whenever you remember.”
How Often Should You Back Up Your Site?
This really depends on how often your site changes:
- Blogs that post occasionally: Once a day is usually enough.
- Active blogs or news sites: Once a day, or real time backups if you publish frequently.
- E commerce sites: Real time or multiple times a day. Losing even a few hours of order data can be a real problem.
- Membership or community sites: Real time backups, since user activity and comments are constantly changing.
When in doubt, more frequent backups are always safer. Storage is cheap; losing content is not.
How to Restore Your WordPress Site from a Backup
Having a backup is only half the job you also need to know how to use it when something goes wrong. Here’s the general process:
If you used a backup plugin: Most plugins have a “Restore” button right in their dashboard. You select the backup point you want to roll back to, confirm, and the plugin handles the rest automatically. This is by far the easiest method, which is another reason plugins are worth using.
If your host handled the backup: Log into your hosting control panel, find the backup or restore points section, and select the date you want to restore. Support teams at most hosts can also do this for you if you’re not sure how.
If you backed up manually: You’ll need to re upload your files via FTP and re import your database through phpMyAdmin. This is more involved, so it’s worth practicing the process once on a test site before you actually need it in an emergency.
A good habit: test your restore process at least once, even when nothing is broken. It’s much less stressful to learn how restores work on a calm afternoon than during an actual emergency.
Common Backup Mistakes to Avoid
A few things trip people up again and again:
- Only backing up the database, not the files (or vice versa). You need both.
- Storing backups only on the same server as the live site. If the server fails, your backup fails with it.
- Never testing the restore process. A backup you’ve never tried to restore is a backup you can’t fully trust.
- Forgetting about the uploads folder. This is often the largest and most overlooked part of a backup, since it holds every image and media file on your site.
- Setting it up once and never checking again. Backup plugins can silently fail (a storage connection expires, a scheduled task stops running). Check in every so often to confirm backups are still happening.
A Simple Backup Checklist
Here’s a quick recap you can actually use:
- ✅ Choose a backup method: plugin, hosting provider, or manual
- ✅ Make sure both your database and files are included
- ✅ Store at least one copy off-site (cloud storage, not just your server)
- ✅ Set a backup schedule that matches how often your site changes
- ✅ Set a retention period so old backups don’t pile up forever
- ✅ Test a restore at least once so you know the process works
- ✅ Check in periodically to confirm backups are still running
Wrapping It Up
Backing up your WordPress site isn’t glamorous, and it’s easy to put off since nothing bad is happening right now. But that’s exactly the trap. The best time to set up backups is before you need them, not after.
The good news is that once you set it up properly with a plugin and off site cloud storage, backups run quietly in the background without you having to think about them. It takes maybe 15 minutes to set up, and it could save you days (or weeks) of stress down the road.
So if you don’t have a backup system running right now, make this the thing you fix today. Future you will be very, very grateful.