How to Build a Custom WordPress Theme
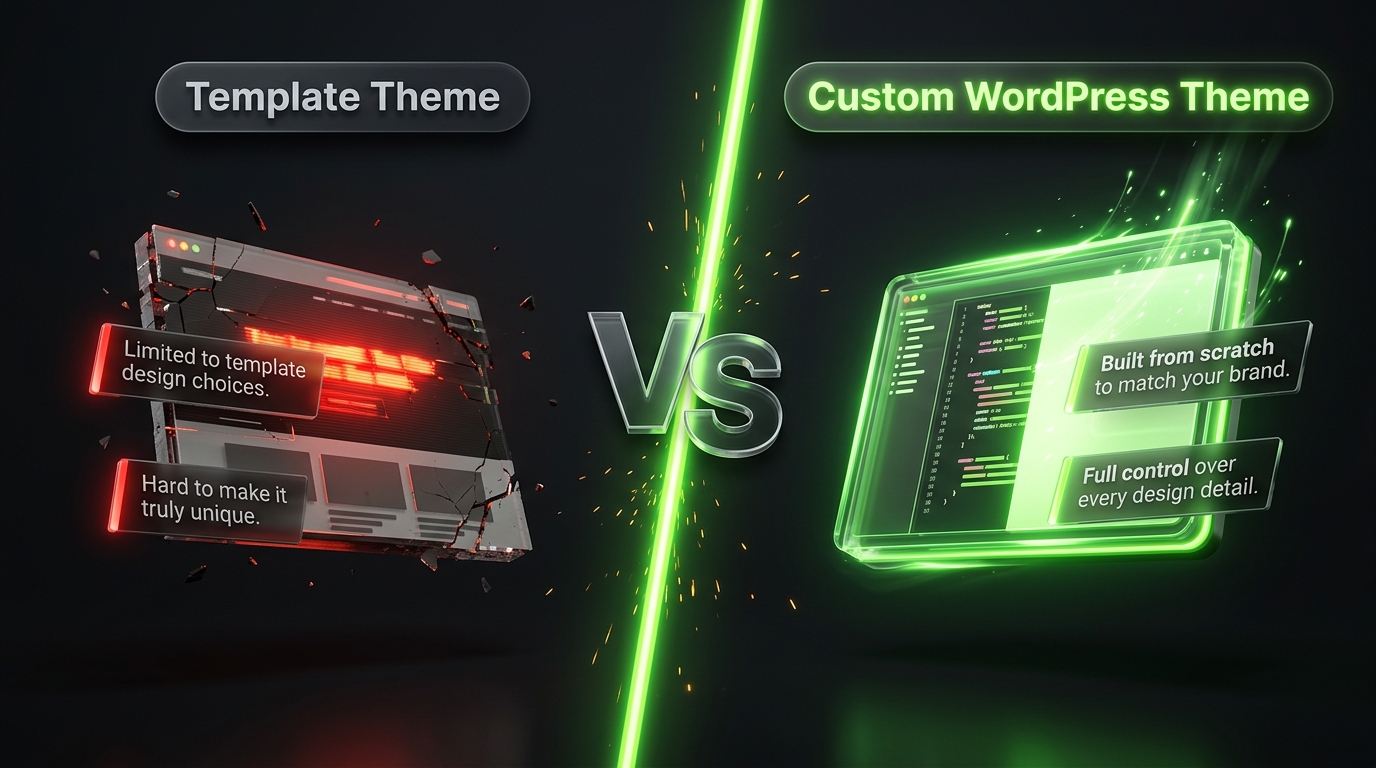
At some point, if you spend enough time working with WordPress, you’ll probably hit a moment where pre made themes just don’t quite do what you want. Maybe you want a very specific layout, a unique design nobody else has, or just full control over every little detail. That’s when building your own custom theme starts to make sense.
Now, I won’t lie to you, this involves a bit of coding. But don’t let that scare you off. If you’re comfortable with basic HTML and CSS, and willing to learn a little PHP along the way, building a simple custom theme is very achievable, even for a beginner-ish developer.
Let’s walk through the whole process together, step by step, in plain language.
What Exactly Is a WordPress Theme?
Let’s start with the basics, just so we’re on the same page.
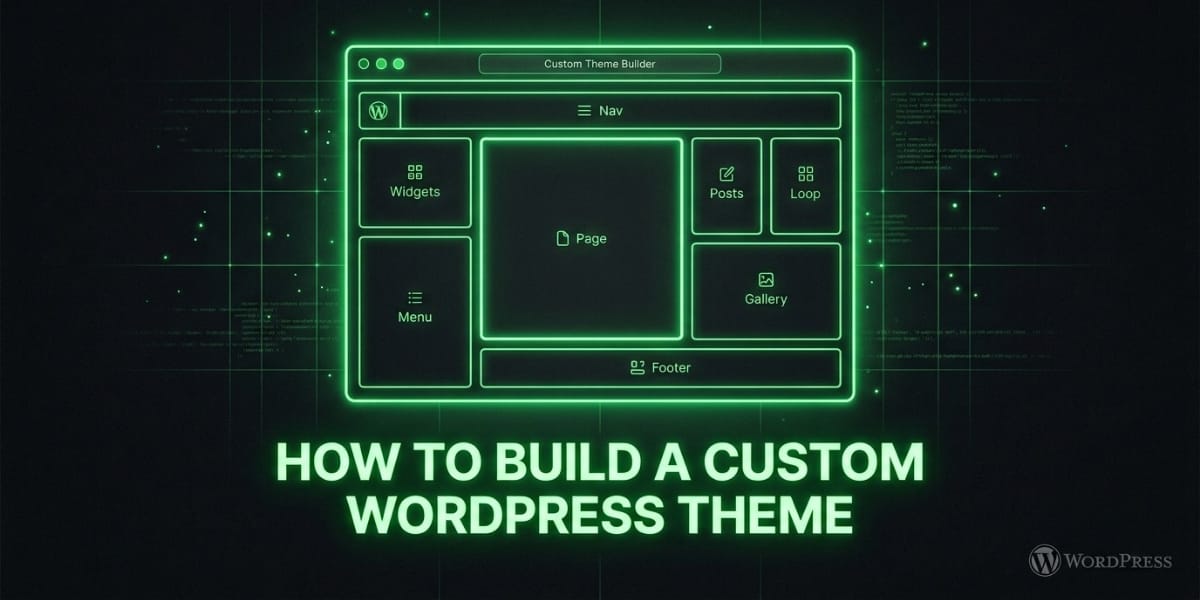
A WordPress theme is essentially a collection of files that control how your website looks and behaves. This includes things like your layout structure, colors, fonts, and how different types of content (like blog posts, pages, or products) get displayed.
When you build a custom theme, you’re basically creating that entire collection of files yourself, rather than relying on someone else’s pre built design.
Do You Actually Need a Custom Theme?
Before diving in, it’s worth asking yourself honestly whether you really need a fully custom theme, or if a child theme (which we’ll cover in a bit) might actually be a better fit.
Consider building a custom theme from scratch if:
- You want complete control over every aspect of design and functionality
- You have specific, unique requirements that pre made themes can’t easily handle
- You’re building this as a long term project or for a client with very specific needs
- You want to learn WordPress development on a deeper level
If you just want to tweak an existing design a bit, a child theme might save you a lot of time and effort instead.
What You’ll Need Before Starting
Here’s what to have ready before jumping into actual development:
Basic knowledge of HTML, CSS, and PHP. You don’t need to be an expert, but understanding the basics will make this process significantly smoother.
A local development environment. Tools like Local by Flywheel, XAMPP, or MAMP let you build and test your theme on your own computer before uploading it to a live server.
A code editor. Something like Visual Studio Code, which is free and widely used, works great for this.
A clear design plan. Sketch out roughly what you want your site to look like before writing any code. This saves a lot of back and forth guessing later.
Understanding the Basic File Structure
Every WordPress theme needs a few essential files to function properly. Here’s a simple breakdown of the core files you’ll typically start with:
style.css This file contains your theme’s styling information, and also includes a special comment block at the top that tells WordPress basic details about your theme, like its name and version.
index.php This acts as the main fallback template file, used when WordPress can’t find a more specific template for the current page.
functions.php This file lets you add custom functionality to your theme, like enabling specific features or registering menus and widgets.
header.php Contains the code for your site’s header section, usually including your logo, navigation menu, and any top-of-page elements.
footer.php Contains the code for your site’s footer section, usually including copyright information, additional links, or widgets.
These files work together, with WordPress pulling pieces from each depending on what page or content is being displayed.
Step 1: Set Up Your Theme Folder
Inside your WordPress installation, navigate to the folder path wp-content/themes. This is where all your installed themes live, and it’s where you’ll create a new folder for your custom theme.
Give your folder a clear, simple name, like “my-custom-theme,” avoiding spaces or special characters.
Step 2: Create the Style Sheet
Inside your new theme folder, create a file called style.css. At the very top of this file, add a comment block like this:
/*
Theme Name: My Custom Theme
Theme URI:
Author: Your Name
Description: A custom WordPress theme built from scratch
Version: 1.0
*/
This comment block is required, since it’s how WordPress identifies your theme and displays its details in the admin dashboard.
Step 3: Create the Index File
Next, create an index.php file in the same folder. This will act as your main fallback template. At this early stage, it can be very simple, just to confirm everything is working:
<!DOCTYPE html>
<html>
<head>
<title>My Custom Theme</title>
</head>
<body>
<h1>Hello, this is my custom theme!</h1>
</body>
</html>
At this point, you can actually go into your WordPress dashboard, navigate to Appearance, then Themes, and you should see your new theme available to activate. Once activated, your site will display exactly what’s in this basic index.php file.
Step 4: Add the Header and Footer
Now let’s start breaking things into reusable pieces, rather than putting everything into one single file.
Create a header.php file with your site’s header content, and a footer.php file with your footer content. Then, in your index.php file, replace the static HTML with template tags that pull in these files:
<?php get_header(); ?>

<h1>Welcome to my custom theme!</h1>

<?php get_footer(); ?>
This approach means your header and footer stay consistent across every page, since they’re being pulled in from these separate files rather than repeated manually everywhere.
Step 5: Add the Loop
The “Loop” is one of the most important concepts in WordPress theme development. It’s essentially the code that pulls in and displays your posts or pages dynamically.
Here’s a simple example of what the Loop looks like inside index.php:
<?php get_header(); ?>

<?php if (have_posts()) : while (have_posts()) : the_post(); ?>

<h2><?php the_title(); ?></h2>
<div><?php the_content(); ?></div>

<?php endwhile; else : ?>
<p>No content found.</p>
<?php endif; ?>

<?php get_footer(); ?>
This code checks if there are posts or pages to display, and if so, loops through them, showing the title and content for each one.
Step 6: Add Theme Support Features
Inside your functions.php file, you can enable various theme features and functionalities. Here’s a simple example:
<?php
function my_custom_theme_setup() {
add_theme_support('title-tag');
add_theme_support('post-thumbnails');
register_nav_menus(array(
'primary' => __('Primary Menu')
));
}
add_action('after_setup_theme', 'my_custom_theme_setup');
?>
This example enables automatic title tags, featured image support, and registers a navigation menu location, all common features most themes need.
Step 7: Style Your Theme
Now it’s time to actually make your theme look good, using the style.css file you created earlier. This is where your CSS knowledge comes into play, styling your header, footer, content areas, fonts, colors, and overall layout.
At this stage, it helps to have your design plan handy, translating your sketched-out ideas into actual CSS rules.
Step 8: Create Additional Template Files
As your theme develops, you’ll likely want more specific template files for different types of content, such as:
page.php for individual pages
single.php for individual blog posts
archive.php for category or tag archive pages
404.php v for your custom “page not found” error page
WordPress automatically uses these more specific template files when appropriate, falling back to index.php only when a more specific template doesn’t exist.
Step 9: Make It Responsive
Don’t forget about mobile users. Use CSS media queries to ensure your custom theme looks good and functions properly across different screen sizes, from desktop monitors down to smaller phone screens.
Test your theme regularly on actual mobile devices throughout development, rather than waiting until the very end to check mobile responsiveness.
Step 10: Add WooCommerce Compatibility (If Needed)
If you’re planning to use your custom theme for an ecommerce store, you’ll need to add specific support for WooCommerce, since it doesn’t work automatically with custom themes by default.
In your functions.php file, add:
<?php
function my_custom_theme_woocommerce_support() {
add_theme_support('woocommerce');
}
add_action('after_setup_theme', 'my_custom_theme_woocommerce_support');
?>
You’ll also likely need to create or override specific WooCommerce template files to properly style product pages, cart pages, and checkout, since WooCommerce has its own template structure that themes need to account for.
Step 11: Test Thoroughly
Before considering your custom theme finished, test it extensively:
- Check every page type: homepage, blog posts, pages, archives, and your 404 page
- Test on multiple browsers, like Chrome, Firefox, and Safari
- Test on both desktop and mobile devices
- Check loading speed, since custom code can sometimes introduce unexpected performance issues
- If applicable, test all WooCommerce pages, including product pages, cart, and checkout
Common Mistakes to Avoid
Skipping the local testing environment. Always build and test locally first, rather than experimenting directly on a live website.
Hardcoding content instead of using template tags. This makes your theme far less flexible and harder to maintain over time.
Ignoring WordPress coding standards. Following WordPress’s established coding standards makes your theme more compatible with plugins and future WordPress updates.
Forgetting security basics. Always sanitize and escape any dynamic content properly to avoid security vulnerabilities.
Not testing on real devices. Browser resizing tools are helpful, but they don’t always accurately represent how your theme performs on actual mobile devices.
Should You Build from Scratch or Use a Starter Theme?
If building a theme completely from scratch feels overwhelming, consider using what’s called a “starter theme” instead. These are minimal, bare bones themes designed specifically as a foundation to build upon, rather than fully finished designs.
Popular starter themes include Underscores (often called “_s”), and Sage, which includes some more modern development tools built in.
Starting from one of these can save you time on basic setup, while still giving you full control over the actual design and functionality you build on top.
Final Thoughts
Building a custom WordPress theme takes more effort than simply installing a pre made one, but it gives you complete control over exactly how your website looks and functions. It’s also a fantastic way to deepen your understanding of how WordPress actually works behind the scenes.
Start simple. Get comfortable with the basic file structure and the Loop first, then gradually add more complexity as you become more confident. Don’t feel pressured to build every feature perfectly on your first attempt.
Like most things in web development, this gets easier with practice. Your first custom theme won’t be perfect, and that’s completely fine. Every experienced WordPress developer started exactly where you are now, learning one small piece at a time.