How to Build an Ecommerce Website with WordPress
Alright, so you’ve decided you want to build an online store using WordPress. Good choice. But now you’re probably staring at your screen wondering, “Okay… where do I even start?”
Don’t worry. I’m going to walk you through this step by step, just like I’d explain it to a friend over coffee. No confusing jargon, no skipping steps. By the end of this, you’ll know exactly what to do to get your store up and running.
Let’s get into it.
Step 1: Understand What You’re Actually Building
Before touching any buttons, let’s get clear on what’s happening behind the scenes.
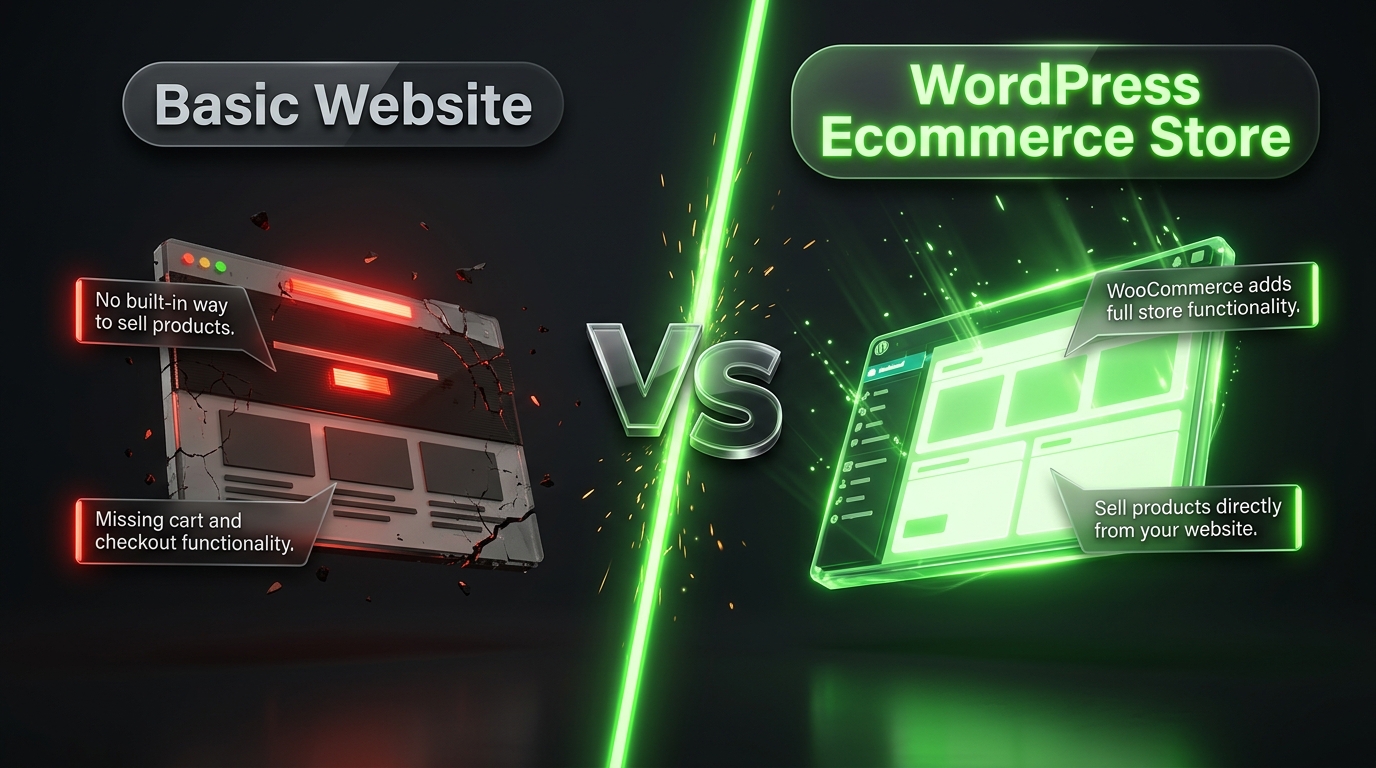
WordPress by itself is just a website builder. It doesn’t come with shopping cart features built in. To turn it into an online store, you need a plugin called WooCommerce. It’s free, it’s made by the same people behind WordPress.com, and it’s what adds product pages, a cart, checkout, and payment options to your site.
So your ecommerce website is really two things working together:
- WordPress the base of your website
- WooCommerce the shop functionality added on top
Once that clicks, everything else makes a lot more sense.
Step 2: Pick a Domain Name
Your domain name is your store’s address on the internet, like “yourstorename.com.” This is one of the first things customers notice, so pick something short, easy to spell, and easy to remember.
A few quick tips:
- Avoid numbers and hyphens if possible
- Keep it short and brandable
- Try to get the “.com” version if it’s available
- Make sure it’s not too close to an existing brand name
You’ll register your domain through a domain registrar. Prices typically range from $10 to $20 per year, though some hosting companies throw in a free domain for the first year when you sign up.
Step 3: Choose Web Hosting
Hosting is where your website actually “lives.” Think of it like renting land to build your house on. Without hosting, your website has nowhere to exist online.
For WordPress ecommerce sites, look for hosting that offers:
- Good speed and uptime (99.9% or higher)
- One click WordPress installation
- SSL certificates (that’s the “https” security lock you see in browsers)
- Good customer support, ideally 24/7
Some hosting providers even offer plans specifically optimized for WooCommerce stores, which can save you some setup headaches later.
Step 4: Install WordPress
Once your hosting is sorted, installing WordPress is usually quick. Most hosting providers have a one-click installer right in their dashboard. You click a button, wait a minute or two, and boom WordPress is live on your domain.
If your host doesn’t offer one click install, you can still install WordPress manually by downloading it from wordpress.org and uploading it to your hosting account. It takes a bit longer, but it’s still fairly simple.
Step 5: Install and Set Up WooCommerce
Now for the fun part turning your website into an actual store.
Here’s how it works:
- Log into your WordPress dashboard
- Go to Plugins, then “Add New”
- Search for “WooCommerce”
- Click Install, then Activate
Once activated, WooCommerce will walk you through a setup wizard. This helps you configure things like:
- Your store’s location and currency
- What kind of products you’re selling (physical, digital, or both)
- Payment options
- Shipping settings
- Taxes
Take your time here. These are the foundational settings for your whole store, so getting them right early on saves confusion later.
Step 6: Choose an Ecommerce Friendly Theme
Your theme controls the design and layout of your store. Not every WordPress theme is built to handle WooCommerce well, so you want to pick one that’s specifically designed or tested for ecommerce use.
Look for a theme that is:
Fast loading. Speed affects both user experience and sales.
Mobile responsive. A huge chunk of shoppers browse and buy from their phones.
WooCommerce compatible. This ensures your product pages, cart, and checkout will display correctly.
Simple and clean. A cluttered design can distract or confuse shoppers.
Popular choices include Astra, Neve, OceanWP, and Flatsome. Many offer free versions that work perfectly fine for a starting store, with paid upgrades available if you want extra design options later.
Step 7: Add Your Products
This is where your store starts feeling real. In your WordPress dashboard, go to Products, then “Add New.”
For each product, you’ll want to include:
- A clear, descriptive title
- High quality photos, ideally from multiple angles
- A detailed but easy to read description
- Price and any sale pricing
- Stock quantity, if you’re tracking inventory
- Categories and tags, so products are easy to browse
Try to write descriptions that focus on benefits, not just specs. Instead of just listing “100% cotton,” explain why that matters, like “breathable, soft fabric that stays comfortable all day.”
Also, don’t rush your product photos. Clear, well-lit images make a massive difference in how trustworthy and professional your store looks.
Step 8: Set Up Payment Methods
Nobody’s buying anything if they can’t pay you. WooCommerce supports several popular payment gateways, including:
- PayPal widely trusted and easy to set up
- Stripe great for accepting credit and debit cards directly
- Square another solid option, especially if you also sell in person
Setting these up usually just involves creating an account with the payment provider and connecting it through your WooCommerce settings. Most of the process is guided, so you won’t be left guessing.
Make sure to test a sample transaction once everything is connected, just to confirm it’s working smoothly before your store goes live.
Step 9: Configure Shipping
If you’re selling physical products, shipping settings matter a lot.
WooCommerce lets you set:
- Flat rate shipping one fixed cost regardless of order size
- Free shipping often used as an incentive above a certain order total
- Local pickup great if you also serve local customers
- Real-time carrier rates calculated based on weight, size, and destination
You can also set different shipping zones, so customers in different countries or regions see different rates or delivery options.
If you’re selling only digital products, like ebooks or online courses, you can skip physical shipping entirely and set up automatic digital delivery instead.
Step 10: Set Up Taxes
Tax settings can feel intimidating, but WooCommerce simplifies this quite a bit. You can manually set your tax rates based on your location and legal requirements, or use a plugin that automatically calculates taxes based on your customer’s location.
It’s a good idea to double check your local tax laws or consult an accountant, especially if you plan to sell internationally, since tax rules vary a lot from place to place.
Step 11: Install Essential Plugins
Once the core store is running, a few extra plugins can seriously improve your website:
Security plugin protects against hacking attempts. Wordfence is a popular choice.
SEO plugin helps your store rank on Google. Yoast SEO or Rank Math are widely used.
Caching plugin improves loading speed. WP Rocket is a popular paid option.
Backup plugin automatically saves copies of your website. UpdraftPlus works well here.
Email marketing plugin helps you collect emails and send promotions later.
You don’t need to install everything at once. Start with security, SEO, and backups first, since those protect your store from day one.
Step 12: Test Everything Before Launch
Before you announce your store to the world, go through it yourself as if you were a customer.
Check for:
- Broken links or missing images
- Slow-loading pages
- Confusing navigation
- Mobile display issues
- A test purchase from start to finish
It’s much better to catch these problems yourself than to have a customer discover them first.
Step 13: Launch and Promote Your Store
Once everything looks good, it’s time to go live. But launching is really just the beginning.
To bring in your first customers, consider:
- Sharing your store on social media
- Running small paid ads to test what converts
- Reaching out to friends, family, or your existing audience
- Writing blog content around your products to help with SEO
- Collecting emails early and sending occasional updates or offers
Growth takes time, so don’t get discouraged if sales don’t pour in overnight. Consistency matters more than perfection.
Common Mistakes to Watch Out For
A few things that trip up new store owners:
Overloading on plugins. Every plugin can slow your site down. Only install what you truly need.
Skipping mobile testing. Always check how your store looks and functions on a phone.
Ignoring page speed. Slow websites lose customers fast.
Forgetting backups. Set these up early, before anything goes wrong.
Not testing checkout. Always place a test order yourself before launch.
Final Thoughts
Building an ecommerce website with WordPress might feel like a lot of steps at first, but once you break it down like this, it’s really just a series of small, manageable tasks.
Get your domain and hosting sorted, install WordPress and WooCommerce, choose a solid theme, add your products, set up payments and shipping, and test everything before going live.
Take it one step at a time. You don’t need to be a tech expert to build a great online store. You just need patience, a bit of curiosity, and a willingness to learn as you go.
Your store won’t be perfect on day one, and that’s okay. Most successful stores started exactly where you are right now.