How to Connect WordPress to Mailchimp
Building an email list is one of the smartest things you can do for your WordPress site, and Mailchimp remains one of the most popular platforms for actually sending those emails. The problem is that WordPress and Mailchimp do not talk to each other automatically. You need to connect the two so that when someone fills out a form on your site, their information lands safely inside your Mailchimp audience.
The good news is that this connection is much easier to set up than most people expect. You do not need to know how to code, and the whole process can usually be finished in under fifteen minutes. In this guide we will walk through everything from creating your Mailchimp account to placing a working signup form on your site, along with a few tips to help your new list actually grow.
Why Connect WordPress to Mailchimp
Before jumping into the steps, it helps to understand what this connection actually gives you.
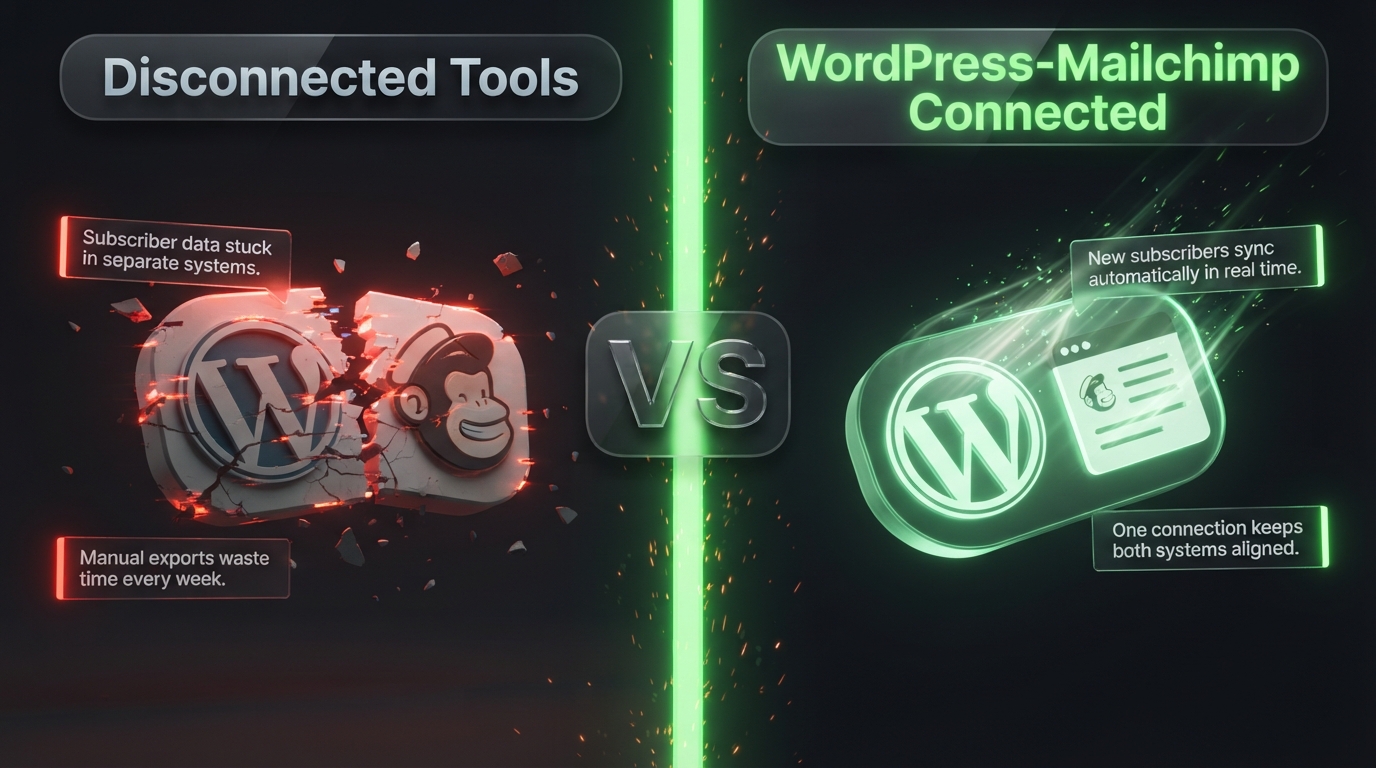
Once WordPress and Mailchimp are linked, any signup form you place on your site automatically feeds new subscribers straight into your Mailchimp audience. You do not have to manually export contacts or copy and paste email addresses into a spreadsheet. New subscribers show up in Mailchimp within seconds of submitting a form, ready to receive your welcome email, newsletter, or automated sequence.
This also opens the door to segmentation and automation. Once a subscriber is inside Mailchimp, you can tag them based on which form they used, send them a welcome series, or add them to a specific audience group depending on their interests. None of that is possible if your site and your email platform are not connected in the first place.
What You Will Need Before You Start
A few things should be in place before you begin the setup.
First, you need an active Mailchimp account. A free plan is enough to get started, and it covers a generous number of contacts before you would need to upgrade. Second, you need admin access to your WordPress dashboard so you can install and activate plugins. Third, it helps to already have an audience created inside Mailchimp, since your WordPress forms will need somewhere to send new subscribers.
With those three things ready, you can move on to the actual connection process.
Step 1: Create or Log Into Your Mailchimp Account
If you do not already have a Mailchimp account, head to their website and sign up using your email address. The process asks for basic information about your business and your sending habits, and it typically takes just a couple of minutes.
If you already use Mailchimp, simply log in as normal. Either way, make sure you land on your main dashboard before continuing, since you will need to grab an API key from your account settings in a later step.
Step 2: Set Up Your Audience in Mailchimp
Inside Mailchimp, an audience is essentially your subscriber list. If this is your first time using the platform, you likely already have a default audience created for you, but it is worth double checking the settings.
Go to the Audience section of your dashboard and review the audience name, default from email address, and default from name. These details matter because they appear in every email you send, so make sure they represent your brand accurately. If you plan to run more than one type of list, such as a general newsletter and a separate list for a specific product, you can create additional audiences here as well.
Step 3: Generate Your Mailchimp API Key
To connect WordPress and Mailchimp, you need an API key, which acts like a secure password that allows the two platforms to communicate.
From your Mailchimp dashboard, click on your profile icon in the bottom left corner and choose Account and Settings. From there, look for the Extras menu and select API Keys. On this page you will see an option to create a new key. Click it, and Mailchimp will generate a long string of letters and numbers. Copy this key and keep it somewhere safe, since you will paste it into WordPress in the next step. Treat this key like a password, since anyone with access to it could manage your Mailchimp account.
Step 4: Install a Mailchimp Plugin on WordPress
Now switch over to your WordPress dashboard. Go to Plugins, then Add New, and search for Mailchimp for WordPress, often listed under the name MC4WP. This plugin has a strong reputation, a large number of active installs, and consistently positive reviews, which makes it a safe and reliable choice.
Click Install, and once the installation finishes, click Activate. A new menu item labeled MC4WP will appear in your WordPress sidebar.
Step 5: Connect Your Mailchimp Account to WordPress
Click on the new MC4WP menu and look for a settings or API key section. Paste the API key you generated back in Step 3 into the provided field and save your changes.
Within a moment, the plugin should confirm a successful connection and display the audience or audiences tied to your Mailchimp account. If you see an error message instead, double check that you copied the entire API key without any extra spaces, since a partial key is the most common cause of connection failures.
Step 6: Create Your Signup Form
With the connection confirmed, it is time to build the actual form that visitors will use to subscribe.
Inside the plugin settings, look for a Forms section. Most Mailchimp plugins for WordPress include a basic default form that asks for a name and email address, and you can customize the fields, labels, and button text to match your site. Once you are happy with the design, the plugin will generate a shortcode, something like a bracketed code snippet, that you can paste into any page, post, or widget area.
Common places to add this shortcode include the sidebar, the footer, the end of a blog post, or a dedicated landing page built specifically to grow your list. Many site owners place the form in more than one location to maximize the chances of a visitor noticing it.
Step 7: Test Your Form
Never skip this step. Open your site in a private or incognito browser window, fill out the form using a real but separate email address, and submit it. Then head back to Mailchimp and check your audience to confirm the new contact appears there correctly.
If the subscriber shows up as expected, congratulations, your WordPress site and Mailchimp account are now fully connected. If not, revisit your API key and form settings to track down the issue before moving forward.
Step 8: Set Up a Welcome Automation
Once your form is collecting subscribers, consider setting up a simple welcome email inside Mailchimp. Under the Automations section of your dashboard, Mailchimp offers a pre built welcome series template that sends automatically whenever someone joins your audience.
A short welcome email introduces your brand, sets expectations for what kind of content subscribers will receive, and often includes a small incentive like a discount code or a free resource. This single automated email tends to get some of the highest open rates of any message you will ever send, so it is worth the few extra minutes to set up.
Tips for Growing Your List After the Connection Is Live
Getting WordPress and Mailchimp connected is only half the job. The other half is actually convincing visitors to subscribe.
Offer something valuable in exchange for an email address. A simple checklist, template, or discount code tends to perform far better than a generic request to join your newsletter.
Place your form where attention naturally lands. The end of a blog post, right after someone finishes reading and feels engaged, is one of the strongest spots for a signup form.
Keep the form short. Asking only for an email address, or an email address plus a first name, converts noticeably better than a long form with multiple fields.
Test different designs. Popups, inline forms, and slide ins each perform differently depending on your audience, so it is worth experimenting to see what your visitors respond to best.
Troubleshooting Common Issues
A few problems come up often enough that they deserve a quick mention.
If your API key will not save, make sure there are no extra spaces before or after the string when you paste it into WordPress. If subscribers are not showing up in Mailchimp after submitting your form, check your spam or junk settings inside Mailchimp, since some submissions can occasionally be filtered depending on your account settings. If the shortcode is not displaying anything on your page, confirm that you copied the exact code shown in the plugin settings and that no page builder plugin is stripping it out.
Most connection issues come down to a small copy and paste mistake, so a careful second look usually solves the problem quickly.
Alternative Ways to Connect WordPress and Mailchimp
The MC4WP plugin covered above is the most common route, but it is not the only one. Depending on your setup, one of these alternatives might suit you better.
Contact Form 7 with a Mailchimp addon. If you already use Contact Form 7 for your general contact forms, a dedicated addon lets you send those same submissions straight into Mailchimp without building a separate signup form.
Gravity Forms with the Mailchimp addon. Gravity Forms is a premium form builder favored by many agencies and business sites. Its official Mailchimp addon supports conditional logic, meaning you could sync a contact to a specific audience group based on how they answered a question in your form.
WooCommerce with Mailchimp. If your WordPress site runs an online store, the official Mailchimp for WooCommerce plugin syncs customers, orders, and abandoned carts directly into Mailchimp, which opens the door to automated purchase follow ups and product recommendation emails.
Page builder integrations. Many popular page builders, including Elementor and Divi, include native Mailchimp form widgets. If you build your pages visually, this can save you a step compared to pasting a shortcode manually.
Whichever route you choose, the underlying idea is the same: a plugin captures the submission, an API key authorizes the connection, and Mailchimp receives the new contact.
Frequently Asked Questions
Is Mailchimp free to use with WordPress? Yes. Mailchimp offers a free plan that covers a set number of contacts and monthly sends, and every plugin mentioned in this guide works fine on that free tier. You only need to upgrade once your list grows past the free plan limits or you want access to more advanced automation features.
Do I need coding knowledge to connect WordPress to Mailchimp? No. Every step in this guide involves clicking through dashboards and pasting a key, with no code required. The only technical looking part is the API key itself, and that is simply copied and pasted, not written by hand.
Can I connect more than one WordPress form to the same Mailchimp audience? Yes. You can create as many forms as you like and point them all to the same audience, or split them across different audiences if you want to keep certain subscriber groups separate.
Why is my new subscriber not showing up in Mailchimp? This usually comes down to a copy and paste issue with the API key, a caching plugin interfering with form submissions, or double opt in being enabled, which requires the subscriber to confirm their email before they officially appear in your audience. Checking your Mailchimp double opt in setting is a good first troubleshooting step.
What is double opt in and should I use it? Double opt in means a new subscriber must click a confirmation link in an automatic email before they are fully added to your list. It results in a smaller but more engaged audience since every contact has actively confirmed interest. Many site owners turn it on to protect their sender reputation, though it does add one extra step for the subscriber.
Final Thoughts
Connecting WordPress to Mailchimp is a small setup task that pays off for a long time afterward. Once the two platforms are linked, every new visitor who fills out your form becomes a subscriber automatically, with no manual work required on your end.
Take the time to set up your audience correctly, generate a secure API key, install a trusted plugin, and test everything before considering the job done. From there, focus your energy on what matters most, creating content and offers compelling enough that visitors actually want to join your list in the first place.