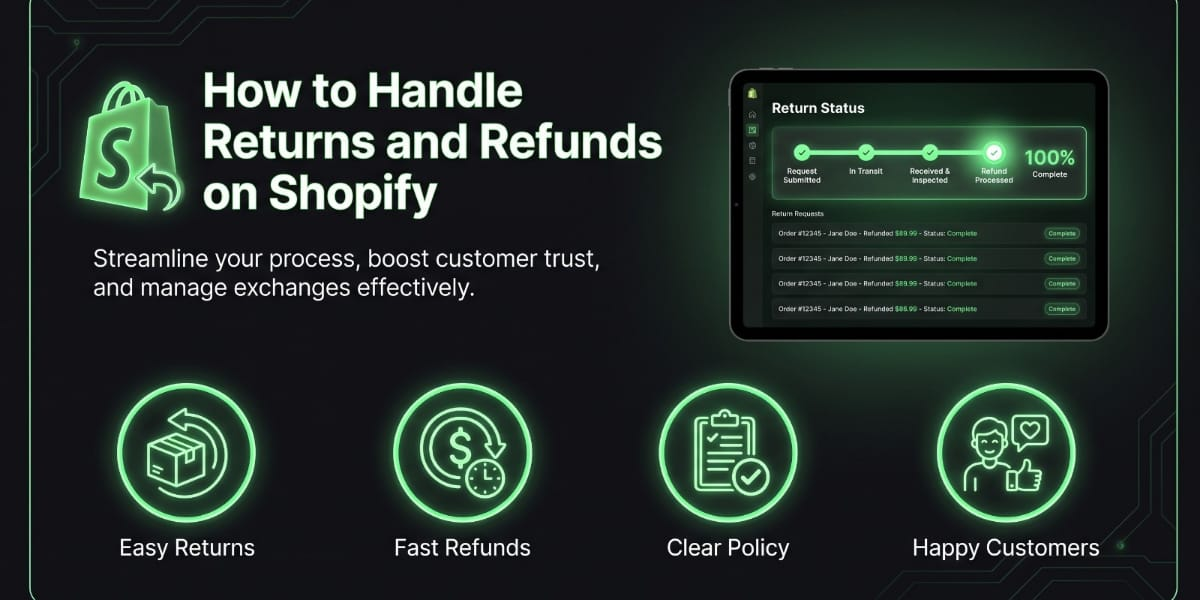
How to Handle Returns and Refunds on Shopify
Let’s be honest nobody starts an online store dreaming about returns and refunds. You’re excited about products, branding, marketing, maybe even your first sale notification sound. But here’s the truth: if you sell online, returns and refunds are just part of the deal. Every store gets them, big or small, no matter how great your products are.
The good news? Shopify actually makes this whole process pretty manageable once you know what you’re doing. In this guide, we’re going to walk through everything how returns and refunds work on Shopify, how to set up a policy that protects your business, how to actually process a return step by step, which apps can save you hours of manual work, and how to turn returns from a headache into something that actually builds customer trust.
Grab a coffee, and let’s talk through this like you’re setting up your own store right now.
Why Returns and Refunds Actually Matter More Than You Think
A lot of new store owners treat their return policy like an afterthought something they’ll “figure out later.” That’s a mistake, and here’s why.
Studies on online shopping behavior consistently show that customers check the return policy before they buy, especially for clothing, shoes, electronics, or anything they can’t try on in person. If your policy is confusing, hidden, or nonexistent, people will simply add to cart and then bounce. On the flip side, a clear, fair, and easy return process can actually increase conversions because it removes the risk from the buyer’s mind.
So really, your returns and refunds process isn’t just “customer service.” It’s part of your sales funnel. It’s part of your brand. And when it’s handled well, it becomes a competitive advantage.
Step 1: Understand the Difference Between Returns, Refunds, and Exchanges
Before we dive into the Shopify mechanics, let’s get our terms straight, because people mix these up constantly.
- Return: The customer sends the product back to you.
- Refund: You give the customer their money back (this can happen with or without a physical return).
- Exchange: The customer sends back one item and receives a different one (different size, color, or product entirely).
Shopify treats each of these a little differently in the backend, and understanding the difference will help you set up cleaner workflows and write a policy that doesn’t confuse your customers.
Step 2: Set Up a Clear Return and Refund Policy
This is your foundation. Before you process a single return, you need a written policy that lives on your store usually as its own page, and often linked in your footer, product pages, and checkout.
Here’s what a solid Shopify return policy should include:
1. The return window How many days does a customer have to request a return? 14, 30, 60 days? Be specific.
2. Condition requirements Does the item need to be unused, with tags on, in original packaging? Spell it out.
3. What’s non returnable Final sale items, personalized products, underwear, swimwear, or perishable goods often fall into this category.
4. Who pays for return shipping This is huge. Some stores offer free returns to build trust, others charge a small restocking or shipping fee.
5. Refund method Store credit, original payment method, or exchange only?
6. Processing time Let customers know refunds typically take 5 to 10 business days to appear, depending on their bank.
Shopify actually has a free tool for this. If you go to Settings > Policies in your Shopify admin, you’ll find a built in refund policy generator. It creates a solid legal template you can customize with your own specific rules. It’s not a substitute for a lawyer if you’re a huge operation, but for most small and medium stores, it does the job well.
Pro tip: keep the language simple. Nobody wants to read legal jargon before deciding whether to buy your candles or hoodies. Write it the way you’d explain it to a friend.
Step 3: How to Actually Process a Refund on Shopify (Step by Step)
Okay, here’s the part everyone actually wants to know the nuts and bolts of doing this inside your Shopify admin.
Refunding an Order Fully or Partially
- Go to your Shopify admin.
- Click Orders and select the order you want to refund.
- Click Refund at the top right of the order page.
- Choose the items you’re refunding (you can refund the whole order or just specific items this is great for partial refunds).
- Shopify will automatically calculate the refund amount, including tax, but you can adjust this manually if needed.
- Decide whether you want to restock the returned items back into your inventory. There’s a checkbox for this.
- Add a reason for the refund (helpful for your own records and analytics later).
- Click Refund, and Shopify will send the money back to the customer’s original payment method automatically.
That’s it. Shopify handles the actual money movement through your payment processor (Shopify Payments, Stripe, PayPal, etc.), so you don’t need to manually issue anything outside the platform.
Issuing Store Credit Instead of a Refund
If your policy is store credit only, Shopify has a native Store Credit feature built right in.
- Go to the order, click Refund.
- Instead of choosing “Refund to original payment method,” select Issue store credit.
- Set the amount and expiration date if you want one.
- The customer gets a gift card code automatically emailed to them.
This is a great option if you want to retain revenue in your store rather than losing it to a refund, while still keeping the customer happy.
Step 4: Using Shopify’s Built-In Return Management (Return Center)
If you’re on a Shopify plan that includes it, Shopify has an actual Returns feature inside the Orders section that lets you manage the whole return lifecycle, not just the refund at the end.
Here’s how it flows:
- From the order page, click Return items instead of jumping straight to refund.
- Select which items are being returned and the reason (wrong size, damaged, changed mind, etc.).
- Choose whether you want to generate a prepaid return shipping label right there through Shopify Shipping.
- Shopify creates a “Return” record separate from the order, so you can track its status: Requested, Label printed, In transit, Received, Refunded.
- Once the item physically arrives back at your warehouse, you mark it as received, inspect it, and then issue the refund or exchange.
This is way more organized than just eyeballing your inbox for return requests, especially once your order volume starts climbing. It also gives customers visibility into where their return stands, which cuts down on “where’s my refund?” support emails significantly.
Step 5: Automating Returns With Apps (Because Manual Work Gets Old Fast)
Once you’re doing more than a handful of returns a week, doing everything manually inside the Shopify admin starts eating your time. This is where return management apps come in. The Shopify App Store has quite a few solid ones, and most work on a similar model: the customer submits a return request through a self service portal, and you approve, deny, or automate the whole thing based on rules you set.
Some popular categories of apps to look into:
- Self service return portals Let customers request a return or exchange without emailing you first. They pick the reason, choose refund or exchange, and get instructions automatically.
- Automated label generation Instantly creates a return shipping label based on your rules (free returns, customer paid, or a flat fee).
- Exchange first tools These are designed to nudge customers toward exchanging for a different size or product instead of a straight refund, which helps you retain revenue instead of losing the sale entirely.
- Returns analytics Track your most returned products, most common return reasons, and return rate by SKU, so you can fix the actual product or listing issue causing returns in the first place.
If you’re just starting out, you honestly don’t need an app right away Shopify’s native return tools cover the basics fine. But as your order volume grows, a dedicated app can save you serious hours and reduce the number of support tickets that land in your inbox.
Step 6: Handling Tricky Situations (Because They Will Happen)
Let’s talk through some real scenarios you’ll likely run into.
The customer says the item arrived damaged. Ask for a photo before issuing a refund or replacement this protects you and speeds up resolution. Many stores skip requiring the item back in this case since return shipping often costs more than the item’s value.
The customer wants a refund after the return window closed. This is a judgment call. Some stores stick strictly to policy; others make exceptions for loyal customers or small dollar amounts to preserve goodwill. There’s no universally “right” answer here it depends on your margins and brand values.
The item was returned used or without tags, against your policy. You’re allowed to deny the return or offer a partial refund. Just make sure your policy explicitly states this so you’re not making up rules on the spot, which can lead to disputes and even chargebacks.
A customer disputes the charge with their bank instead of asking you for a refund. This becomes a “chargeback,” and it’s handled outside your normal refund flow, directly with your payment processor. Shopify lets you submit evidence (tracking numbers, communication history, policy screenshots) to fight chargebacks you believe are unfair.
Step 7: Reducing Returns in the First Place
Handling refunds well is important, but preventing unnecessary returns is even smarter. A few things that genuinely move the needle:
- Better product photos from multiple angles, including in real life use, not just studio shots.
- Accurate, detailed sizing charts for clothing and shoes sizing confusion is one of the single biggest return drivers in ecommerce.
- Honest product descriptions. Overselling a product just leads to disappointment and a return later.
- Customer reviews with photos, so shoppers can see the real product before buying.
- Clear packaging and unboxing instructions for anything that requires assembly, since “damaged in transit” complaints are often actually assembly confusion.
Every return you prevent saves you shipping costs, restocking time, and the emotional energy of dealing with an unhappy customer.
Step 8: Turning Your Return Policy Into a Trust Signal
Here’s a mindset shift worth making: instead of treating your return policy as a necessary evil, treat it as marketing.
Brands with generous, clearly explained return policies often see higher conversion rates because customers feel safe buying. You don’t have to offer free returns forever if your margins can’t support it — but you do need to be upfront and easy to understand. A simple, honest policy beats a stingy, confusing one every time.
Consider adding trust badges near your “Add to Cart” button like “Easy 30-Day Returns” or “Free Exchanges.” These small visual cues reduce purchase anxiety more than people realize.
Quick Recap: Your Shopify Returns and Refunds Checklist
- Write a clear, simple return and refund policy and publish it on its own page.
- Use Shopify’s Settings > Policies tool to generate a starting template.
- Learn the refund flow: Orders > select order > Refund > choose items > decide on restocking > confirm.
- Use the built-in Returns feature for full return lifecycle tracking, including prepaid labels.
- Consider store credit as a middle-ground option between full refund and no refund.
- Add a return management app once volume grows, to automate self-service requests.
- Handle tricky situations (damaged items, late returns, chargebacks) with consistent, documented rules.
- Focus on reducing returns through better photos, sizing info, and honest descriptions.
- Treat your return policy as a trust-building tool, not just a legal formality.
Final Thoughts
Returns and refunds will never be the fun part of running a Shopify store, but they don’t have to be stressful either. Once you’ve got a clear policy, a solid process inside your Shopify admin, and maybe an app to handle the repetitive stuff, this whole side of your business runs on autopilot most of the time.
And honestly, how you handle a return often matters more to a customer than the return itself. Handle it with fairness and a bit of warmth, and you’ll turn what could’ve been a lost customer into someone who trusts your store enough to come back and buy again.
That’s really the whole game with ecommerce — not avoiding every problem, but handling the ones that come up in a way that keeps people on your side.