How to Optimize Images for WordPress
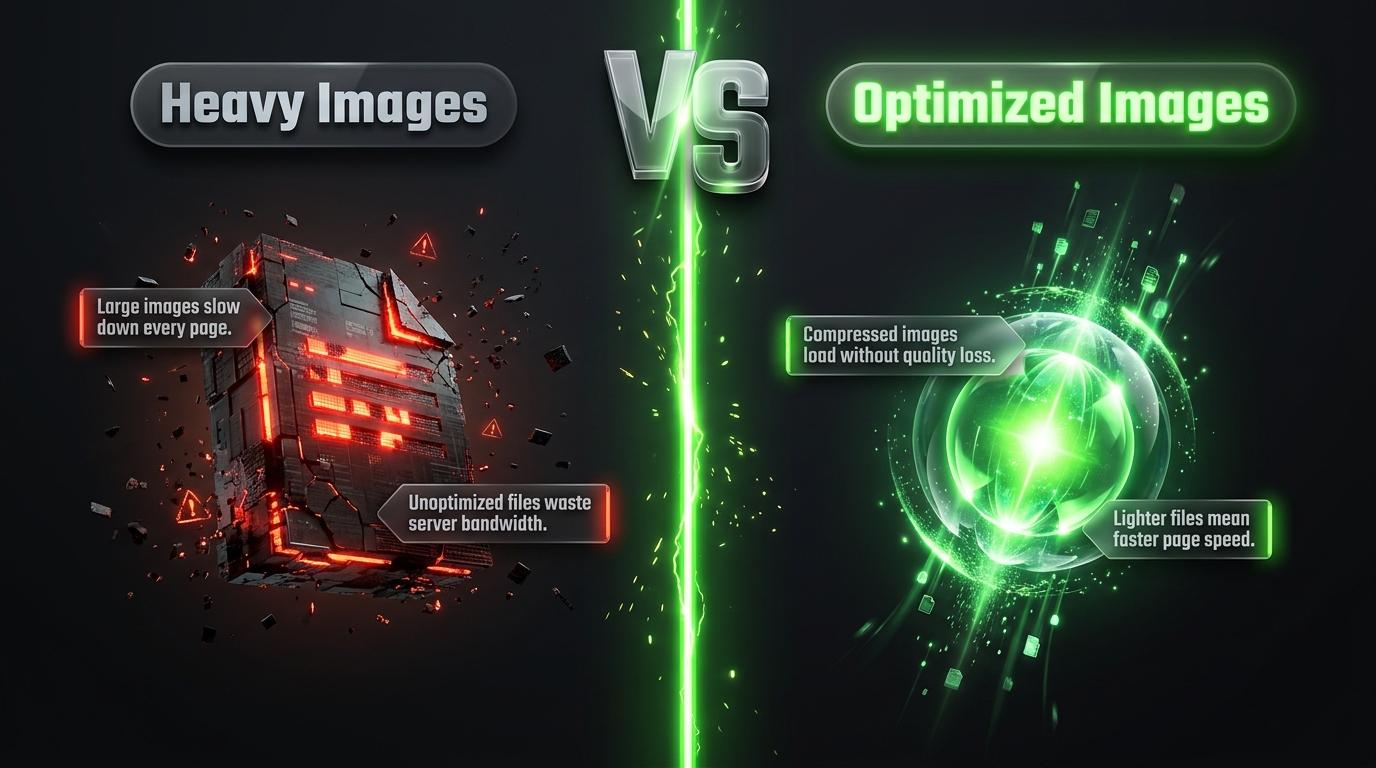
Images make websites more engaging but they’re also the single biggest reason most WordPress sites load slowly. A handful of unoptimized photos can easily add several seconds to your page load time, and that’s before factoring in mobile visitors on slower connections.
The good news is that image optimization is one of the most beginner friendly speed improvements you can make. You don’t need design skills or coding knowledge just the right process and a few good tools. This guide walks through exactly how to get your images as light and fast as possible without sacrificing visible quality.
Why Image Optimization Matters
Before getting into the how, it’s worth understanding why this specific task deserves priority over other speed fixes.
- Images are usually the heaviest part of a page. On a typical webpage, images account for a significant share of total page weight often more than all other elements combined.
- Speed affects rankings. Search engines factor page speed into rankings, particularly for mobile searches.
- Speed affects conversions. Slower pages consistently show higher bounce rates and lower conversion rates, especially on ecommerce sites where product photos are central to the experience.
- Mobile visitors are especially sensitive. Large images that load fine on a fast office connection can take noticeably longer on mobile data, where a meaningful share of your traffic likely comes from.
Put simply: optimizing images is one of the highest-leverage, lowest-effort things you can do to speed up your site.
Understanding the Three Core Techniques
Image optimization for WordPress generally comes down to three techniques, often used together:
- Compression reducing file size without significantly changing visible quality
- Resizing matching the image’s actual dimensions to how it will be displayed
- Format selection choosing the most efficient file type for each image
Let’s go through each one.
1. Compression: Smaller Files, Same Look
Compression reduces an image’s file size by removing unnecessary data. There are two main types:
Lossless Compression
This reduces file size without any visible reduction in quality, by removing redundant metadata and optimizing how the image data is stored. The savings are typically modest but come with zero visual tradeoff.
Lossy Compression
This reduces file size more aggressively by selectively discarding some image data, resulting in a visibly smaller file with a usually imperceptible (at reasonable settings) reduction in quality. Most image optimization plugins let you choose your compression level, balancing file size against quality.
For most websites, a moderate level of lossy compression offers the best tradeoff meaningfully smaller files with no noticeable quality loss to the average visitor.
Popular Compression Plugins
- Smush a widely used, beginner friendly option with both free and premium tiers
- ShortPixel offers strong compression with a generous free tier based on monthly image credits
- Imagify created by the same team behind WP Rocket, with straightforward integration
- EWWW Image Optimizer offers both cloud based and local compression options
Most of these plugins can automatically compress new images as you upload them, and offer a bulk optimization tool to compress your existing media library all at once.
2. Resizing: Match Dimensions to Display Size
One of the most common and most easily avoided image mistakes is uploading a photo far larger than it will ever actually be displayed. A 4000-pixel-wide photo straight from a modern camera or phone, displayed at 800 pixels wide on your page, forces visitors to download five times more data than necessary.
How to fix this
- Resize images before uploading, using an editing tool to match your actual display width (checking your theme’s content area width is a good starting point).
- Let WordPress generate multiple sizes automatically. WordPress creates several image sizes on upload (thumbnail, medium, large) and serves the appropriately sized version depending on where it’s displayed, provided your theme is coded to take advantage of this.
- Use responsive images. Modern WordPress themes typically implement the
srcsetattribute, which allows browsers to automatically choose the most appropriately sized image version based on the visitor’s screen size and pixel density.
A Simple Rule of Thumb
Check the maximum width your content area displays images at (often somewhere between 600–1200 pixels for standard blog content), and avoid uploading images significantly wider than that, unless you specifically need the extra resolution for something like a background image or a zoomable product photo.
3. Format Selection: Choosing the Right File Type
Not all image formats are created equal, and choosing the right one for each situation can make a meaningful difference in file size.
JPEG
Best for photographs and images with lots of color variation and gradients. JPEG uses lossy compression and offers a good balance of quality and file size for photographic content.
PNG
Best for images requiring transparency, or graphics with sharp edges, text, or a limited color palette like logos or icons. PNG files are generally larger than JPEGs for photographic content, so reserve this format for situations where transparency or sharp detail genuinely matters.
WebP
A modern format developed specifically for the web, typically offering significantly smaller file sizes than both JPEG and PNG at comparable visual quality. Most modern browsers support WebP, and WordPress has built in support for serving WebP images since WordPress 5.8.
SVG
Best for simple vector graphics like icons and logos rather than photographs. SVG files are resolution-independent (they scale perfectly at any size) and are often extremely small, but they’re only suitable for vector based artwork, not photographic images.
Practical Recommendation
For most WordPress sites, using WebP for photographs (with JPEG as a fallback for older browsers, which most optimization plugins handle automatically) and SVG for icons and simple graphics offers the best overall balance of quality and performance.
Step-by-Step: Optimizing Images on Your WordPress Site
Step 1: Audit Your Current Media Library
Before making changes, get a sense of the scale of the issue. Many optimization plugins include a scan feature that shows how much potential file size savings are available across your existing media library.
Step 2: Install an Image Optimization Plugin
Choose one of the popular options mentioned earlier (Smush, ShortPixel, Imagify, or EWWW), based on your budget and how much control you want over compression settings.
Step 3: Bulk Optimize Existing Images
Run the bulk optimization feature to compress your existing media library. Depending on how many images you have, this may take some time, and premium plugins with cloud-based processing are often faster for large libraries.
Step 4: Enable Automatic Optimization for New Uploads
Configure your plugin to automatically compress and resize new images as you upload them, so you don’t need to remember to run this manually every time.
Step 5: Set Appropriate Compression Levels
Most plugins offer a choice between lossless and lossy compression, sometimes with a visual slider or preset levels (like “regular,” “aggressive,” and “ultra”). Test a few sample images at different levels and compare the visible quality against the file size savings to find a setting you’re comfortable with.
Step 6: Enable WebP Conversion
If your plugin supports it, enable automatic conversion to WebP format, with fallback support for browsers that don’t support it (most current plugins handle this automatically).
Step 7: Enable Lazy Loading
Lazy loading delays the loading of images until they’re about to enter the visitor’s viewport, meaning images further down the page don’t load until a visitor actually scrolls to them. WordPress has included native lazy loading support since version 5.5, so this may already be active on your site by default.
Step 8: Resize Oversized Images Manually When Needed
For images significantly larger than their display size, especially ones central to important pages, it’s worth manually resizing them before upload rather than relying entirely on compression to compensate.
Step 9: Re test Your Site Speed
After optimizing your images, re run a speed test using Google PageSpeed Insights or GTmetrix and compare the results against your baseline to confirm the improvement.
Common Image Mistakes to Avoid
Uploading Camera Original Files Directly
Modern phone and camera photos are often several megabytes each and far larger in dimension than any website needs. Always resize and compress before uploading, or rely on a plugin to handle it automatically.
Skipping Alt Text
While not directly related to speed, alt text is an easy win to include alongside your optimization process it improves accessibility for visitors using screen readers and gives search engines context about the image, supporting your broader SEO efforts.
Using PNG for Photographs
PNG’s lossless compression makes it a poor choice for photographic images, resulting in unnecessarily large file sizes compared to JPEG or WebP for the same visual content.
Not Using a CDN Alongside Optimization
Optimized images still need to travel from your server to each visitor. Pairing image optimization with a CDN (like Cloudflare) further reduces load times by serving those optimized images from a server geographically closer to each visitor.
Forgetting About Background Images
Background images set through CSS (rather than uploaded through the media library) are sometimes overlooked during optimization efforts. Check your theme and page builder settings for any background images that might need separate attention.
Ignoring Image Dimensions in HTML
Make sure your theme specifies width and height attributes for images in the HTML. Without this, browsers don’t know how much space to reserve for an image before it loads, which can cause content to visibly shift as the page loads a poor user experience that also affects certain page experience metrics search engines track.
A Quick Reference Checklist
- [ ] Install an image optimization plugin
- [ ] Bulk-optimize your existing media library
- [ ] Enable automatic optimization for new uploads
- [ ] Choose an appropriate compression level
- [ ] Enable WebP conversion with fallback support
- [ ] Confirm lazy loading is active
- [ ] Resize oversized images manually where needed
- [ ] Add alt text to images as you go
- [ ] Consider pairing optimization with a CDN
- [ ] Re-test site speed after making changes
Final Thoughts
Image optimization is one of the rare WordPress maintenance tasks that’s both high impact and low effort a good plugin handles most of the heavy lifting automatically, and the improvement in load time is often immediately noticeable. Combine compression, appropriate resizing, and smart format selection, and you’ll meaningfully speed up your site without visitors ever noticing a drop in visual quality.
Make this part of your regular routine rather than a one-time fix: check new uploads periodically, revisit your compression settings occasionally, and keep an eye on your media library as it grows. Small, consistent attention here pays off in faster load times, better search visibility, and a smoother experience for every visitor who lands on your site.