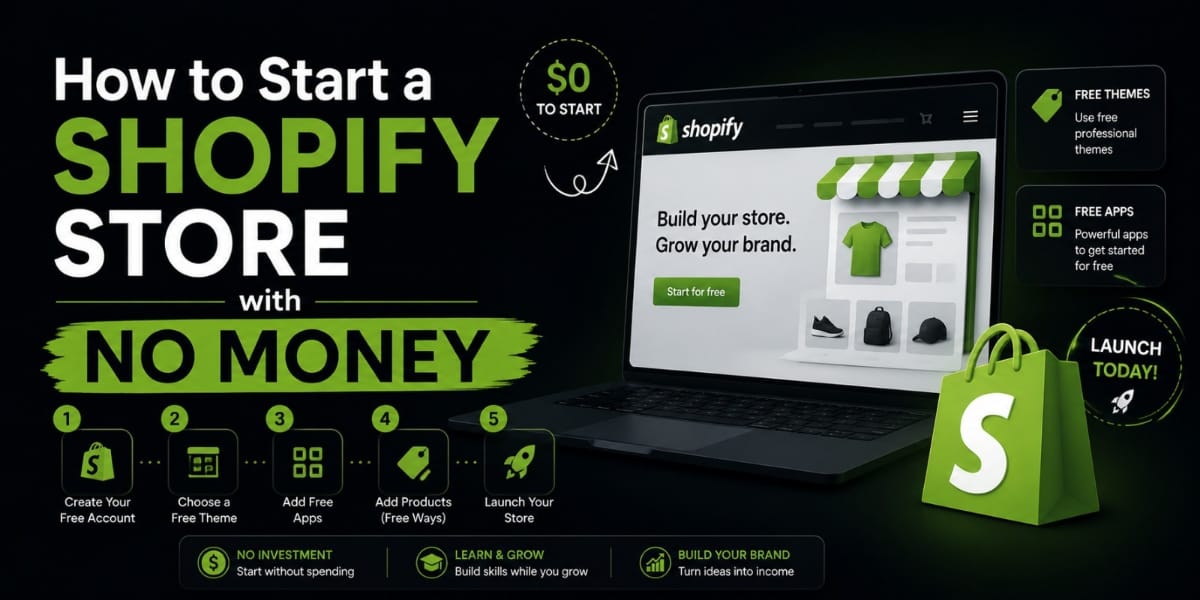
How to Start a Shopify Store with No Money
If you’ve been sitting on a business idea but keep telling yourself you’ll start “once you have some capital,” I want to gently push back on that. You genuinely don’t need a big budget to launch a Shopify store. What you need is a smart sequence: use every free tool available, delay every unnecessary expense, and only spend money once real sales prove it’s worth spending. That’s it. That’s the whole game plan, and in this post I’m going to walk you through exactly how to play it, step by step, so you can go from zero to a live, functioning store without draining your savings.
Why “No Money” Doesn’t Mean “No Chance”
Let’s clear up a common misconception first. People assume ecommerce requires inventory investment, ad budgets, a developer, and a fancy logo before day one. None of that is true anymore. Shopify itself has made it dramatically easier to start lean, dropshipping and print-on-demand models mean you never have to buy stock upfront, and free design tools mean you don’t need a graphic designer on payroll. The barrier to entry has collapsed. What hasn’t collapsed is the need for patience, hustle, and smart sequencing of what you spend money on and when. So the honest promise here isn’t “start completely free forever.” It’s “start with close to zero, and only spend once you have proof that spending will pay off.”
Step 1: Validate Your Product Idea Before Spending a Rupee or Dollar
Before you even think about Shopify, spend time validating demand. This step costs nothing but your time, and skipping it is the single biggest reason new stores fail. Use Google Trends to see whether interest in your niche is rising or falling. Search your product category on TikTok and Instagram and pay attention to which posts have unusually high engagement relative to the account’s follower count, since that’s a strong signal of organic demand. Look at Amazon best seller lists and reviews in your category to understand what customers actually complain about, because that complaint is your opportunity. If a product keeps showing up with the same demand signals across multiple platforms, you’ve got something worth testing. This entire process should take you a few focused evenings, not weeks, and it costs absolutely nothing.
Step 2: Use Shopify’s Free Trial Instead of Paying Immediately
Here’s something a lot of beginners don’t realize: you don’t have to pay Shopify a single cent to get your store built and ready to launch. Shopify currently offers new users a 3 day free trial with no credit card required, which gives you enough room to set up your store, add products, and get familiar with the dashboard. If three days feels tight, most guides note that once you’re ready to commit, you can get your first three months for $1 per month with Shopify’s introductory deal on the Basic, Grow, or Advanced plans, with standard pricing kicking in after that window closes. That’s effectively three months of a fully functioning store for the price of a cup of chai. My advice: use the free trial purely for setup and design work, and only start the paid clock once you’re genuinely ready to start marketing and taking orders. There’s also a lighter weight Starter plan for a few dollars a month if you only want to sell through social media and don’t need a full standalone storefront yet, though for most people building a real store, starting the $1 promotional period on a core plan makes more sense.
Step 3: Pick a Business Model That Needs Zero Inventory Investment
This is the part that makes “no money” actually realistic. If you had to buy stock upfront, this whole plan would fall apart. Instead, lean into dropshipping or print on demand. With dropshipping, you list products from a supplier, and when a customer orders, the supplier ships directly to them. You never touch or pay for inventory until someone has already paid you. With print on demand, you upload designs onto products like t shirts, mugs, or phone cases, and the item is only printed and shipped after a sale happens. Both models mean your only real cost is your time spent researching good suppliers, writing product descriptions, and picking products people actually want. There are free apps in the Shopify App Store for both models that connect directly to your store and automate order fulfillment, so you’re not manually forwarding orders to suppliers all day.
Step 4: Use Shopify’s Free Theme Instead of Buying One
New store owners often assume they need to buy a premium theme to look credible. You don’t. Shopify’s built in free themes are clean, mobile responsive, and genuinely good enough to launch with. Pick one that matches your niche’s aesthetic, whether that’s minimal, bold, or playful, and customize the colors, fonts, and layout using the drag-and-drop editor. You can always upgrade to a premium theme later once your store is generating revenue and you have a clearer sense of what conversion improvements you actually need. Spending on a theme before you have your first sale is a classic beginner mistake, and it’s one you can easily avoid.
Step 5: Design Your Logo and Graphics for Free
You don’t need a designer for this stage either. Canva has a generous free tier that lets you build a clean, professional looking logo in under an hour, along with social media graphics, banners, and product mockups. If you want something with a bit more polish, Looka and Hatchful (Shopify’s own free logo maker) both let you generate logo options based on your business name and industry, and you can download a usable version without paying anything. For product photography, if you’re dropshipping, most suppliers provide product images you’re allowed to use directly. If you’re doing print on demand, your fulfillment app usually generates mockup images automatically. Either way, there’s no reason to hire a photographer at this stage.
Step 6: Get Your Domain Strategically
A custom domain isn’t free, typically running somewhere between one thousand and fifteen hundred rupees a year depending on the extension and registrar, but it’s genuinely worth the small spend because it makes your store look far more trustworthy than a default myshopify.com address. If you truly want to launch without spending anything at all, you can operate on the free subdomain temporarily and upgrade once you’ve made your first few sales. But if you can stretch to cover a domain, I’d recommend doing it, since it’s one of the lowest cost, highest impact purchases you’ll make in this entire process.
Step 7: Market Your Store Without an Ad Budget
This is where most broke entrepreneurs panic, assuming they need thousands of rupees for Facebook or Instagram ads to get traffic. You don’t, especially not on day one. Organic content is your best friend when you have no ad budget. Post consistently on TikTok and Instagram Reels showing your product in use, behind the scenes content, or trending audio paired with your niche. Join relevant Facebook groups and subreddits where your target customers hang out, and genuinely participate rather than spamming links. Reach out to micro influencers with smaller but engaged followings and offer them a free product in exchange for a post, since many will say yes before they build up enough following to charge brands. Write SEO optimized blog content around your product category, because ranking on Google for buyer intent keywords brings in free, compounding traffic over time. None of this costs money. It costs time and consistency, which is exactly the trade a no-budget founder should be making.
Step 8: Set Up Payments Without Upfront Fees
Shopify Payments has no setup fee, so you can start accepting cards immediately once your store is live, with transaction costs only kicking in when you actually make a sale. This is important because it means your payment infrastructure costs you nothing until money is already coming in. Don’t overthink this step. Get it connected, test it with a sample order, and move on.
Step 9: Launch Before You Feel Ready
A lot of people stall out here, endlessly tweaking colors and rewriting product descriptions instead of actually launching. Resist that urge. Once you have a handful of solid products, clean photos, working payments, and basic policies pages set up, launch. You’ll learn far more from your first ten real visitors than from another week of internal polishing. Real customer behavior, real questions in your inbox, and real cart abandonment patterns will tell you what to fix far more accurately than your own guesswork ever could.
Doing This from Pakistan: What You Need to Know
If you’re building your store from Pakistan, there are a few local realities worth factoring into your zero-budget plan. Shopify Payments isn’t available for Pakistani merchants directly, so most local store owners either work with a payment partner that supports international gateways or lean heavily on Cash on Delivery, which remains the dominant and most trusted payment method for online shoppers across the country. Alongside COD, make sure you’re set up to accept payments through JazzCash and Easypaisa, since a huge portion of your potential customers will expect these options and may abandon checkout entirely if they’re missing. On the fulfillment side, courier services like Leopards, TCS, and M&P are the backbone of last mile delivery here, and building a relationship with a reliable courier early on will save you enormous headaches once order volume picks up. WhatsApp commerce is also worth building into your customer service flow from day one, since many Pakistani shoppers prefer confirming orders or asking questions over WhatsApp rather than email, and being responsive there can meaningfully boost your conversion rate without costing you anything beyond your time.
The Real Cost Breakdown
Let’s be transparent about numbers, because “no money” should mean “close to zero,” not “literally impossible.” Realistically, you’re looking at a domain name for roughly one thousand to fifteen hundred rupees a year, which you can even delay if needed, and the Shopify subscription itself, which starts at three days completely free and then drops to just a dollar a month for your first three months under the current promotional offer. Everything else in this guide, from your theme to your logo to your marketing, can be done at zero cost using free tools and organic effort. That means you can realistically get a professional, functioning Shopify store live for under two thousand rupees total, with the bulk of your investment being time rather than money.
Common Mistakes to Avoid When Starting on a Zero Budget
Don’t buy inventory upfront hoping to save on per-unit costs, since that defeats the entire purpose of starting lean and exposes you to unnecessary risk if the product doesn’t sell. Don’t buy a premium theme or paid apps before you’ve made your first sale, since your free trial period and starter tools are more than capable of getting you launched. Don’t skip product validation to save time, since that step is what prevents you from wasting weeks building a store around something nobody wants. And don’t wait for a “perfect” store before launching, since perfection is the enemy of the momentum you need in these early weeks.
Final Thoughts
Starting a Shopify store with no money isn’t a gimmick or an exaggeration, it’s a genuinely achievable path if you sequence your decisions correctly. Validate your idea for free, build your store during the trial period, avoid unnecessary spending until you have proof of demand, and lean entirely on organic marketing until sales justify paid growth. The entrepreneurs who succeed at this aren’t the ones with the biggest budgets, they’re the ones who move fast, stay lean, and let real customer feedback guide where their first rupees actually go.