How to Use a CDN with WordPress
How to Use a CDN with WordPress
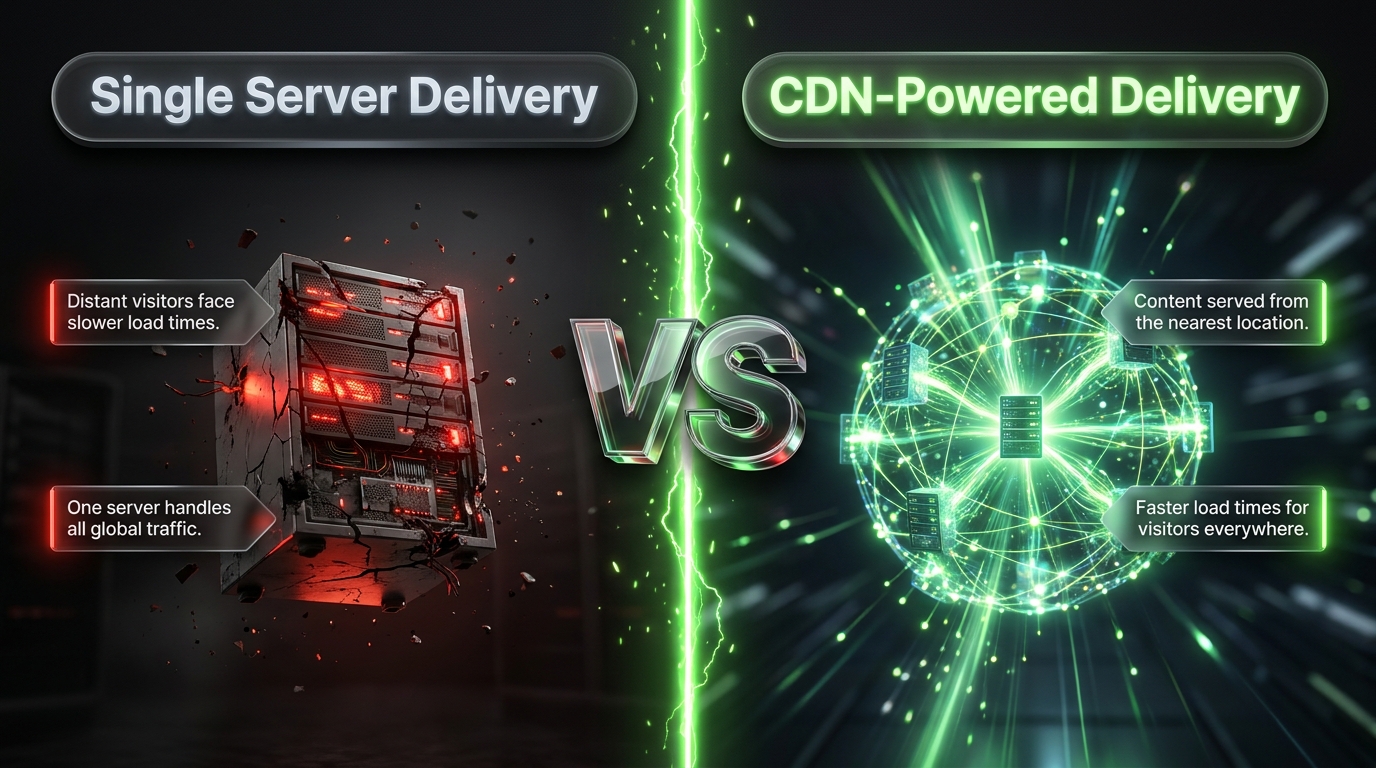
Every visitor to your WordPress site downloads files from your server images, stylesheets, scripts, fonts. If your server sits in one location and your visitors are spread across the world, that distance adds real, measurable delay to every page load. A Content Delivery Network, or CDN, exists specifically to solve this problem.
This guide explains exactly what a CDN does, why it matters for WordPress specifically, and how to set one up correctly, whether you’re using a well known service like Cloudflare or a more specialized option built for WordPress.
What Is a CDN?
A CDN is a network of servers distributed across multiple geographic locations, each storing cached copies of your site’s static files. When someone visits your site, they download these files from whichever server is physically closest to them, rather than making the trip all the way to your primary hosting server.
Think of it like a chain of regional warehouses instead of a single central one. Instead of shipping every order from one location no matter where the customer lives, orders get fulfilled from the nearest warehouse, arriving faster with less distance to travel.
Why WordPress Sites Benefit From a CDN
- Faster load times for global visitors. Visitors far from your primary server see the biggest improvement.
- Reduced load on your origin server. Since static files are served from the CDN rather than your own server, your hosting resources are freed up for the dynamic parts of your site.
- Better handling of traffic spikes. A sudden surge in visitors from a viral post, a sale, or a press mention is far less likely to overwhelm your server when static assets are being served elsewhere.
- Added security benefits. Many CDNs include built-in protection against certain types of malicious traffic, including basic DDoS mitigation.
- Improved uptime. Some CDNs can continue serving a cached version of your site even during brief origin server outages.
What a CDN Actually Serves
A CDN typically handles your site’s static assets:
- Images
- CSS stylesheets
- JavaScript files
- Fonts
- Sometimes, full cached HTML pages, depending on configuration
Dynamic content things generated fresh for each visitor, like a shopping cart or a logged in dashboard typically still comes directly from your origin server, though some advanced CDN configurations can cache limited dynamic content as well.
Popular CDN Options for WordPress
Cloudflare
One of the most widely used CDNs, offering a generous free tier alongside paid plans with additional features. Cloudflare also includes security features like a web application firewall and basic DDoS protection, making it a popular all in one choice.
Bunny CDN
A budget friendly, pay as you go CDN known for strong performance and straightforward setup, popular among site owners who want solid speed without a steep learning curve.
StackPath
A performance focused CDN offering solid WordPress integration, often used by sites with more specific enterprise level requirements.
KeyCDN
Another pay as you go option known for competitive pricing and a dedicated WordPress plugin that simplifies setup considerably.
Built-In Hosting CDNs
Many managed WordPress hosts including Kinsta, WP Engine, and Cloudways include CDN service bundled directly into their hosting plans, often requiring nothing more than toggling a setting in your hosting dashboard.
How to Set Up a CDN on WordPress: Step by step
Step 1: Check If Your Host Already Includes One
Before signing up for a separate service, check your hosting dashboard. Many managed WordPress hosts include CDN functionality already, which is often the simplest path since it requires no additional configuration or plugin.
Step 2: Choose a CDN Provider
If your host doesn’t include one, select a provider based on your budget and needs. Cloudflare’s free tier is a common starting point for smaller sites, while Bunny CDN or KeyCDN suit those wanting more granular, pay-as-you-go pricing.
Step 3: Create an Account and Add Your Site
Sign up with your chosen provider and add your website’s domain. Most providers walk you through this with a guided setup process.
Step 4: Update Your DNS Settings (If Required)
Some CDNs, like Cloudflare, work by having your domain’s DNS point through their network. This typically involves updating your nameservers at your domain registrar to the ones provided by the CDN.
Step 5: Integrate With Your Caching Plugin
Most WordPress caching plugins, including WP Rocket and W3 Total Cache, include direct CDN integration settings. This typically involves entering your CDN’s URL so the plugin knows to rewrite asset links to load from the CDN rather than your origin server.
Step 6: Configure Caching Rules
Set appropriate cache expiration times for different file types through your CDN’s dashboard. Static assets like images and fonts can typically be cached for weeks or months, since they rarely change.
Step 7: Enable SSL
Make sure your CDN is configured to serve content over HTTPS, matching your site’s existing SSL setup. Most CDNs offer free SSL certificates or support your existing one directly.
Step 8: Test Your Site Thoroughly
After setup, check that:
- Images and stylesheets load correctly across different pages
- There are no mixed-content warnings (HTTP content loading on an HTTPS page)
- Your site looks and functions the same as before, on both desktop and mobile
Step 9: Measure the Improvement
Run a speed test using Google PageSpeed Insights, GTmetrix, or WebPageTest before and after CDN setup, ideally testing from a location geographically distant from your origin server to see the full benefit.
Common CDN Mistakes to Avoid
Forgetting to Purge the Cache After Changes
If you update your site’s design, images, or scripts, the CDN’s cached version won’t reflect that change until it’s cleared. Most CDN dashboards offer a manual purge button, and some caching plugins can trigger this automatically.
Not Excluding Dynamic Content
If your CDN is configured to cache full pages rather than just static assets, make sure dynamic pages like shopping carts, checkouts, and account pages are properly excluded to avoid showing stale or incorrect content to visitors.
Mixed Content Warnings
If your CDN serves some assets over HTTP while your site runs on HTTPS, browsers will flag this as a security warning. Confirm your CDN and site are both fully configured for HTTPS.
Overlapping With Existing Caching
If your host already includes a CDN and you add a separate one on top, you can end up with conflicting caching layers. Confirm what your host already provides before adding another service.
Ignoring Analytics After Setup
Some CDNs can affect how visitor location and traffic data appear in your analytics tools, since requests may appear to originate from CDN server locations rather than actual visitor locations. Check your analytics configuration to make sure this is accounted for correctly.
Quick Comparison Table
| CDN | Pricing Model | Best For |
|---|---|---|
| Cloudflare | Free tier + paid plans | All-in-one speed and security |
| Bunny CDN | Pay-as-you-go | Budget-conscious, strong performance |
| StackPath | Subscription tiers | Enterprise-level needs |
| KeyCDN | Pay-as-you-go | Simple setup with a dedicated plugin |
| Host-provided CDN | Included with hosting | Managed WordPress hosting customers |
Final Thoughts
A CDN is one of the more “set it and mostly forget it” WordPress optimizations — the setup takes some care, but once it’s running correctly, it works quietly in the background, shaving load time off every visit for visitors around the world. Paired with good caching, optimized images, and a clean database, a CDN rounds out a WordPress site built to load quickly no matter where a visitor happens to be.
Check what your hosting already includes, choose a provider that fits your budget and technical comfort, and take the time to test thoroughly after setup. The improvement is often immediately noticeable, especially for any visitors located far from your server’s physical location.