How to Preview AI-Generated Shopify Theme Changes Before Publishing
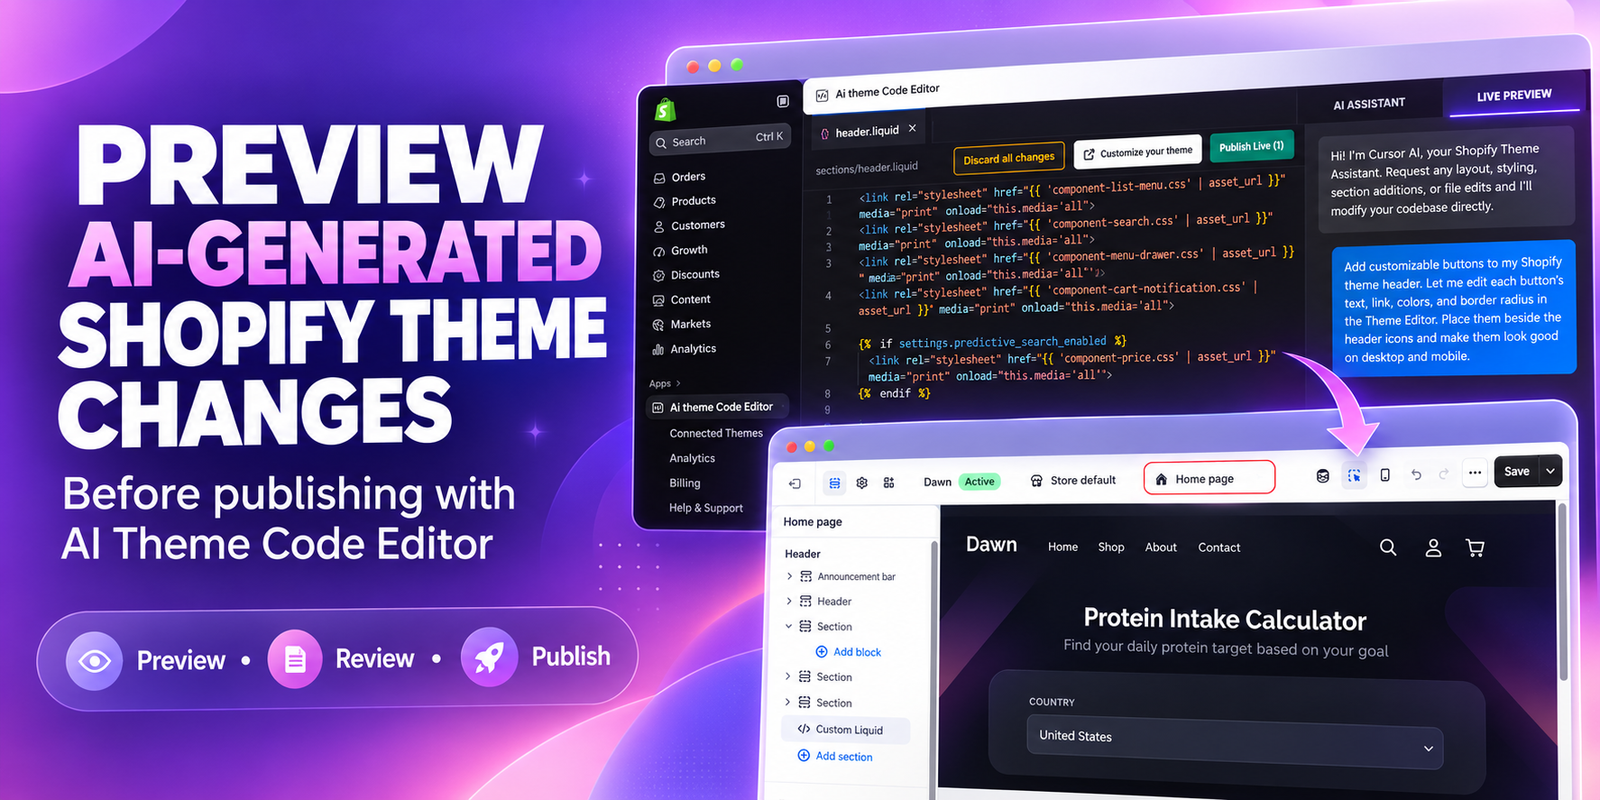
AI can make Shopify theme customization feel much easier. Instead of finding the right Liquid file or writing CSS from scratch, you can describe a change in plain language and let an AI assistant prepare the code. But generating a change is only part of the process. Before customers see it, you still need to check how it looks, how it behaves, and whether it fits the rest of your store.
A button that looks attractive on desktop might overlap the menu on mobile. A new section might have too much spacing, and a link might lead to the wrong page. Learning how to preview AI-generated Shopify theme changes before publishing helps you catch these issues while there is still time to refine the result.
This guide explains a practical review workflow using AI Theme Code Editor. The images follow the order provided: the app listing, theme connection, AI assistant, customization request, Live Preview, theme-editor review, and publishing control.
The Main Headache: Making Changes Without Knowing the Final Result
Shopify merchants often know what they want to improve but struggle to judge the technical impact. You might want extra header buttons, a cleaner homepage, or a more useful product section. Your theme’s existing settings may not support the change, leaving you with code edits that are difficult to evaluate.
The problem becomes more stressful when your store is already receiving visitors. A small update to a shared header can affect the homepage, collections, product pages, and cart. Looking at the code alone does not tell you whether the layout still works across those pages.
AI reduces the effort involved in preparing an update, but an AI response is not a substitute for checking the storefront. The merchant still needs to confirm the design, content, links, and customer interactions. A preview creates a useful checkpoint between the request and the public result.
Why Use AI Theme Code Editor for This Workflow?
AI Theme Code Editor supports theme code editing through natural-language requests and advertises a sandbox environment for previewing changes. This gives merchants a way to request a customization and inspect the result before deciding to publish it.
In your supplied images, the workspace includes an AI Assistant, a Live Preview tab, and a Publish Live control. These controls provide the structure for the walkthrough below. The exact interface can change, so check the selected theme and the current preview state in your own workspace.
Why Previewing Before Publishing Matters
Previewing helps you answer a question that code generation cannot settle on its own: is this change suitable for your actual store? Your brand, product information, menus, and installed apps can all influence the final experience.
- Check visual consistency: typography, button colors, spacing, and alignment should match your store.
- Check responsive behavior: the layout should remain usable at narrow and wide screen sizes.
- Check interactions: buttons, menus, forms, and product controls should still work.
- Check the scope: a shared theme component may appear on several page types.
- Refine the result: use specific follow-up requests before publishing.
A preview helps reduce avoidable mistakes, but it does not guarantee that every issue has been detected. Treat it as a hands-on review stage, especially when a change affects navigation or buying actions.
Step 1: Install and Open AI Theme Code Editor
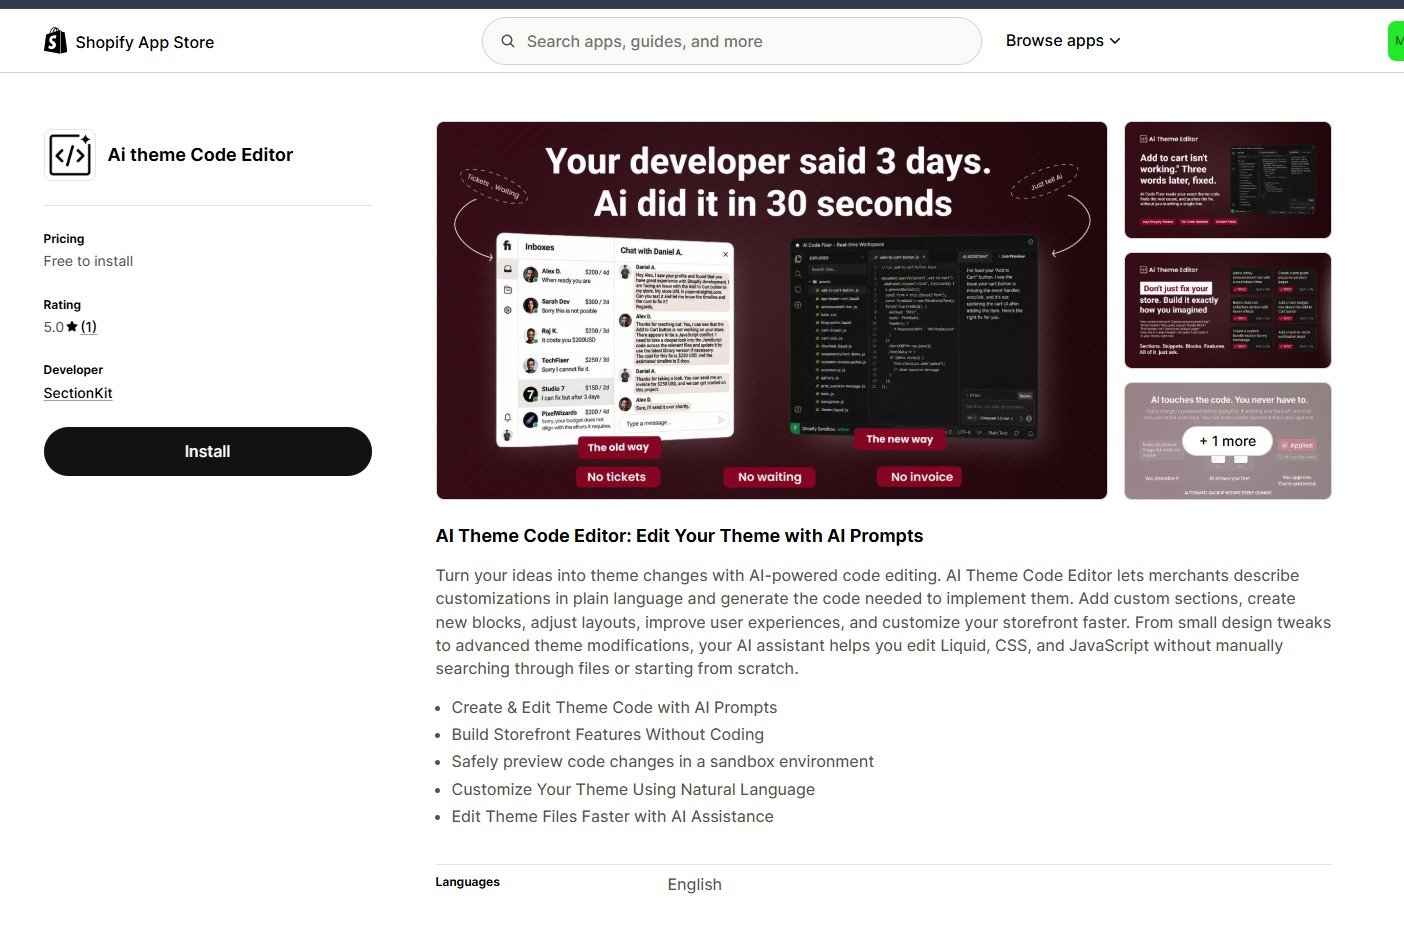
Find AI Theme Code Editor in the Shopify App Store and install it for the store you want to customize. Review the app’s access request during installation, then open the app from your Shopify admin.
Start with one clearly defined task. For example, adding two customizable header buttons is easier to review than changing the entire homepage, product page, and navigation in one request. Keep a copy of the current theme before making substantial changes so you have a known starting point.
Step 2: Connect the Theme You Want to Edit
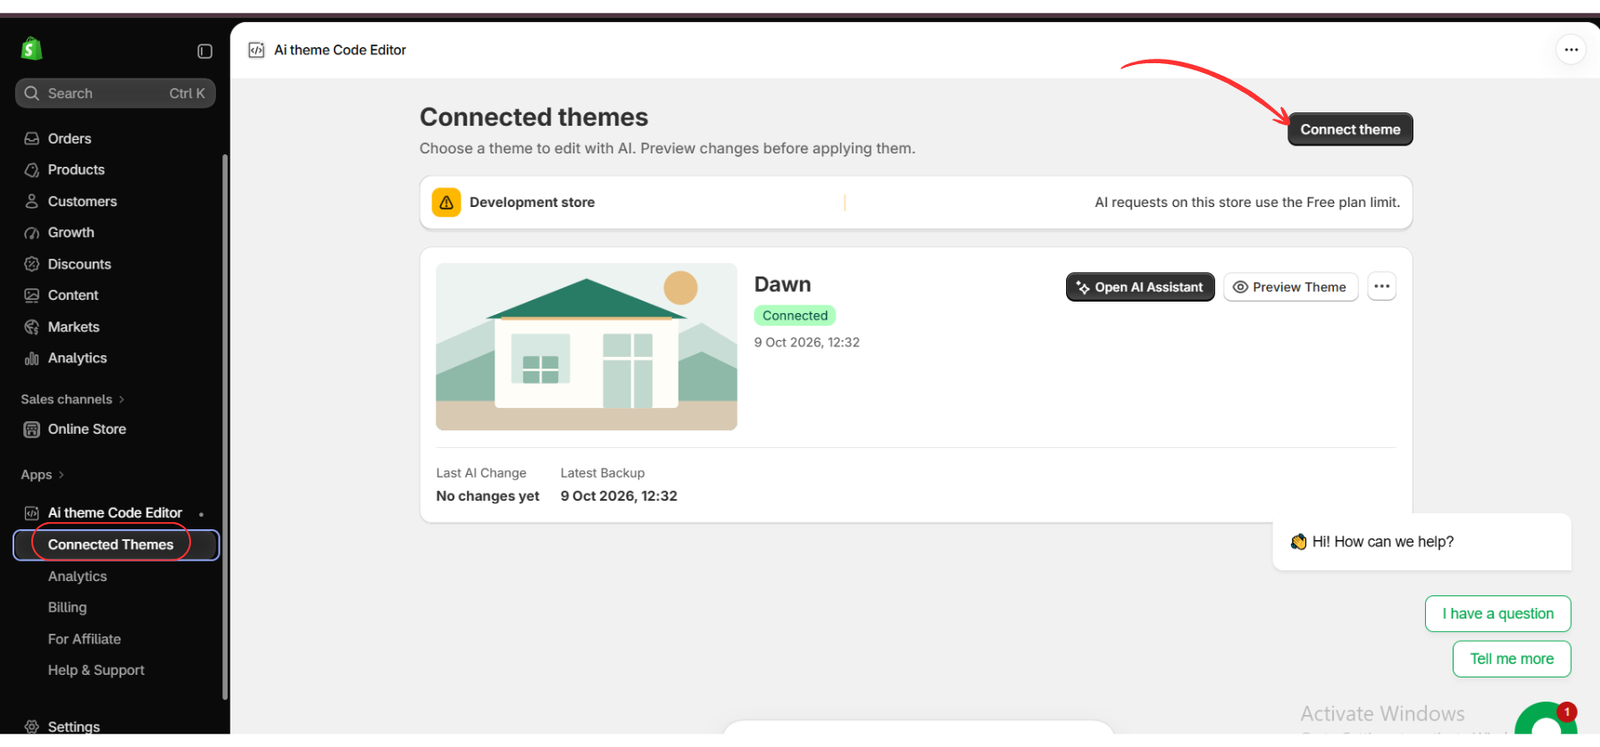
Open Connected Themes and use Connect theme when you need to connect a theme. If a theme is already listed, verify its name before continuing. The supplied image shows Dawn with a Connected status.
Choose the theme intentionally. For a larger redesign, working with an unpublished copy is a useful precaution where the app supports that workflow. Do not assume that opening a preview makes every action harmless: saving settings to an active theme and publishing code are different actions, and you should understand which theme each action affects.
Step 3: Open the AI Assistant
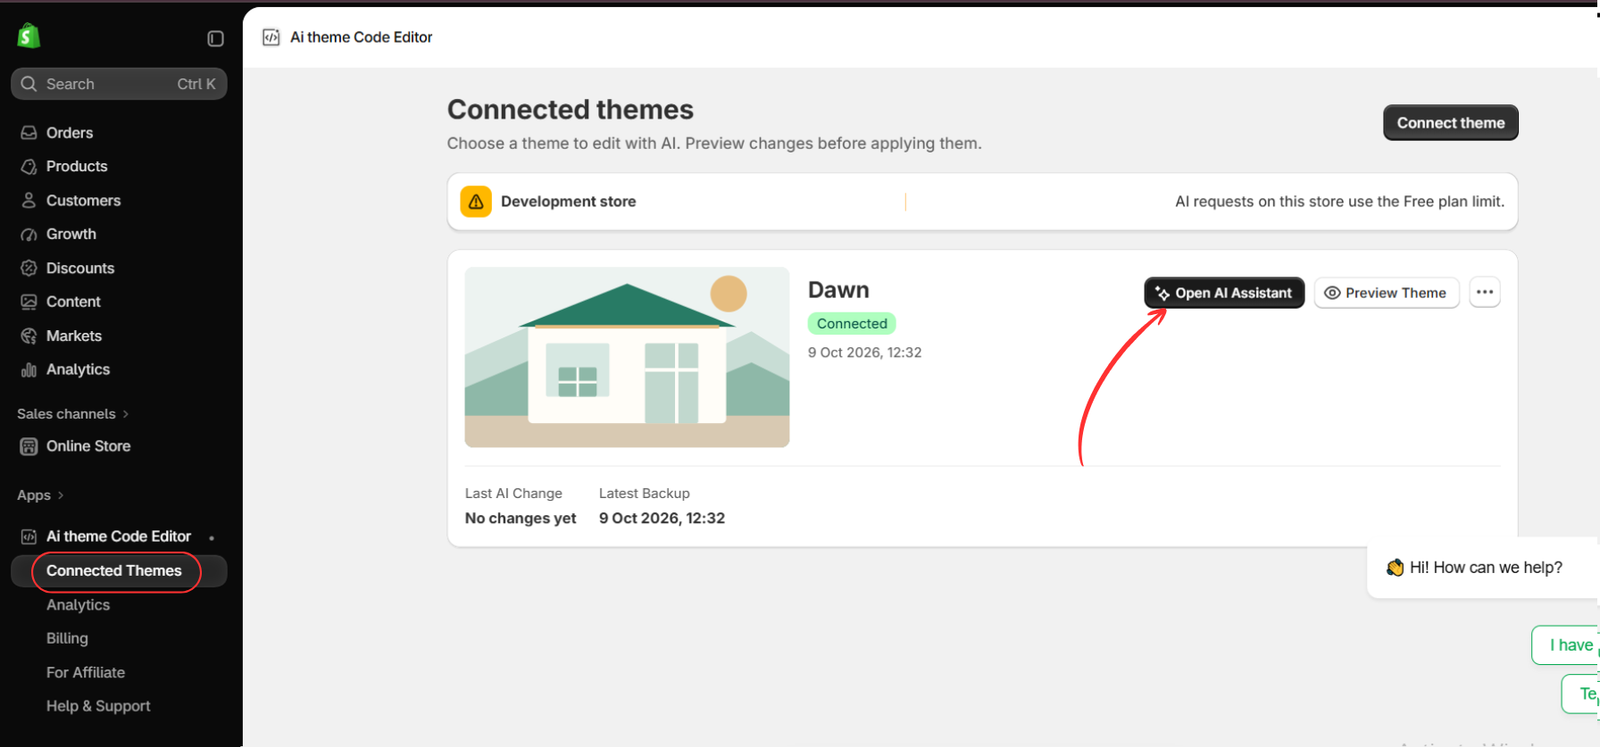
On the connected theme card, click Open AI Assistant. This opens the workspace where you can describe the change and review the assistant’s response. The theme card also includes Preview Theme, but the supplied editing workflow later uses the workspace’s Live Preview tab.
Before sending a request, decide where the change should appear, which settings you need, and how it should behave on mobile. Giving the assistant these details makes the result easier to compare with your original goal.
Step 4: Describe the Change with a Clear AI Prompt
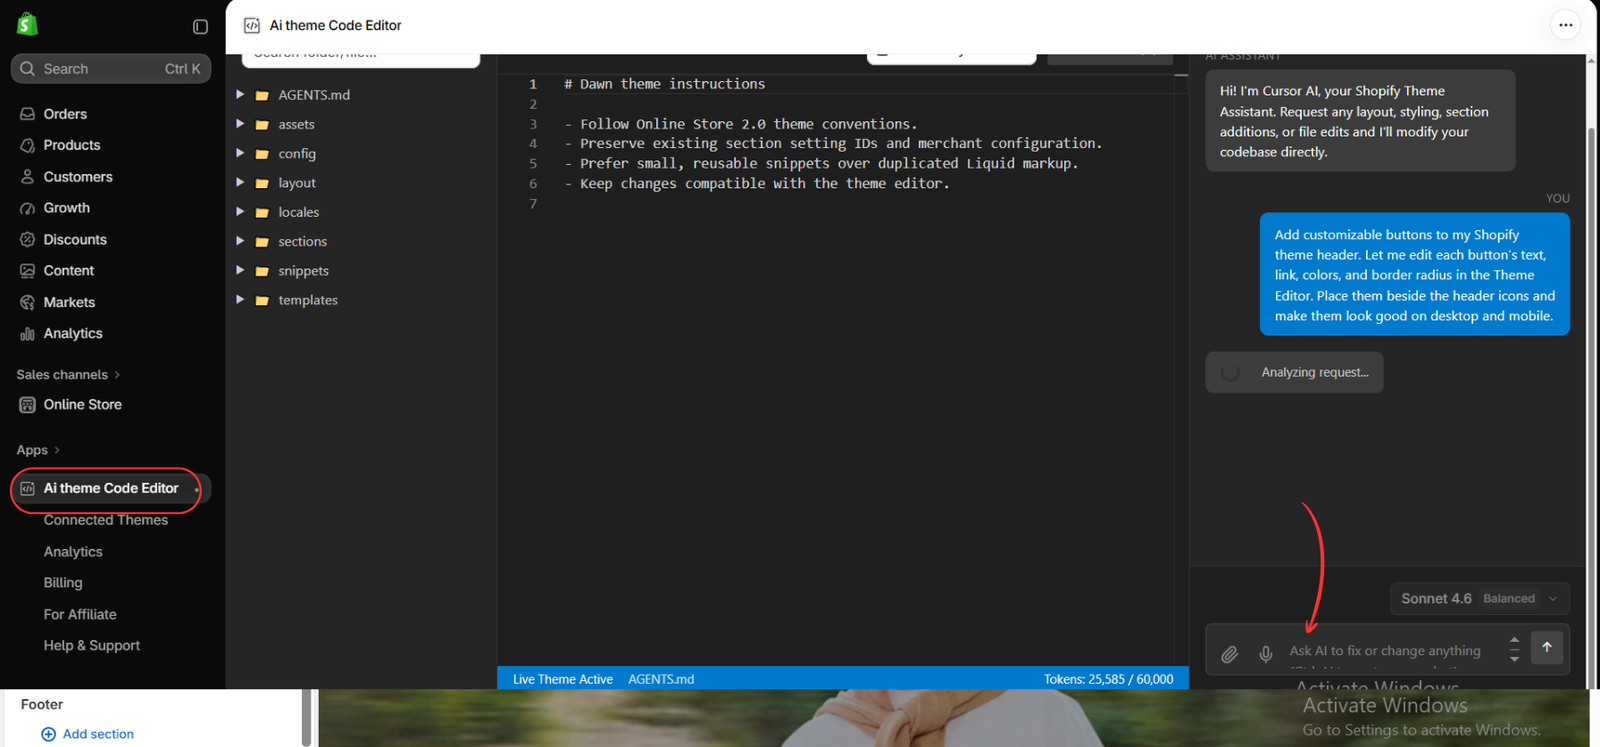
Enter a direct request in the AI Assistant. The supplied image uses a header-button example that specifies editable text, links, colors, border radius, and responsive behavior. These details give you concrete items to check in the preview.
Add customizable buttons to my Shopify theme header. Let me edit each button’s text, link, colors, and border radius in the Theme Editor. Place them beside the header icons and make them look good on desktop and mobile.
Wait for the assistant to finish preparing the update. Read its summary and note which files were changed. In the later images, the assistant refers to sections/header.liquid. This helps you understand why the header should be checked on more than one page.
Avoid sending several unrelated requests at once. If the first result needs refinement, ask for a specific correction such as smaller mobile buttons or more space between the buttons and cart icon.
Step 5: Open Live Preview Before Publishing
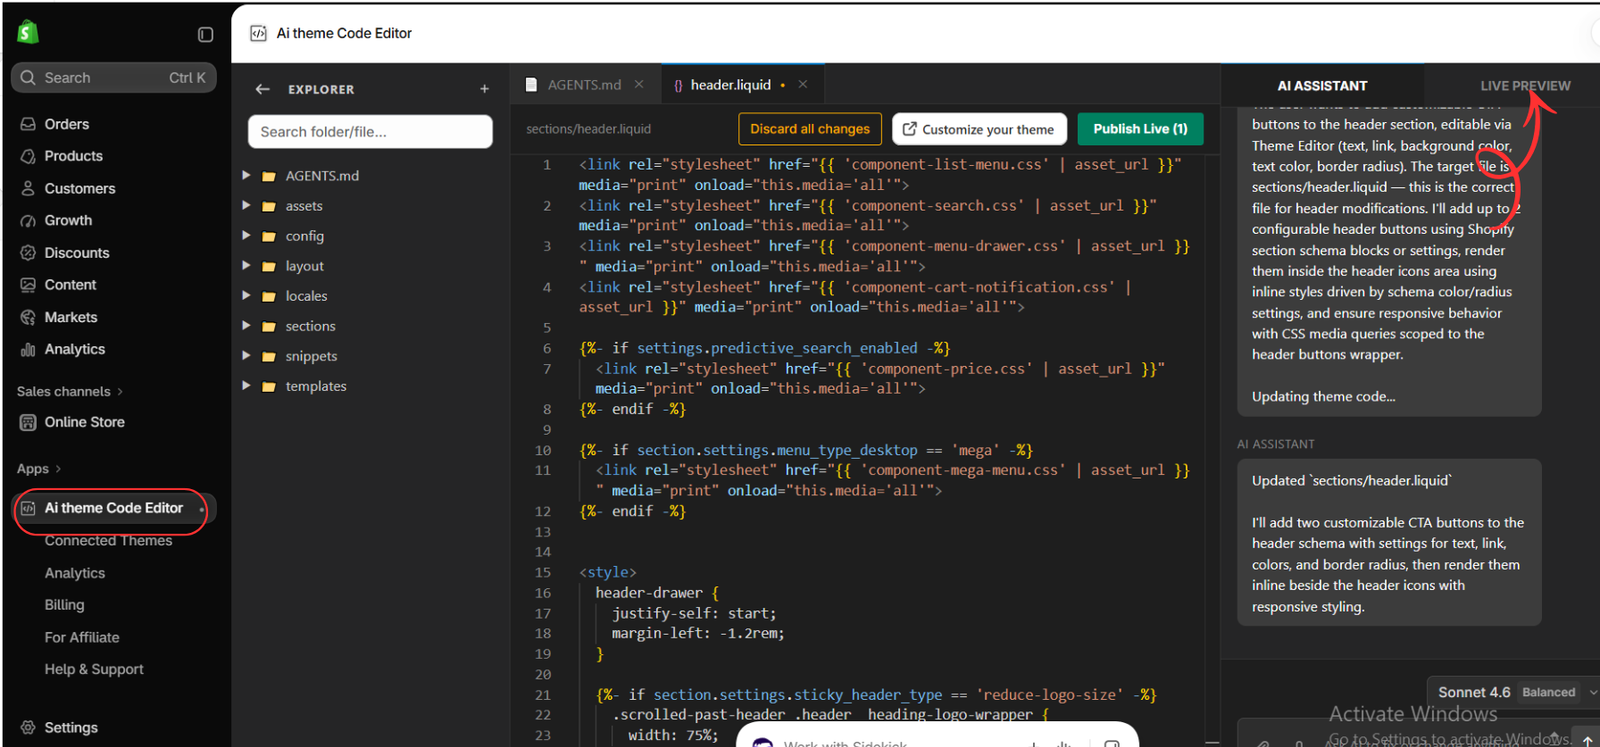
Once the update is ready, select Live Preview in the workspace. Review the rendered storefront and confirm that you are seeing the intended pending changes. If the preview does not reflect the update, check its loading state and the selected theme before making a publishing decision.
For the header-button example, look for the new buttons beside the header icons. Check their size, alignment, contrast, and spacing. Click their links and confirm the destinations. Open and close the menu, search, and cart controls to see whether the new elements interfere with them.
The Publish Live button is visible in this image, but keep the review stage separate from publishing. If something looks wrong, return to the AI Assistant, describe the issue precisely, and inspect the revised preview.
Step 6: Review the Layout and Relevant Theme Settings
Where your workflow provides a theme-editor view of the pending changes, use it to inspect the relevant settings and page layout. The supplied workspace includes Customize your theme. Confirm which theme that control opens and whether it contains the pending update before you save anything.
The next image is a separate layout-review example. It shows a Protein Intake Calculator section on the homepage inside Shopify’s theme editor. It does not show the header buttons requested earlier and should not be treated as proof of that request’s result. It illustrates how to inspect a section’s placement and its relationship to surrounding content.
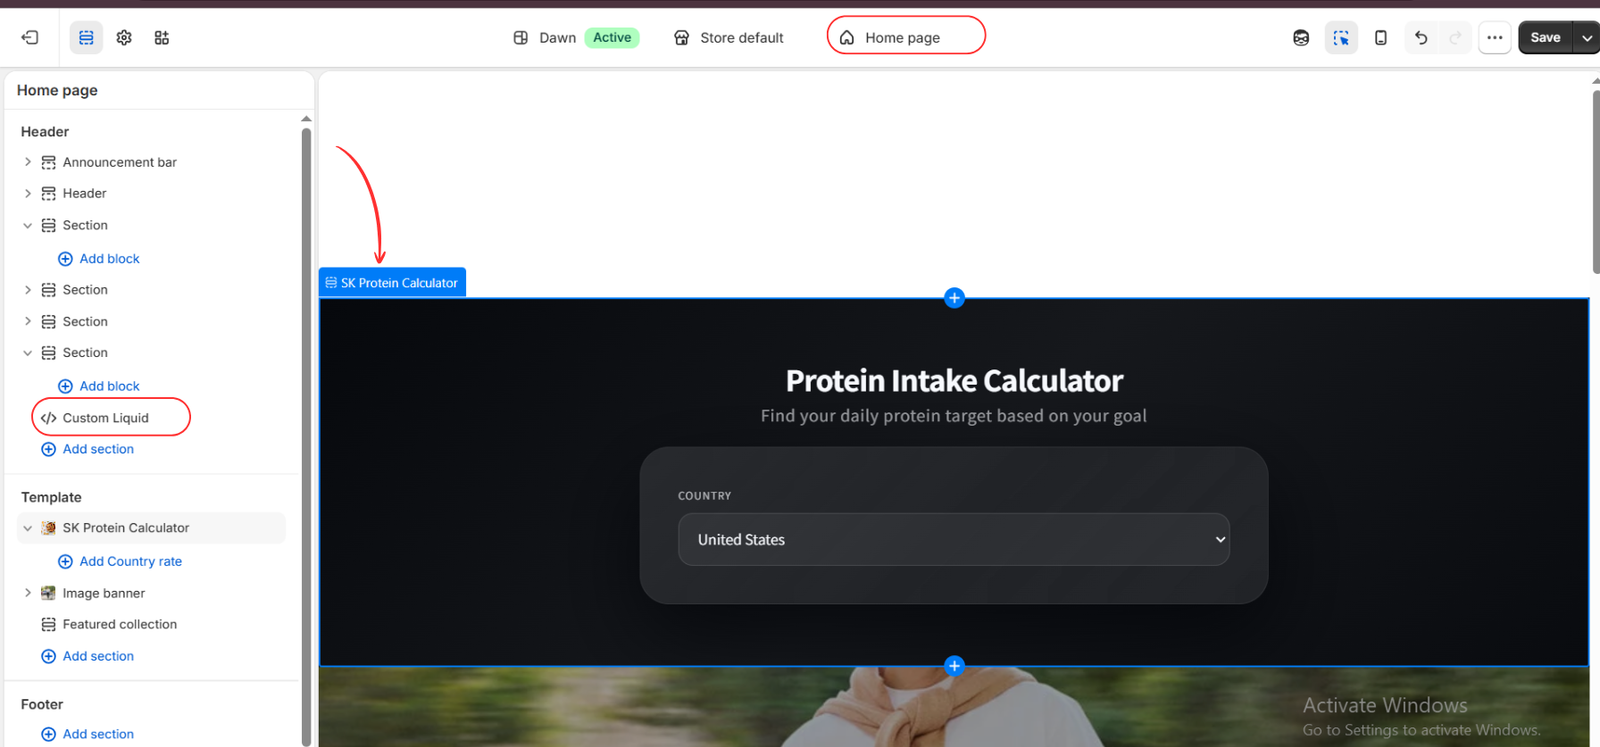
For your own update, open the relevant page or section and review its available controls. If you requested editable button labels and colors, confirm that the expected settings exist. Test longer text too: real promotional labels often take up more room than short example text.
This supplied image shows Dawn marked Active with a Save button. Saving settings on an active theme may affect the live storefront. Use an unpublished theme for settings experiments when available, and do not treat an active-theme editor as an isolated sandbox.
- Desktop: check alignment, spacing, image sizing, and readable text.
- Mobile: check menu access, button wrapping, tap targets, and horizontal overflow.
- Page coverage: review affected homepage, collection, product, and cart layouts.
- Customer actions: test navigation, product variants, add to cart, and cart updates where relevant.
- Content: confirm button labels, destinations, product details, and any form instructions.
Step 7: Publish Only After the Review Is Complete
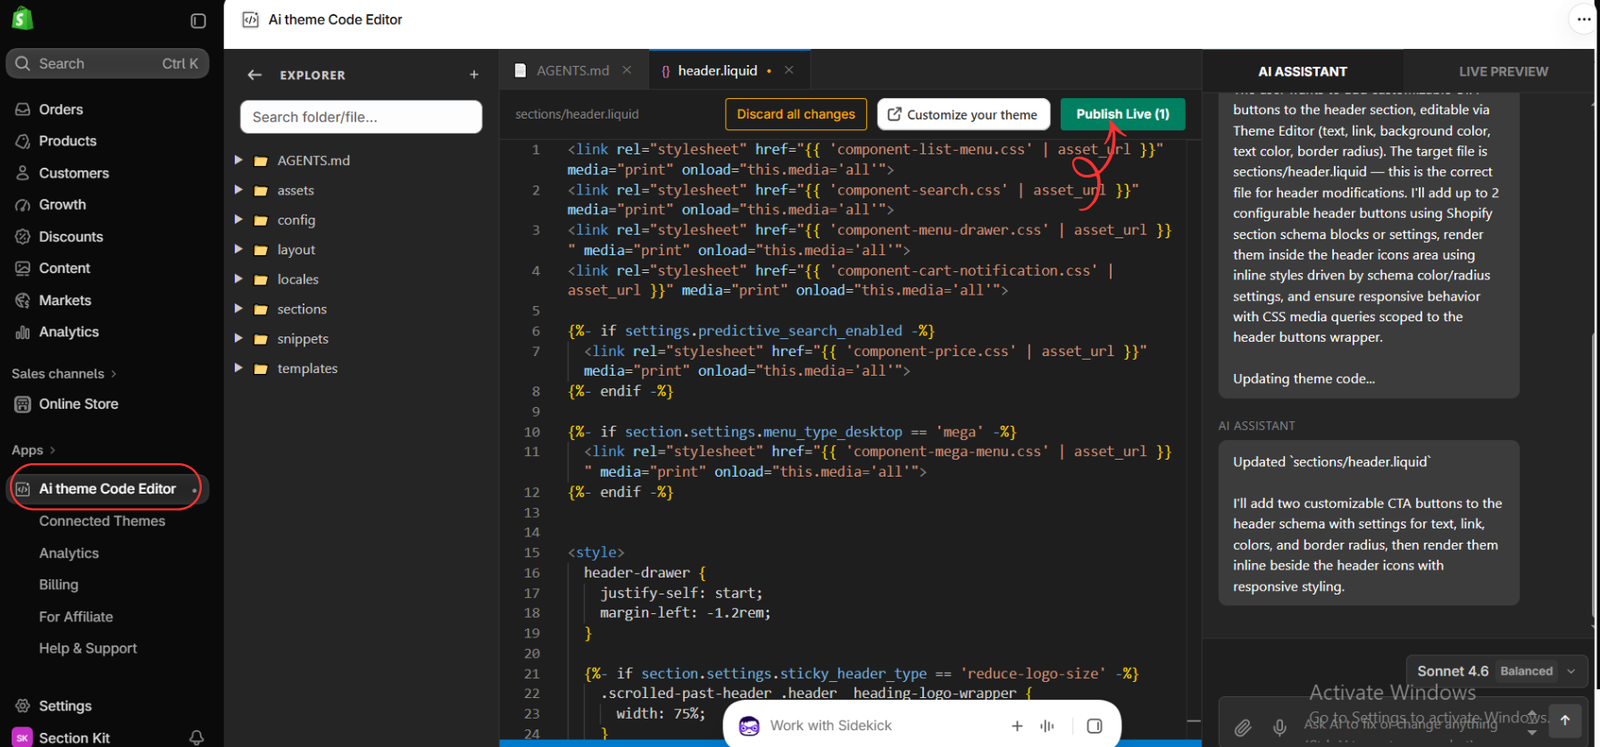
Return to the AI Theme Code Editor workspace when the preview meets your requirements. The final supplied image highlights Publish Live (1). Review the pending update and the target theme, then use the publishing control when you are ready for the changes to become public. Read any confirmation presented by the app.
Publishing an app’s code changes and publishing an entire Shopify theme are not necessarily the same operation. Confirm what the action will update in your current workflow rather than assuming it will publish a different theme automatically.
After publishing, open the public store and repeat the most important checks. Confirm that the expected change appears and that navigation and buying actions still work. If the public result differs from the preview, investigate the difference and use your available backup or recovery workflow if needed.
Common Mistakes to Avoid
The most common mistake is approving the update because the assistant says the code is ready. That message describes the code-editing stage; it does not establish that your design and customer experience have passed review.
Another mistake is checking only the homepage on a large screen. Header and footer changes can affect the entire store, while mobile layouts often reveal spacing problems that desktop hides. Review the page types and screen sizes that matter to your customers.
Finally, avoid vague follow-up prompts such as “make it better.” Explain what you can see: “The second header button overlaps the cart icon on mobile. Reduce the button padding and keep a visible gap between them.” A precise description makes the next preview more useful.
Final Thoughts
To preview AI-generated Shopify theme changes before publishing, follow a deliberate sequence: connect the intended theme, submit a focused request, inspect Live Preview, review the relevant layout and settings, and publish only after testing the result. AI can prepare the customization, while your review determines whether it is ready for customers.
AI Theme Code Editor brings natural-language theme editing and a preview workflow into one app. Start with a small update, check it carefully, and build on the result as you become comfortable with the process.
Explore AI Theme Code Editor: https://apps.shopify.com/ai-code-fixer




