How to Make a Shopify Header Change Using an AI Prompt
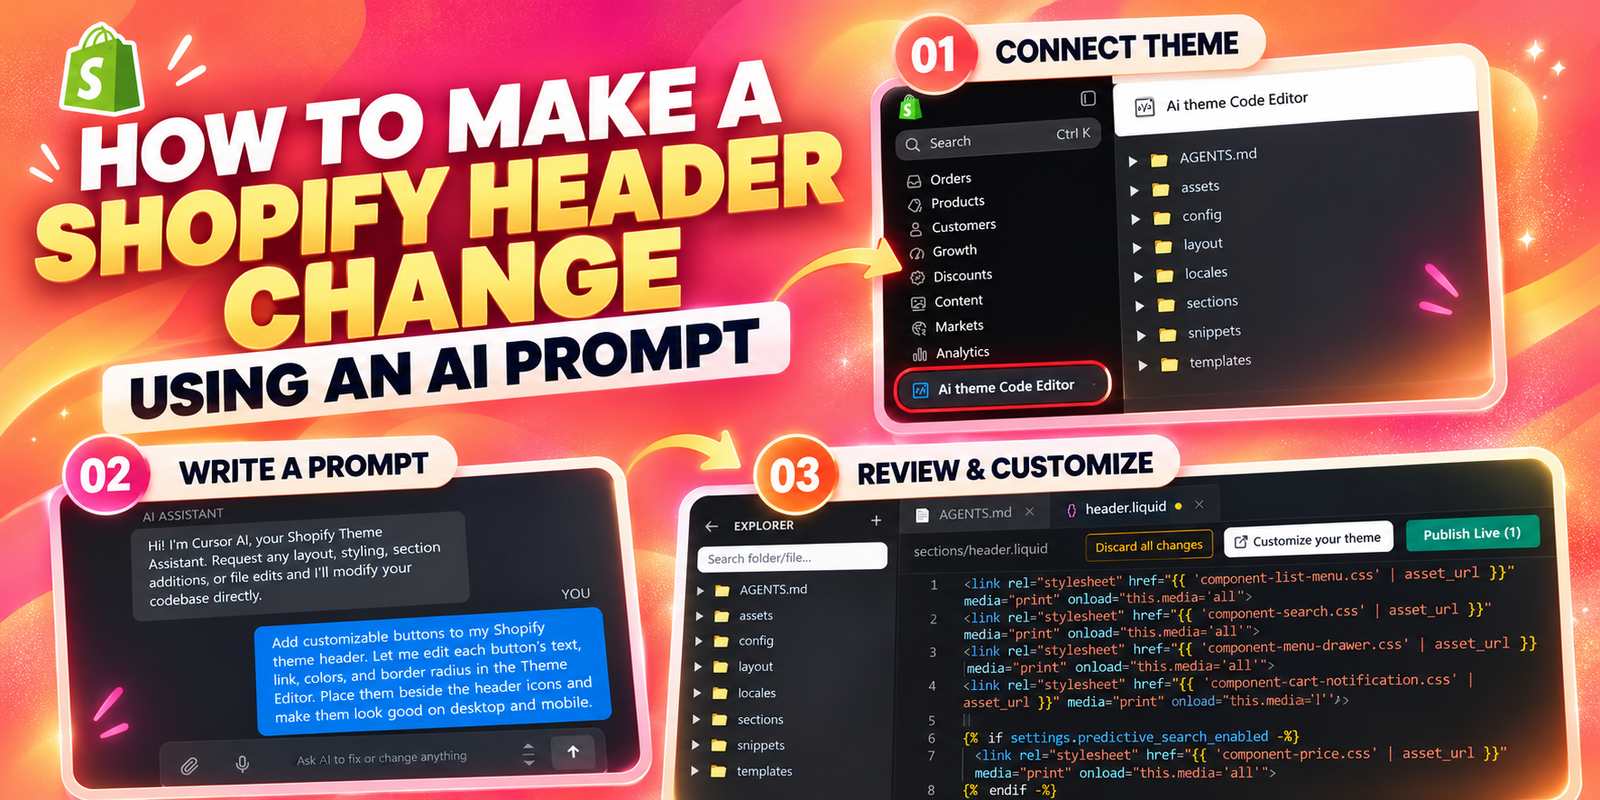
Your Shopify header helps customers find products, access their accounts, and move through your store. Sometimes a small improvement—such as adding a visible button for a collection or contact page—can make an important destination easier to reach.
However, your theme may not include the exact header controls you need. This guide explains how to request a Shopify header change using an AI prompt in AI Theme Code Editor. The example adds customizable buttons beside the existing header icons, with settings for their text, links, colors, and rounded corners.
The Problem: A Simple Header Change Can Require Theme Code
Merchants often know how they want their header to look but cannot find the right option in the Theme Editor. A theme might let you change the logo and menu while offering no setting for an extra call-to-action button.
Making that adjustment manually can involve Liquid markup, CSS, responsive layouts, and theme settings. A button that fits on a desktop screen may crowd the logo or cart icon on a phone. Finding the correct file and preserving existing navigation can turn a small design request into a much larger task.
Why Use AI Theme Code Editor?
AI Theme Code Editor lets you describe theme changes in plain language and assists with the underlying Liquid, CSS, and JavaScript. Its Shopify listing also describes sandbox previews for reviewing changes. For this workflow, you can explain where the buttons should appear and which controls should remain editable.
The benefit is a clearer path from your design idea to a proposed theme update. You still need to review the result: AI-generated code should be checked against your theme, navigation, and mobile layout before you apply it to a live store.
Why a Well-Planned Header Change Matters
A useful header gives customers a clear route to the next action. You might highlight “Shop New Arrivals,” “Contact Us,” or “Request a Quote,” depending on your store. Keep the wording short and choose a destination that matters to your customers.
Editable settings are equally valuable. If the AI adds button controls to the Theme Editor, you can update the labels and colors later without requesting another code change. Good spacing, readable contrast, and a comfortable mobile layout help the new buttons feel like part of the original theme.
Step 1: Install AI Theme Code Editor
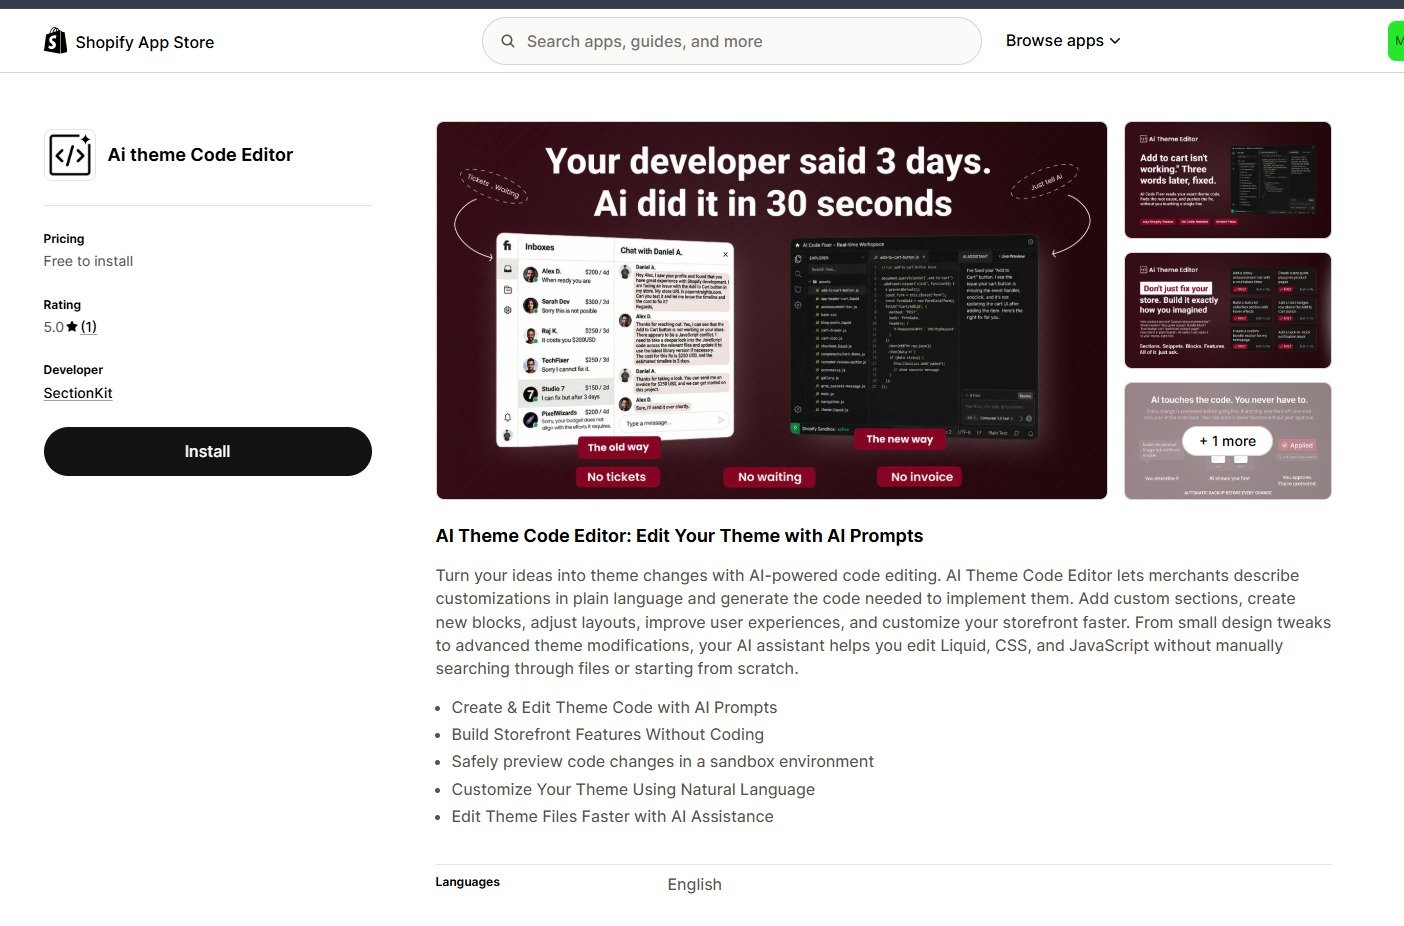
Find AI Theme Code Editor in the Shopify App Store and select Install. Follow Shopify’s installation prompts, review the requested access, and open the app from your admin.
The first image shows the app listing and installation entry point. Check the current listing for available plans and limits when you install.
Step 2: Connect Your Theme and Open the AI Assistant
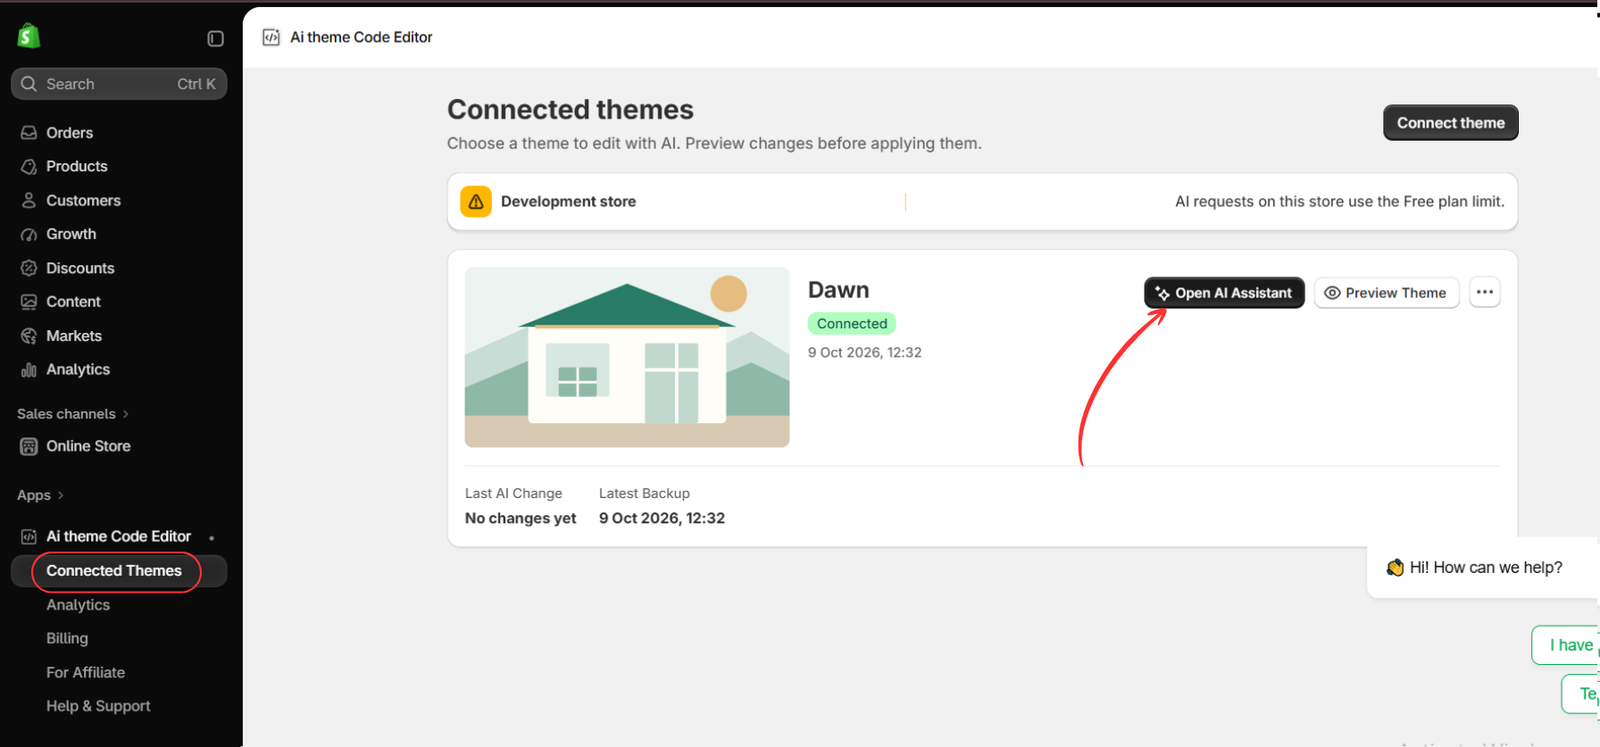
Open Connected Themes in the app. If your intended theme is not connected, use Connect theme and follow the app’s instructions. Confirm the theme name before proceeding.
The second image shows Dawn connected to the app. Select Open AI Assistant to start the request for that theme. For a live store, keep a duplicate of your theme before making code changes and use a preview or test theme where your setup allows it.
Step 3: Write a Clear Prompt for the Header Buttons
Enter your request in the AI Assistant message field. Specify the placement, editable settings, and mobile behavior so the assistant has a concrete brief.
The third image uses this prompt:
Add customizable buttons to my Shopify theme header. Let me edit each button’s text, link, colors, and border radius in the Theme Editor. Place them beside the header icons and make them look good on desktop and mobile.
This prompt gives the assistant four useful details: what to add, where to place it, how you want to customize it, and which screen sizes it should support. Submit the request and allow the assistant to process the proposed change.
If you need a specific number of buttons, include it. You can also ask the assistant to preserve your existing logo, menu, search, account, and cart behavior.
Step 4: Review the Generated Header Change Before Publishing
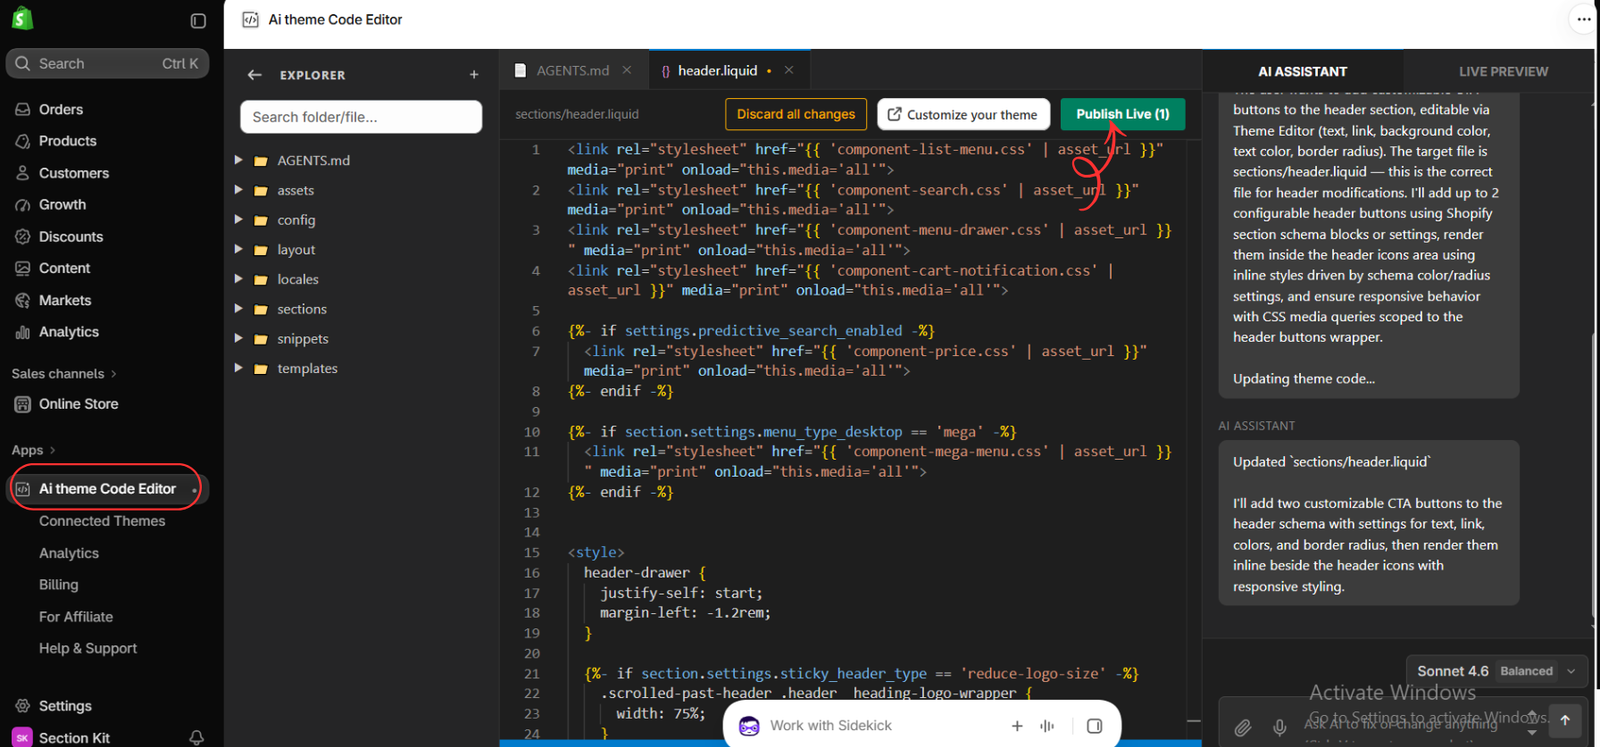
Read the assistant’s response and check which files it changed. In the fourth image, the assistant reports an update to sections/header.liquid and describes two configurable header buttons. That file is part of the Dawn example; another theme may organize its header differently.
Review the preview before using Publish Live. Confirm that the buttons appear in the intended position, their links work, and existing header controls still function. Use Customize your theme to inspect the new settings when available.
If the layout needs refinement, send a focused follow-up such as: “Reduce the button spacing on mobile and keep the cart icon visible.” Publish only after you have checked the completed change.
Step 5: Locate the Header in the Theme Editor
Open your theme’s customization interface and select Header in the left sidebar. Look for the button settings or blocks introduced by the AI update. Their exact labels depend on the generated implementation.
Set each button’s label and link, then adjust its colors and border radius to match your store. Keep the text short enough to fit comfortably beside the existing icons.
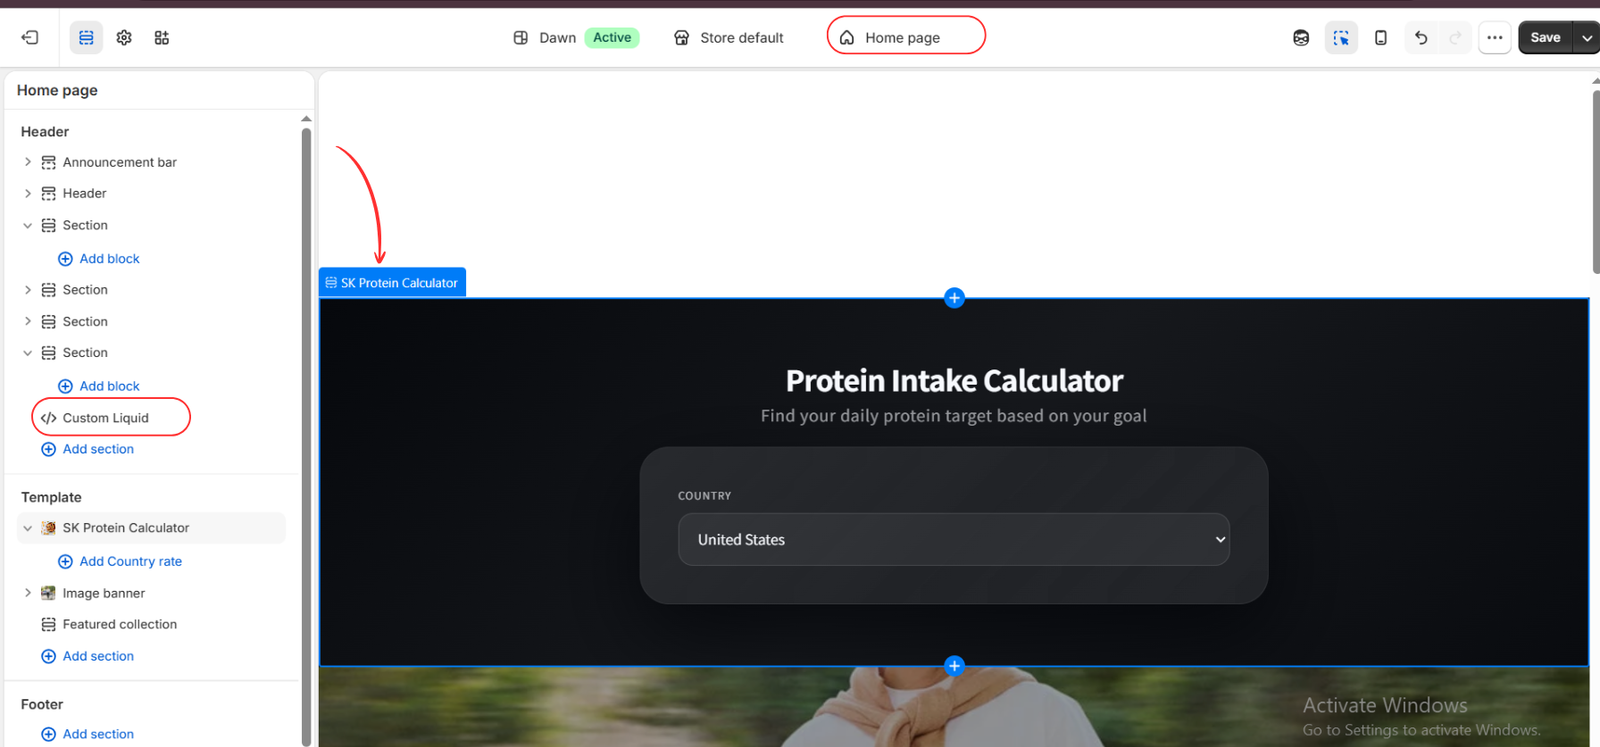
The fifth image shows the Theme Editor’s home-page view with the Header group in the sidebar. Its selected content is a protein calculator, so it illustrates editor navigation rather than the finished header-button settings. For this task, select Header instead of the calculator or Custom Liquid item.
Step 6: Test the Header and Save Your Settings
Preview the header on desktop and mobile. Check button alignment, text contrast, and touch spacing. Open the menu, search, account, and cart controls to confirm that the added buttons do not interfere with them.
Test each button destination and inspect more than the home page, including a product page and a collection page. If your header is sticky, scroll through the page and check its appearance in that state too.
When everything looks correct, click Save in the Theme Editor. If you worked on an unpublished theme, publish it through your normal theme workflow once testing is complete.
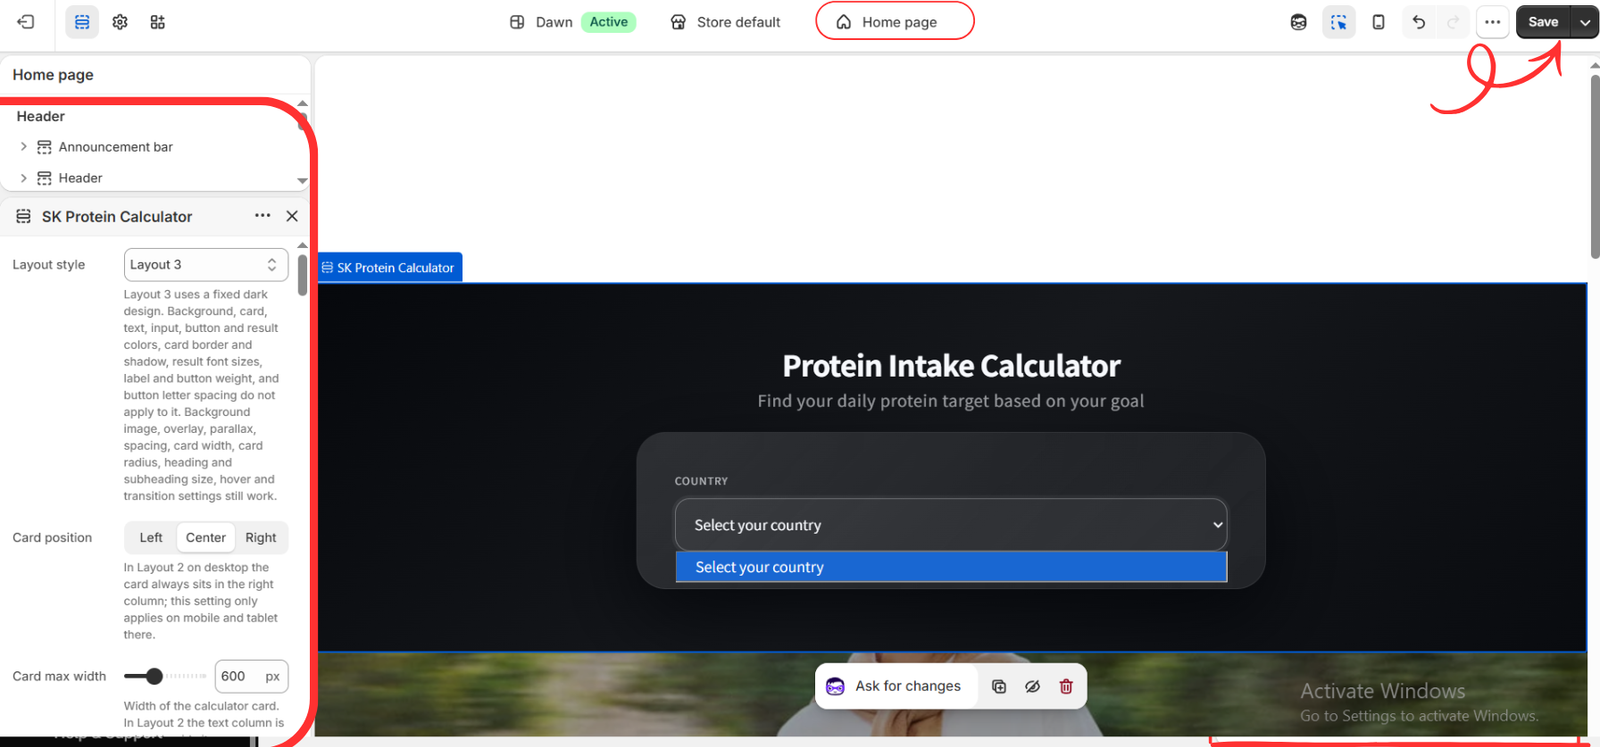
The sixth image highlights the Save button. The selected settings belong to the protein calculator; the same saving control is the relevant part of this image for the header workflow.
Tips for Better Shopify Header Prompts
- Choose one clear goal: request the header buttons first, then refine their styling.
- Name the placement: explain whether buttons belong beside the icons or within the menu.
- Request editable controls: include labels, URLs, background colors, text colors, and corner radius.
- Describe mobile behavior: ask for a layout that preserves access to navigation and cart controls.
- Review before applying: verify the design and functionality on the actual theme.
Make Your Next Header Update Easier
A clear AI prompt can help you turn a header idea into a theme change without manually writing every line of code. Start with a specific request, review the generated update, customize the available settings, and test the result across your store.
To try the workflow, install AI Theme Code Editor from the Shopify App Store.




