The Complete Guide to Shopify Shipping
If you’re running a Shopify store, shipping is one of those things you can’t afford to get wrong. It’s the final step between you and a happy customer. And trust me, nothing kills repeat business faster than a bad shipping experience.
So let’s break this whole thing down together from setting up your first shipping rate to printing labels and dealing with international orders.
Why Shipping Matters More Than You Think
Here’s something most new store owners don’t realize: shipping is not just logistics. It’s part of your customer experience.
Think about it. A customer browses your store, loves your product, adds it to cart and then sees a $25 shipping fee at checkout. Gone. That’s called cart abandonment, and high shipping costs are one of the biggest reasons it happens.
Getting your shipping right means more completed checkouts, happier customers, and fewer support tickets asking “where is my order?”
Getting Started with Shopify Shipping Settings
Before you ship a single package, you need to set up your shipping settings properly inside Shopify.
Go to your Shopify admin, click on Settings, then Shipping and Delivery. This is where everything lives your shipping zones, rates, carrier connections, and fulfillment settings.
The first thing you want to do is set your shipping origin. This is the address your packages ship from. Shopify uses this to calculate rates and generate labels. Make sure it’s accurate.
Understanding Shipping Zones
A shipping zone is basically a geographic area you’re willing to ship to. You can create as many zones as you need.
For example, you might have one zone for your local city, another for the rest of your country, and a separate zone for international customers. Each zone can have its own rates.
This is really useful because shipping to a customer down the street is not the same as shipping to someone on the other side of the world. Zones let you price accordingly.
Setting Up Shipping Rates
Now let’s talk about how you actually charge customers for shipping. You have a few options here.
The first option is flat rate shipping. You charge a fixed fee no matter what say, $5 per order. Simple and predictable. Customers know exactly what they’re paying upfront.
The second option is free shipping. This one converts really well. Customers love it. You can either absorb the cost yourself or build it into your product pricing. A lot of stores offer free shipping above a certain order value, like “Free shipping on orders over $50.” This also increases your average order value because customers will add more to their cart just to hit that threshold.
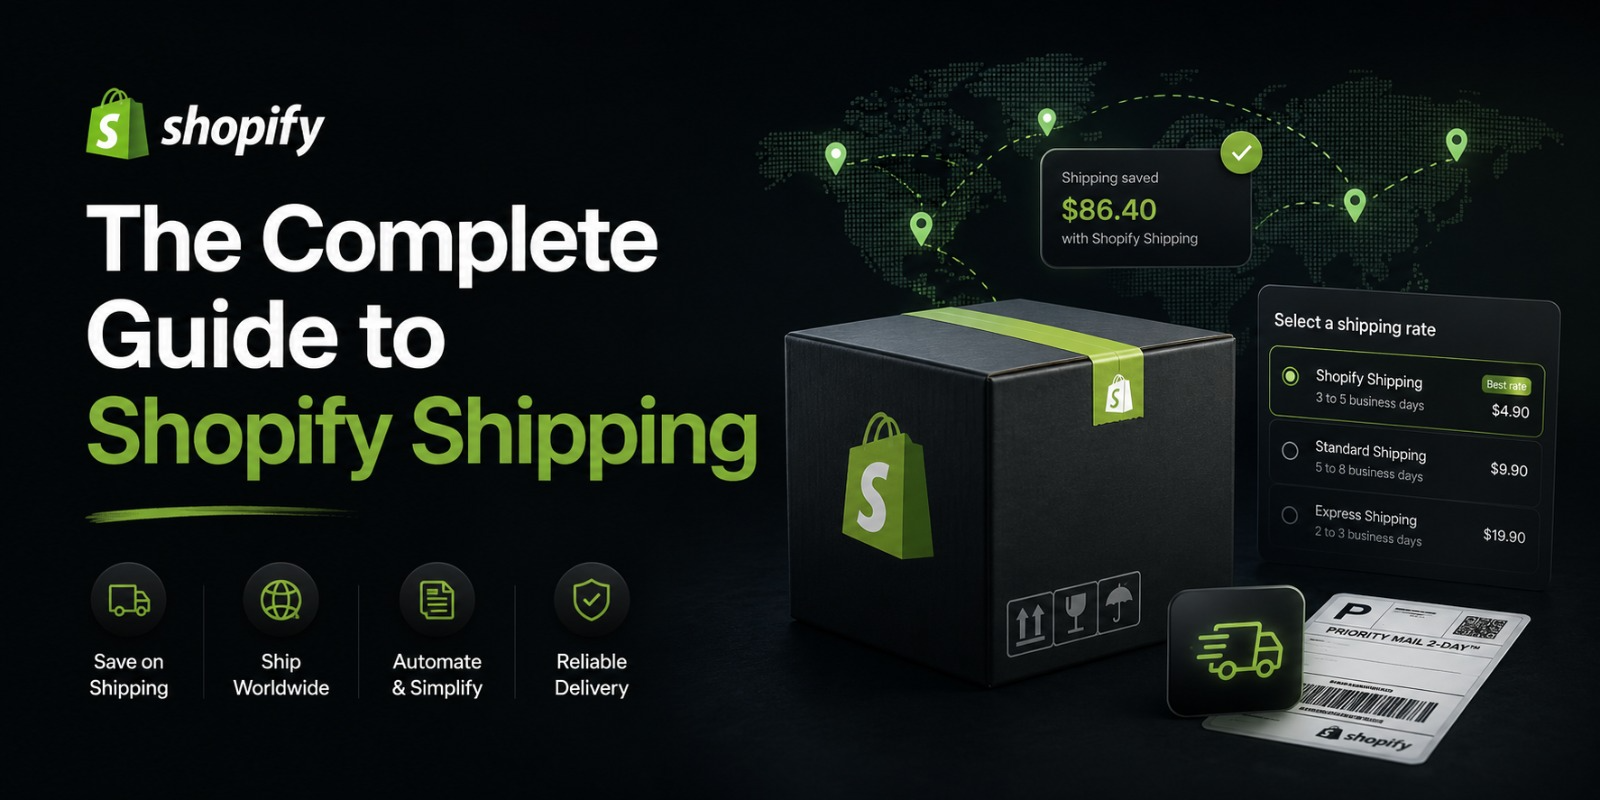
The third option is calculated shipping. This pulls real-time rates from carriers like USPS, UPS, FedEx, or DHL based on the package weight, dimensions, and destination. The customer sees the actual carrier rate at checkout. This is the most accurate option.
The fourth option is weight-based rates. You set different prices based on how heavy the order is. Heavier orders cost more to ship, so this reflects that reality.
You can also combine these. Free shipping under a certain weight, flat rate above it the combinations are flexible.
Shopify Shipping vs. Third Party Carriers
Here’s where Shopify gets really useful. If you’re based in the US, Canada, or Australia, Shopify has built-in carrier integrations that give you discounted shipping rates. We’re talking up to 88% off retail carrier prices.
That means you can use USPS, UPS, DHL Express, and Canada Post directly inside Shopify without going through a third party app. You buy labels right from your admin, and the discounted rates are automatically applied.
If you’re outside these countries, or if you need more carrier options, you can connect third party shipping apps like EasyPost, ShipStation, Shippo, or AfterShip. These tools give you access to more carriers, better rate comparison tools, and advanced tracking features.
Printing Shipping Labels
Once you get an order, the next step is printing a shipping label. Shopify makes this super easy.
Go to your Orders section, click on the order, and you’ll see a button to buy a shipping label. Shopify will show you the available carrier options with their rates. You pick the one you want, pay for it, and download the label as a PDF.
You can print it on a regular printer or a thermal label printer. Most serious store owners invest in a thermal printer like the Dymo 4XL or Zebra GK420d. They’re faster, don’t need ink, and the labels look cleaner.
After you buy the label, Shopify automatically sends the customer a shipping confirmation email with their tracking number. You don’t have to do that manually.
Packaging Tips That Save You Money
Your packaging affects your shipping cost more than you might think. Carriers charge based on weight and size. Some even use something called dimensional weight, which means a large but light package can cost as much as a heavy one.
Use the smallest box or mailer that still protects your product. Don’t ship a small item in a giant box you’re paying for air. Get a basic postal scale so you can weigh packages accurately before printing labels. Surprises at the post office are never fun.
Poly mailers are great for clothing and soft goods. They’re lightweight and inexpensive. Bubble mailers work well for small fragile items. Corrugated boxes are best for heavier or more breakable products.
Handling International Shipping
If you want to sell globally, you need to understand international shipping basics. It’s a bit more complicated than domestic, but very doable.
First, you need to fill out customs forms for international packages. Shopify generates these automatically when you buy a label. You’ll need to declare what’s inside and its value.
You’ll also deal with duties and taxes. When a package crosses a border, the destination country may charge import duties or taxes. Who pays for this — you or the customer — is something you need to decide upfront and communicate clearly.
DDP stands for Delivered Duty Paid, meaning you collect taxes at checkout and handle it. DDU means Delivered Duty Unpaid, meaning the customer pays duties when the package arrives. DDU can lead to unhappy customers who didn’t expect extra charges, so be transparent about it.
Shopify Markets and some third-party apps let you calculate and collect duties at checkout so there are no surprises.
Setting Up Free Shipping the Smart Way
Let’s go deeper on free shipping because it’s such a powerful conversion tool.
The smartest move is the free shipping threshold. Set it just above your average order value. So if your average order is $35, set the free shipping threshold at $50. You’ll start seeing customers add one more item just to qualify.
You can also offer free shipping as a reward. Use it in discount codes, loyalty programs, or as a bonus for email subscribers. It feels like a gift even though the cost is baked in.
Just make sure your margins can handle it. Calculate your average shipping cost and factor it into your pricing before going all-in on free shipping. There’s no point attracting customers if every order loses you money.
Dealing with Shipping Delays and Lost Packages
Even with the best setup, things go wrong sometimes. Packages get delayed. A rare few get lost. How you handle it matters a lot.
First, set realistic expectations. Don’t promise 2-day delivery if you can’t guarantee it. Displaying estimated delivery dates at checkout reduces anxiety and support tickets.
When a package is delayed, reach out to the customer proactively if you can. Don’t wait for them to email you. A quick message saying “Hey, your order is on its way but there’s a small delay” goes a long way.
For lost packages, always check the carrier’s tracking first. Sometimes packages are marked delivered but are sitting at a neighbor’s door or the local post office. If it’s genuinely lost, either reship the item or refund the customer. Don’t make them fight for it.
Using Shopify Apps to Level Up Your Shipping
Once you outgrow the basic setup, there are some excellent apps that can make your shipping operation much more efficient.
AfterShip lets you create a branded tracking page so customers can follow their order on your own domain instead of the carrier’s website. It also sends proactive tracking notifications.
ShipStation is great if you’re managing high order volumes. It connects multiple stores and carriers in one dashboard and automates a lot of the label-buying process.
Route adds shipping protection to your store. Customers pay a small fee and get covered if their package is lost, damaged, or stolen. Takes the liability off you and gives customers peace of mind.
Parcelify and Advanced Shipping Rules let you create complex shipping logic if the native Shopify rates aren’t flexible enough for your needs.
Returns and Reverse Shipping
Returns are part of the game. A smooth return process actually builds customer trust people are more willing to buy when they know returning is easy.
Shopify has a built-in returns feature where you can generate return labels and manage return requests. You can set up automatic return approvals or review each one manually.
Decide upfront who pays for return shipping. Some stores offer free returns and build that cost in. Others charge customers for return labels. Be clear about your policy on your store and at checkout.
A good return experience turns a disappointed customer into a repeat buyer. Don’t underestimate it.
Local Delivery and Pickup Options
If you have a physical presence or serve a local area, Shopify lets you offer local delivery and in-store pickup.
Local delivery lets you define a delivery radius or specific zip codes and set a custom delivery fee. You can even use an app like Zapiet or Local Delivery by Shopify to manage delivery routes and notify customers when their order is on the way.
In-store pickup is completely free and works great for customers who want to avoid shipping costs and get their order faster. You set a pickup location, and Shopify sends the customer a ready-for-pickup notification when their order is prepared.
Tracking and Transparency
Customers today expect to know where their order is at every step. Real-time tracking is not optional it’s expected.
Make sure every order goes out with a tracking number. Shopify does this automatically when you buy labels. But you can go further with apps like AfterShip or Track123 to give customers a beautiful branded tracking experience.
Sending tracking updates via email and SMS keeps customers informed without them having to go looking. Fewer “where is my order” emails means less work for your support team.
Shopify Fulfillment Network
If you’re scaling fast and don’t want to deal with packing and shipping yourself, Shopify has its own fulfillment network. You send your inventory to Shopify’s warehouses, and they handle storage, packing, and shipping for you.
It’s similar to Amazon FBA but within the Shopify ecosystem. It’s best suited for high-volume stores in the US. Pricing is based on storage and fulfillment fees per order.
This option is not for everyone, but if shipping is becoming your biggest bottleneck, it’s worth exploring.
Final Thoughts
Shipping doesn’t have to be complicated. Start simple — pick a rate structure, set your zones, connect a carrier, and get those first orders out the door. Then optimize as you grow.
The goal is always the same: get the right product to the right customer as fast as possible, at a cost that works for both of you.
Do that consistently and your store will earn the kind of trust that turns one-time buyers into loyal, repeat customers. And that’s what this whole thing is really about.