The Ultimate Guide to WordPress Caching
If there’s one single change that delivers the biggest speed improvement for the least effort on a WordPress site, it’s caching. Yet it’s also one of the most misunderstood parts of WordPress maintenance plenty of site owners install a caching plugin, activate it, and never touch it again, unaware that half its potential is going unused.
This guide breaks down exactly what caching is, the different types you’ll encounter, how to set it up properly, and how to avoid the common mistakes that quietly cancel out its benefits.
What Is Caching, Really?
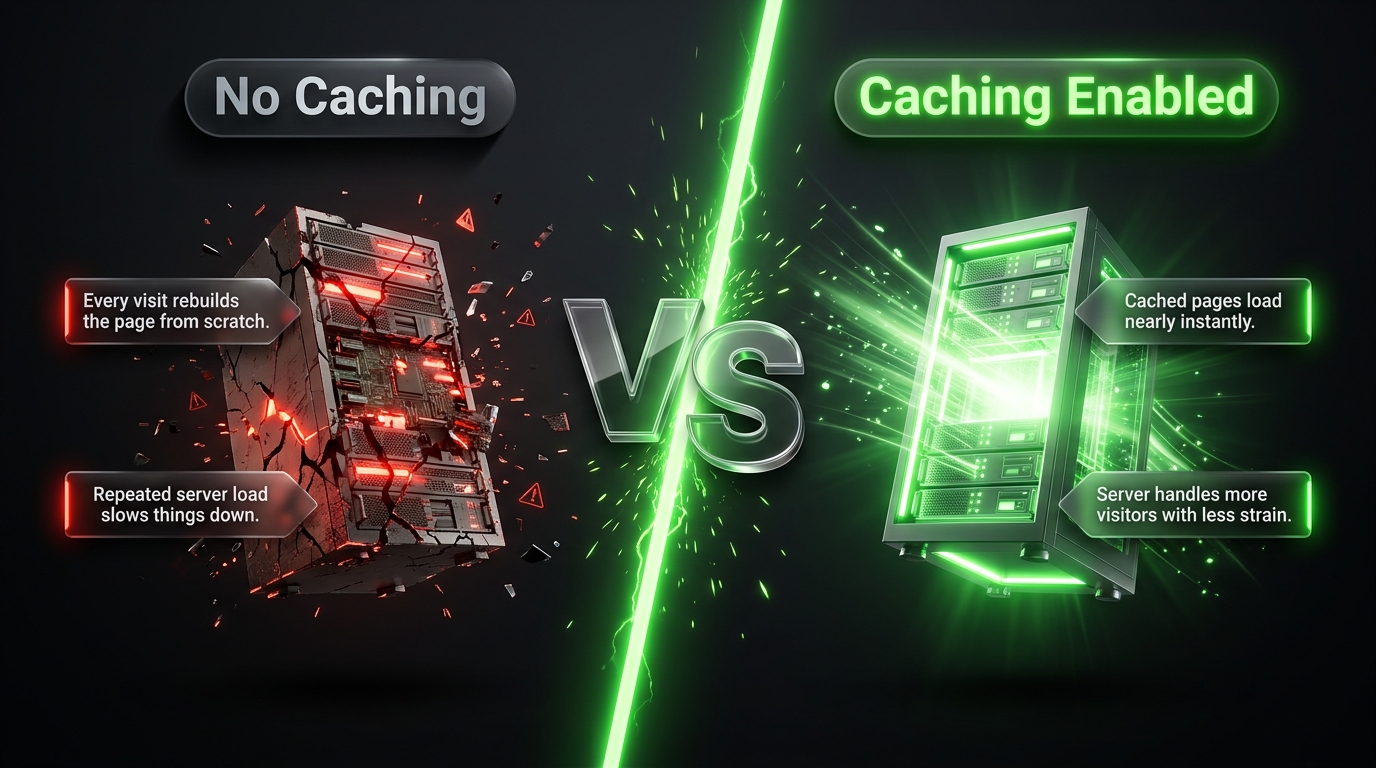
Every time someone visits a WordPress page, your server normally has to do a lot of work behind the scenes: query the database, run PHP code, assemble the page from your theme and plugins, and then send the finished HTML to the visitor’s browser. That process happens fresh, every single time, for every single visitor.
Caching interrupts that cycle. Instead of rebuilding the page from scratch on every visit, a cached version a static snapshot of the finished page gets stored and served directly. The heavy lifting happens once, and every subsequent visitor gets the fast, pre built result.
Think of it like a restaurant kitchen. Without caching, the chef cooks every dish completely from scratch for every single customer, even if a hundred people order the exact same meal. With caching, popular dishes are prepped in advance and just need to be plated and served dramatically faster, with no drop in quality.
Why Caching Matters So Much for WordPress Specifically
WordPress is a dynamic content management system by design it’s built to pull data from a database and generate pages on demand. That flexibility is powerful, but it’s also inherently slower than serving static files. Caching bridges that gap, giving you the flexibility of a dynamic CMS with speed closer to a static website.
The benefits go beyond just feeling faster:
- Reduced server load. Cached pages require far less processing, meaning your server can handle more simultaneous visitors without slowing down or crashing.
- Better search rankings. Page speed is a factor in search engine rankings, particularly for mobile results.
- Lower bounce rates. Faster pages keep visitors engaged instead of losing them to impatience.
- Improved uptime during traffic spikes. A sudden surge in visitors say, from a viral post or a big sale is far less likely to overwhelm your server when most pages are being served from cache.
The Different Types of Caching
Caching isn’t a single technique it happens at several different layers, and understanding each one helps you configure your site more effectively.
1. Page Caching
This is the most common and impactful type of caching for WordPress. It stores a complete, ready to serve HTML version of each page, so it doesn’t need to be rebuilt from the database and PHP each time.
2. Browser Caching
This tells a visitor’s browser to store certain files (like your logo, CSS, and JavaScript) locally, so repeat visits don’t need to re download them. This mainly benefits returning visitors rather than first-time ones.
3. Object Caching
WordPress makes frequent, repetitive database queries many of them fetching the same data repeatedly. Object caching stores the results of these queries in memory, so WordPress doesn’t need to ask the database the same question over and over. This is especially valuable for larger, dynamic sites like ecommerce stores or membership sites.
4. Opcode Caching
PHP code is normally compiled into a format the server can execute every time a page loads. Opcode caching (commonly through a tool called OPcache) stores this compiled code, skipping the compilation step on future requests. This is typically configured at the server level rather than through a plugin.
5. CDN Caching
A Content Delivery Network stores cached copies of your static files across servers distributed worldwide, serving visitors from whichever server is geographically closest to them. This is particularly valuable if your audience is spread across different regions or countries.
6. Database Caching
Similar to object caching, this specifically targets database query results, reducing the load on your database server for repeated requests.
Most WordPress caching plugins combine several of these layers typically page caching, browser caching, and some level of object caching into a single, more manageable setup.
Choosing a Caching Plugin
There’s no shortage of caching plugins available, and the right choice depends on your comfort level and your site’s specific needs.
WP Rocket
Widely considered the easiest premium caching plugin to set up, with strong performance straight out of the box and minimal configuration required. A good choice if you want excellent results without digging into technical settings.
W3 Total Cache
Extremely powerful and highly configurable, supporting page, browser, object, and database caching, along with CDN integration. The tradeoff is a steeper learning curve — misconfiguration can occasionally cause more problems than it solves.
WP Super Cache
A solid, beginner friendly free option maintained by Automattic (the company behind WordPress.com). It covers the essentials well without overwhelming new users.
LiteSpeed Cache
If your hosting runs on LiteSpeed servers, this plugin integrates directly with the server-level caching LiteSpeed provides, often delivering excellent performance for free.
Hosting-Provided Caching
Many managed WordPress hosts — including WP Engine, Kinsta, and SiteGround include server-level caching automatically. In these cases, installing a separate caching plugin can sometimes cause conflicts rather than additional benefit, so it’s worth checking with your host before adding one.
Setting Up Caching the Right Way
Installing a caching plugin is easy. Configuring it properly is what actually determines whether you get the full benefit.
Step 1: Check for Host-Level Caching First
Before installing a plugin, confirm whether your host already provides server level caching. Running two caching systems simultaneously can cause conflicts, stale content, or wasted resources.
Step 2: Enable Page Caching
This should be the very first thing you turn on. Most plugins enable it by default, but it’s worth confirming in the settings.
Step 3: Enable Browser Caching
Set appropriate expiration times for static assets like images, CSS, and JavaScript. A common approach is caching these for several weeks or months, since they rarely change.
Step 4: Enable GZIP Compression
Many caching plugins include this option, which shrinks file sizes sent to the browser, often by 70% or more.
Step 5: Minify CSS and JavaScript
This strips unnecessary characters from your code files without changing their function, reducing file size and load time.
Step 6: Set Up Cache Exclusions
Certain pages shouldn’t be cached, or need special handling:
- Shopping cart and checkout pages (to avoid showing stale cart contents)
- Account or login pages (to avoid showing one user’s data to another)
- Pages with frequently changing dynamic content, like live inventory counts
Most caching plugins let you exclude specific pages or URL patterns from caching.
Step 7: Configure Cache Expiration and Preloading
Set how long cached pages should remain valid before being rebuilt, and enable “preloading” if your plugin offers it this proactively rebuilds the cache after it expires, rather than waiting for the next visitor to trigger a slow, uncached page load.
Step 8: Test Everything After Setup
After configuring caching, check:
- That logged-in users see personalized content correctly (like their account name or cart contents)
- That forms submit properly
- That ecommerce checkout works from start to finish
- That the site looks correct on both desktop and mobile
Common Caching Mistakes to Avoid
Running Multiple Caching Plugins at Once
This is one of the most frequent causes of caching-related site issues. Multiple plugins competing to manage the same caching layer can create conflicts, showing stale or broken content. Stick to one caching solution at a time.
Forgetting to Clear the Cache After Changes
If you update content, change a plugin, or edit your theme, the cached version of your pages won’t reflect that change until the cache is cleared. Most plugins offer a “clear cache” button use it after significant changes, or configure automatic cache clearing when content is updated.
Caching Logged In User Sessions
Serving cached pages to logged in users can cause serious problems like one customer seeing another customer’s account information. Make sure your caching plugin is configured to bypass caching for logged in sessions, which most do by default.
Not Excluding Ecommerce Pages
Caching a shopping cart or checkout page can result in visitors seeing outdated cart contents or pricing. Always confirm these pages are excluded from caching.
Setting Cache Expiration Too Long or Too Short
Too short, and you lose much of caching’s benefit as pages rebuild constantly. Too long, and visitors might see outdated content after you make changes. A middle ground often a few hours to a day for regular content works well for most sites, combined with manual cache clearing after major updates.
Ignoring Object Caching on Dynamic Sites
For ecommerce stores, membership sites, or anything with heavy database activity, skipping object caching leaves meaningful performance on the table. If your caching plugin supports it, it’s worth enabling particularly alongside a persistent object cache backend like Redis or Memcached, if your host supports it.
Advanced Caching: Redis and Memcached
For larger or more complex WordPress sites, basic page caching may not be enough. Redis and Memcached are both in memory data stores that can dramatically speed up object caching by storing database query results in extremely fast memory rather than retrieving them from disk each time.
- Redis is generally considered more feature rich and is well suited for larger, more complex sites.
- Memcached is simpler and lighter, often sufficient for smaller to mid sized sites with moderate database activity.
Setting these up typically requires server-level access, so they’re most commonly available through managed WordPress hosts or with help from a developer.
How to Know If Your Caching Setup Is Working
After configuring caching, verify it’s actually functioning:
- Re run a speed test using Google PageSpeed Insights or GTmetrix and compare against your baseline from before caching was enabled.
- Check response headers. Browser developer tools can show whether a page was served from cache (often visible in headers like
x cacheor similar, depending on your setup). - Monitor server resource usage. A properly cached site should show reduced CPU and memory usage compared to before.
- Test load times as a logged-out visitor, since this is the experience caching primarily affects.
Final Thoughts
Caching is one of the rare WordPress optimizations that delivers a large, measurable improvement for a relatively small amount of setup effort. But it’s not entirely “set it and forget it” proper configuration, sensible exclusions, and periodic cache clearing after updates all matter for getting the full benefit without introducing new problems.
Start simple: enable page and browser caching through a reputable plugin or your host’s built in system, test thoroughly, and expand into object caching or a CDN as your site’s needs grow. Done right, caching turns a slow, database-heavy WordPress site into one that feels every bit as fast as a static page without sacrificing any of the flexibility that makes WordPress worth using in the first place.